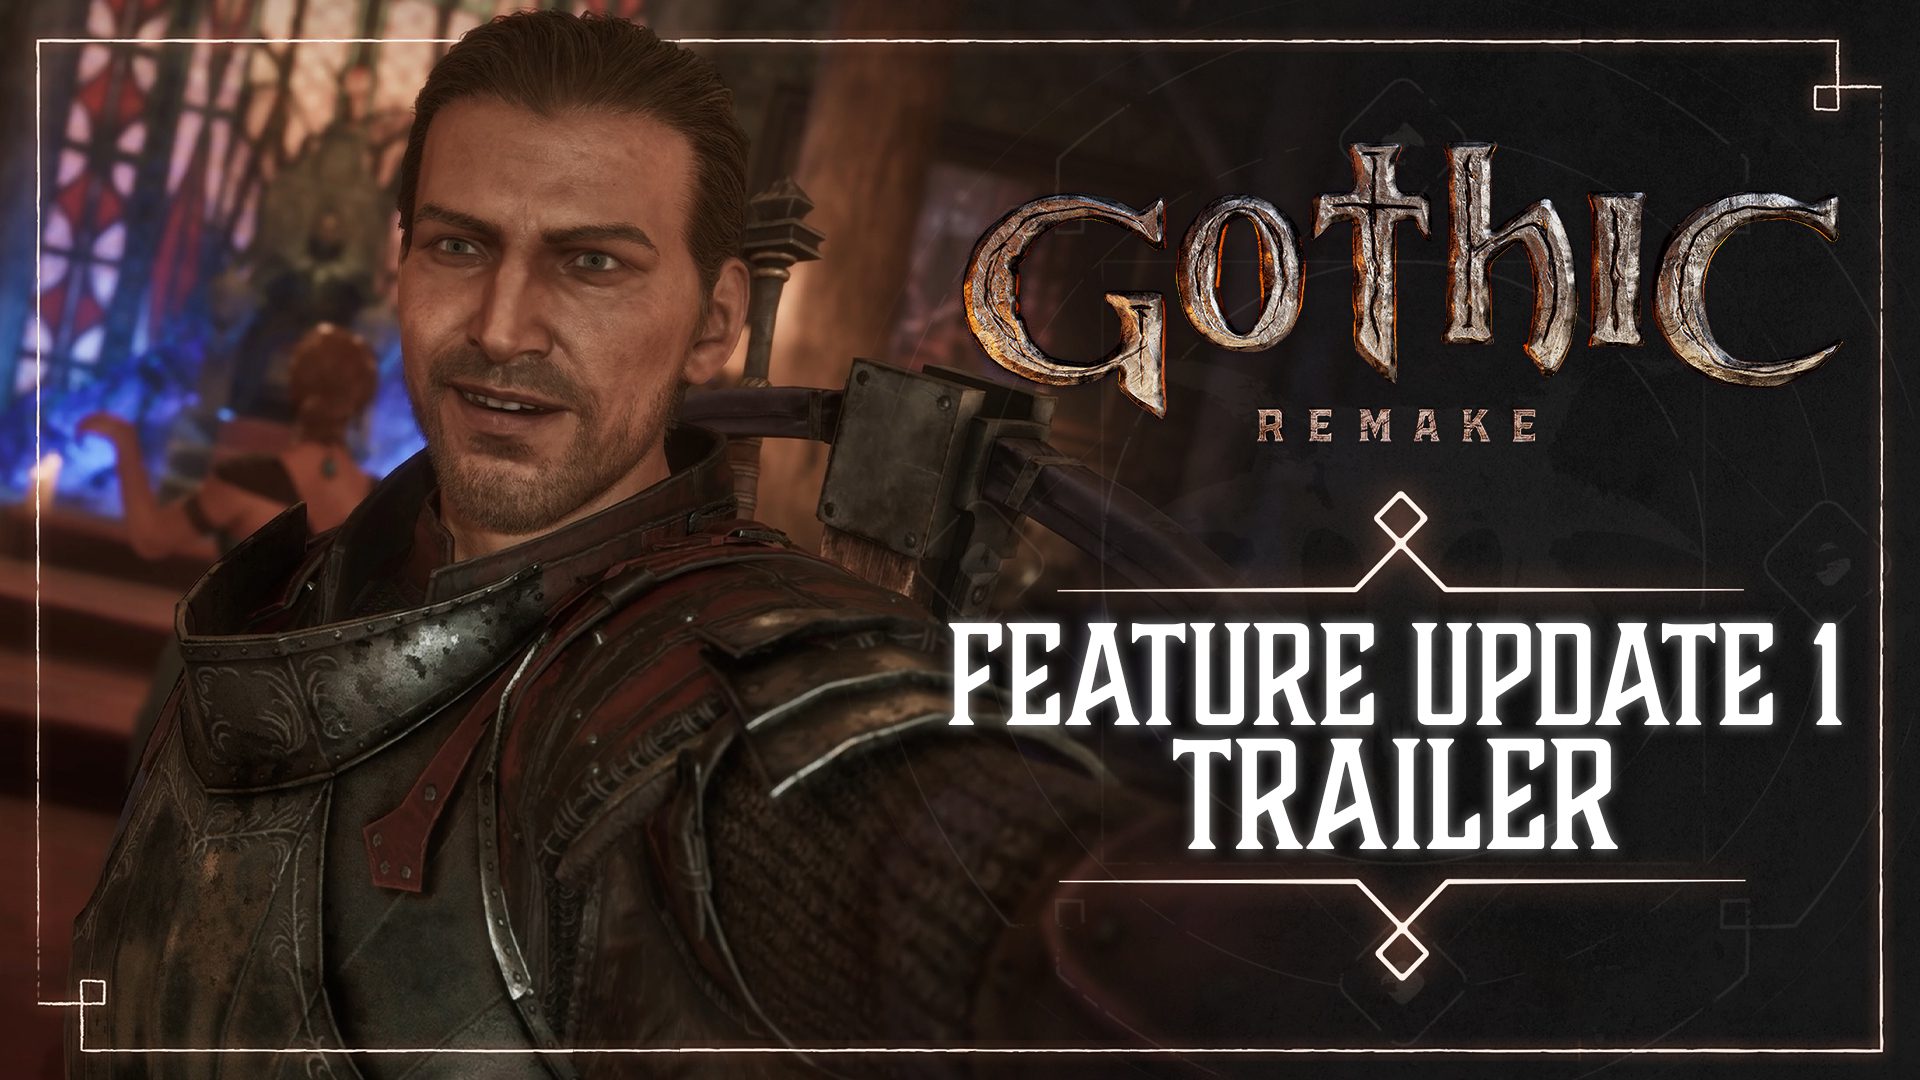
Gothic 1 Remake Photo Mode is available from the pause menu following the free Feature Update #1 released on 29 October 2026. On PC, you can also press L to open it directly, making it much easier to capture the Colony without interrupting your adventure for long.
It’s available on PC, PS5 and Xbox Series X|S. The Old Camp’s cramped streets and the quieter stretches of the Swamp Camp are worth a closer look, especially when you can compose a picture without worrying about enemies creeping up behind you.
How to open Gothic 1 Remake Photo Mode
- Update Gothic 1 Remake to the 29 October 2026 build or later.
- Load your game and stand where you want to take the picture.
- Open the pause menu and select Photo Mode. On PC, pressing L takes you there directly.
- Use the controls displayed in the photography interface to position and adjust the shot.
- Capture the finished image using your PC or console screenshot feature.
If you’re using a controller, the pause menu is the straightforward way in. On PC, the L shortcut is handy when you spot something worth capturing while exploring.
What is included in the new Photo Mode?
This is a proper photography interface, not just a screenshot shortcut. Open it in the game, adjust your composition, then use your platform’s capture tools to keep the image. You can make a shot of an ordinary walk through the Colony look completely different simply by choosing where the subject sits in the frame.
Start by choosing a clear subject: the Nameless Hero, a camp, a creature or one of the landscape views beyond the settlements. Frame that subject first, then work through the settings shown inside the mode. It is easier to judge each change when you adjust one setting at a time instead of making several changes before taking a picture.
Character portraits work nicely against the camp walls or near a doorway, where the background doesn’t compete with the hero’s face and armour. For a landscape, pull back enough to show the roads, roofs or mountains around your subject.
Tips for better screenshots around the Colony
Old Camp is a good place for tightly framed shots: stone walls, packed buildings and narrow routes give photographs a busy, lived-in feel. Around the Swamp Camp, the water, wooden structures and Brotherhood clothing make for completely different scenes. Moving between the camps is an easy way to get variety without changing the game’s visual style.
Try taking two versions of the same view. One can show the full scene, with the hero small in the frame; the other can move closer to the character or object you want people to notice. Even without complicated edits, those two compositions tell different stories.
Watch the background when you take portraits. A branch behind the hero’s head or a weapon crossing the frame can make the finished screenshot feel cluttered. Taking a couple of steps to the side before entering Photo Mode often fixes it.
For an action shot, pick your position before the fight starts. A little preparation beats running after the perfect camera angle when a pack of enemies is already on top of you.
How to take and find your screenshots
Once you’re happy with the picture, save it using your platform’s screenshot tools:
- PC on Steam: Use Steam’s screenshot control and open its screenshot manager to find the image. If you use Windows’ capture tools instead, look for the picture in the location selected by that tool.
- PS5: Press the Create button and capture the image. Open Media Gallery to see your saved screenshots.
- Xbox Series X|S: Use the Share button on a compatible controller or the console’s capture menu. Find the picture under your captures.
You’ll find the screenshot in the gallery or screenshot manager, where you can view it again or share it with friends. It won’t appear in your character’s inventory.
Photo Mode not showing up?
Feature Update #1 introduced Photo Mode on 29 October 2026. If it isn’t in the pause menu, exit the game and check whether the update has been installed. On PC, finish the pending download in your launcher before starting it again. On PS5 or Xbox, select the game’s update check from the system menu.
After updating, load a save and open the pause menu. PC players can also press L while playing. There’s no quest requirement: you can use the new photography feature during a normal adventure without enabling Marvin Mode or joining a faction.
Once the option is working, head back into the Colony and try a few spots you’ve normally hurried past. A quiet moment outside camp can make as good a screenshot as a boss fight.
Official source: THQ Nordic’s Feature Update #1 announcement.