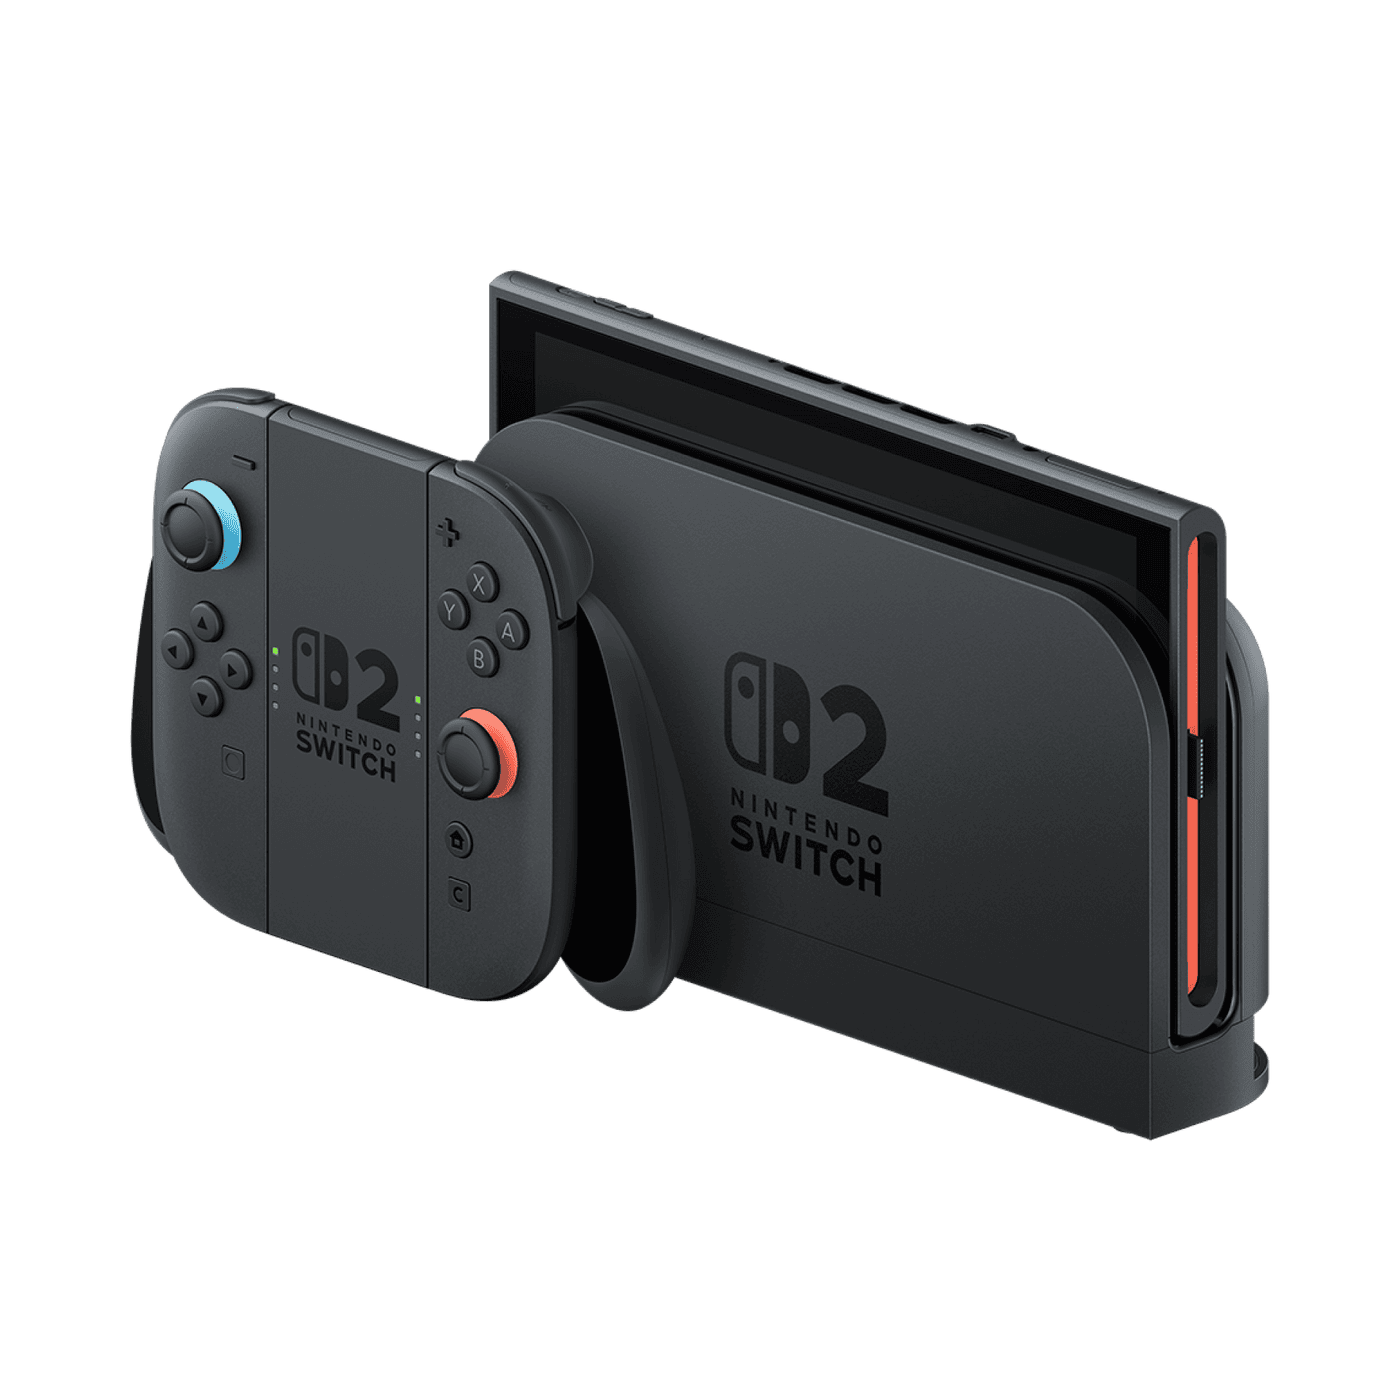
The Nintendo Switch 2 screenshot save location can be set to system memory or a microSD Express card. If you’ve added a compatible card, you can choose where new screenshots and video clips go without moving your existing Album first.
You can also copy pictures that you’ve already captured between the two storage locations, move selected items or clear out unwanted files. Nintendo puts all these controls in the same settings menu, so the trick is choosing the right option for what you want to do.
How to change Nintendo Switch 2 screenshot save location
To change the Nintendo Switch 2 screenshot save location, first insert a compatible microSD Express card. A standard microSD card from an original Switch won’t work for new Switch 2 captures.
- From the Switch 2 HOME Menu, open System Settings.
- Select Data Management.
- Choose Manage Screenshots and Videos.
- Open Save Destination. This option is available when a microSD Express card is inserted.
- Choose System Memory or microSD Express Card for future screenshots and captured videos.
That’s the setting for new captures. It won’t automatically copy everything you’ve already saved. If you’re changing the Nintendo Switch 2 screenshot save location to free up system memory, use the separate copy options as well.
How to copy screenshots from system memory to microSD Express
Go back to Manage Screenshots and Videos and choose System Memory. Nintendo gives you an option to copy all screenshots and captured videos to your microSD Express card. This works on pictures you’ve already taken, regardless of the current save destination.
To copy everything in the other direction, choose microSD Express Card instead. That lets you copy its captures into system memory. Check the available space before copying, and make sure the files are where you expect before deleting any originals.
How to select and manage individual screenshots
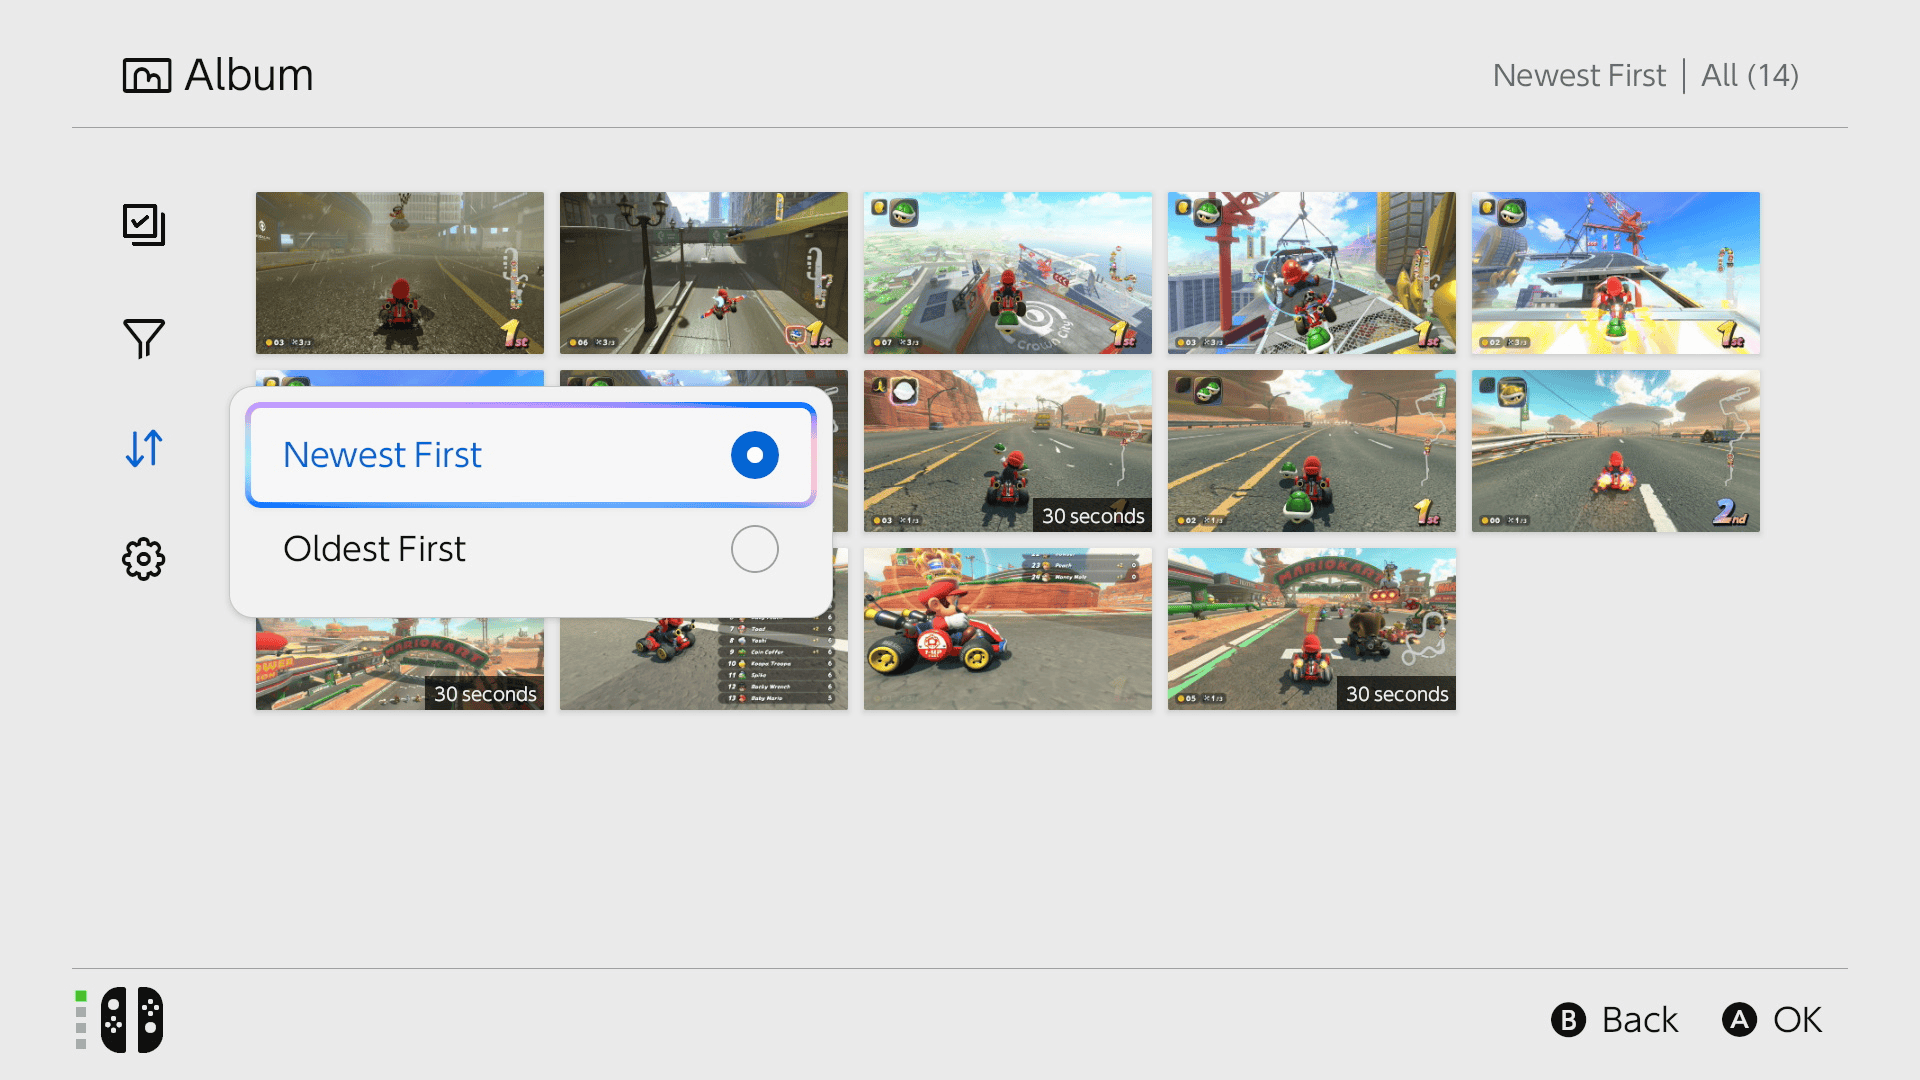
If you only want to deal with a handful of screenshots or clips, open Manage Album. You can filter the Album by media type, save location or user, which is handy when you’re trying to find a particular set of captures.
Choose the Bulk Actions icon to select more than one item. With microSD Express inserted, you can copy selected captures to the card or system memory, upload them to the Nintendo Switch App or delete them. You don’t need to copy the entire Album to tidy a few files.
Be careful with Delete. Nintendo says deleted screenshots and videos can’t be recovered. Copy what you want to keep first, check the destination, and only then consider removing the original files.
Why can’t I change the Nintendo Switch 2 screenshot save location?
The usual reason is that no microSD Express card is inserted. Without one, you’ll still be able to manage and delete captures in system memory, select Album items and copy media to a computer by USB. Options that require the card will prompt you to insert one.
Ordinary microSD, microSDHC and microSDXC cards aren’t substitutes for microSD Express. Nintendo supports Express cards up to 2 TB and requires an internet-connected update for the first use. If you have a supported card that isn’t showing up, see our microSD Express not recognised guide.
Do Switch 2 game saves use the same storage setting?
No. The Nintendo Switch 2 screenshot save location controls screenshots and captured gameplay videos, not save files for your games. Game save data stays in system memory and can’t be saved to a microSD Express card. Downloaded games, updates and DLC can use Express storage.
If your pictures are still on a standard microSD card from an older Nintendo Switch, that’s a different job. Switch 2 can temporarily read that card to import the original screenshots and videos into system memory. Follow our old Switch screenshot import guide for that process.
Can you copy Switch 2 screenshots to a computer instead?
Yes. Manage Screenshots and Videos also includes Copy to PC via USB Connection. You don’t need a microSD Express card for that option, but you’ll need a data-capable cable and a computer that supports MTP.
Our Switch 2 screenshots to PC guide covers the USB steps and the common connection problems. It’s a useful way to keep a separate copy of your pictures before making changes to the Nintendo Switch 2 screenshot save location.
Once you’ve chosen your Nintendo Switch 2 screenshot save location, take a test screenshot and check the Album. Keep your original photos and clips until you’re happy the new storage arrangement is working as expected.
Official source: Nintendo’s screenshots and captured videos management guide.