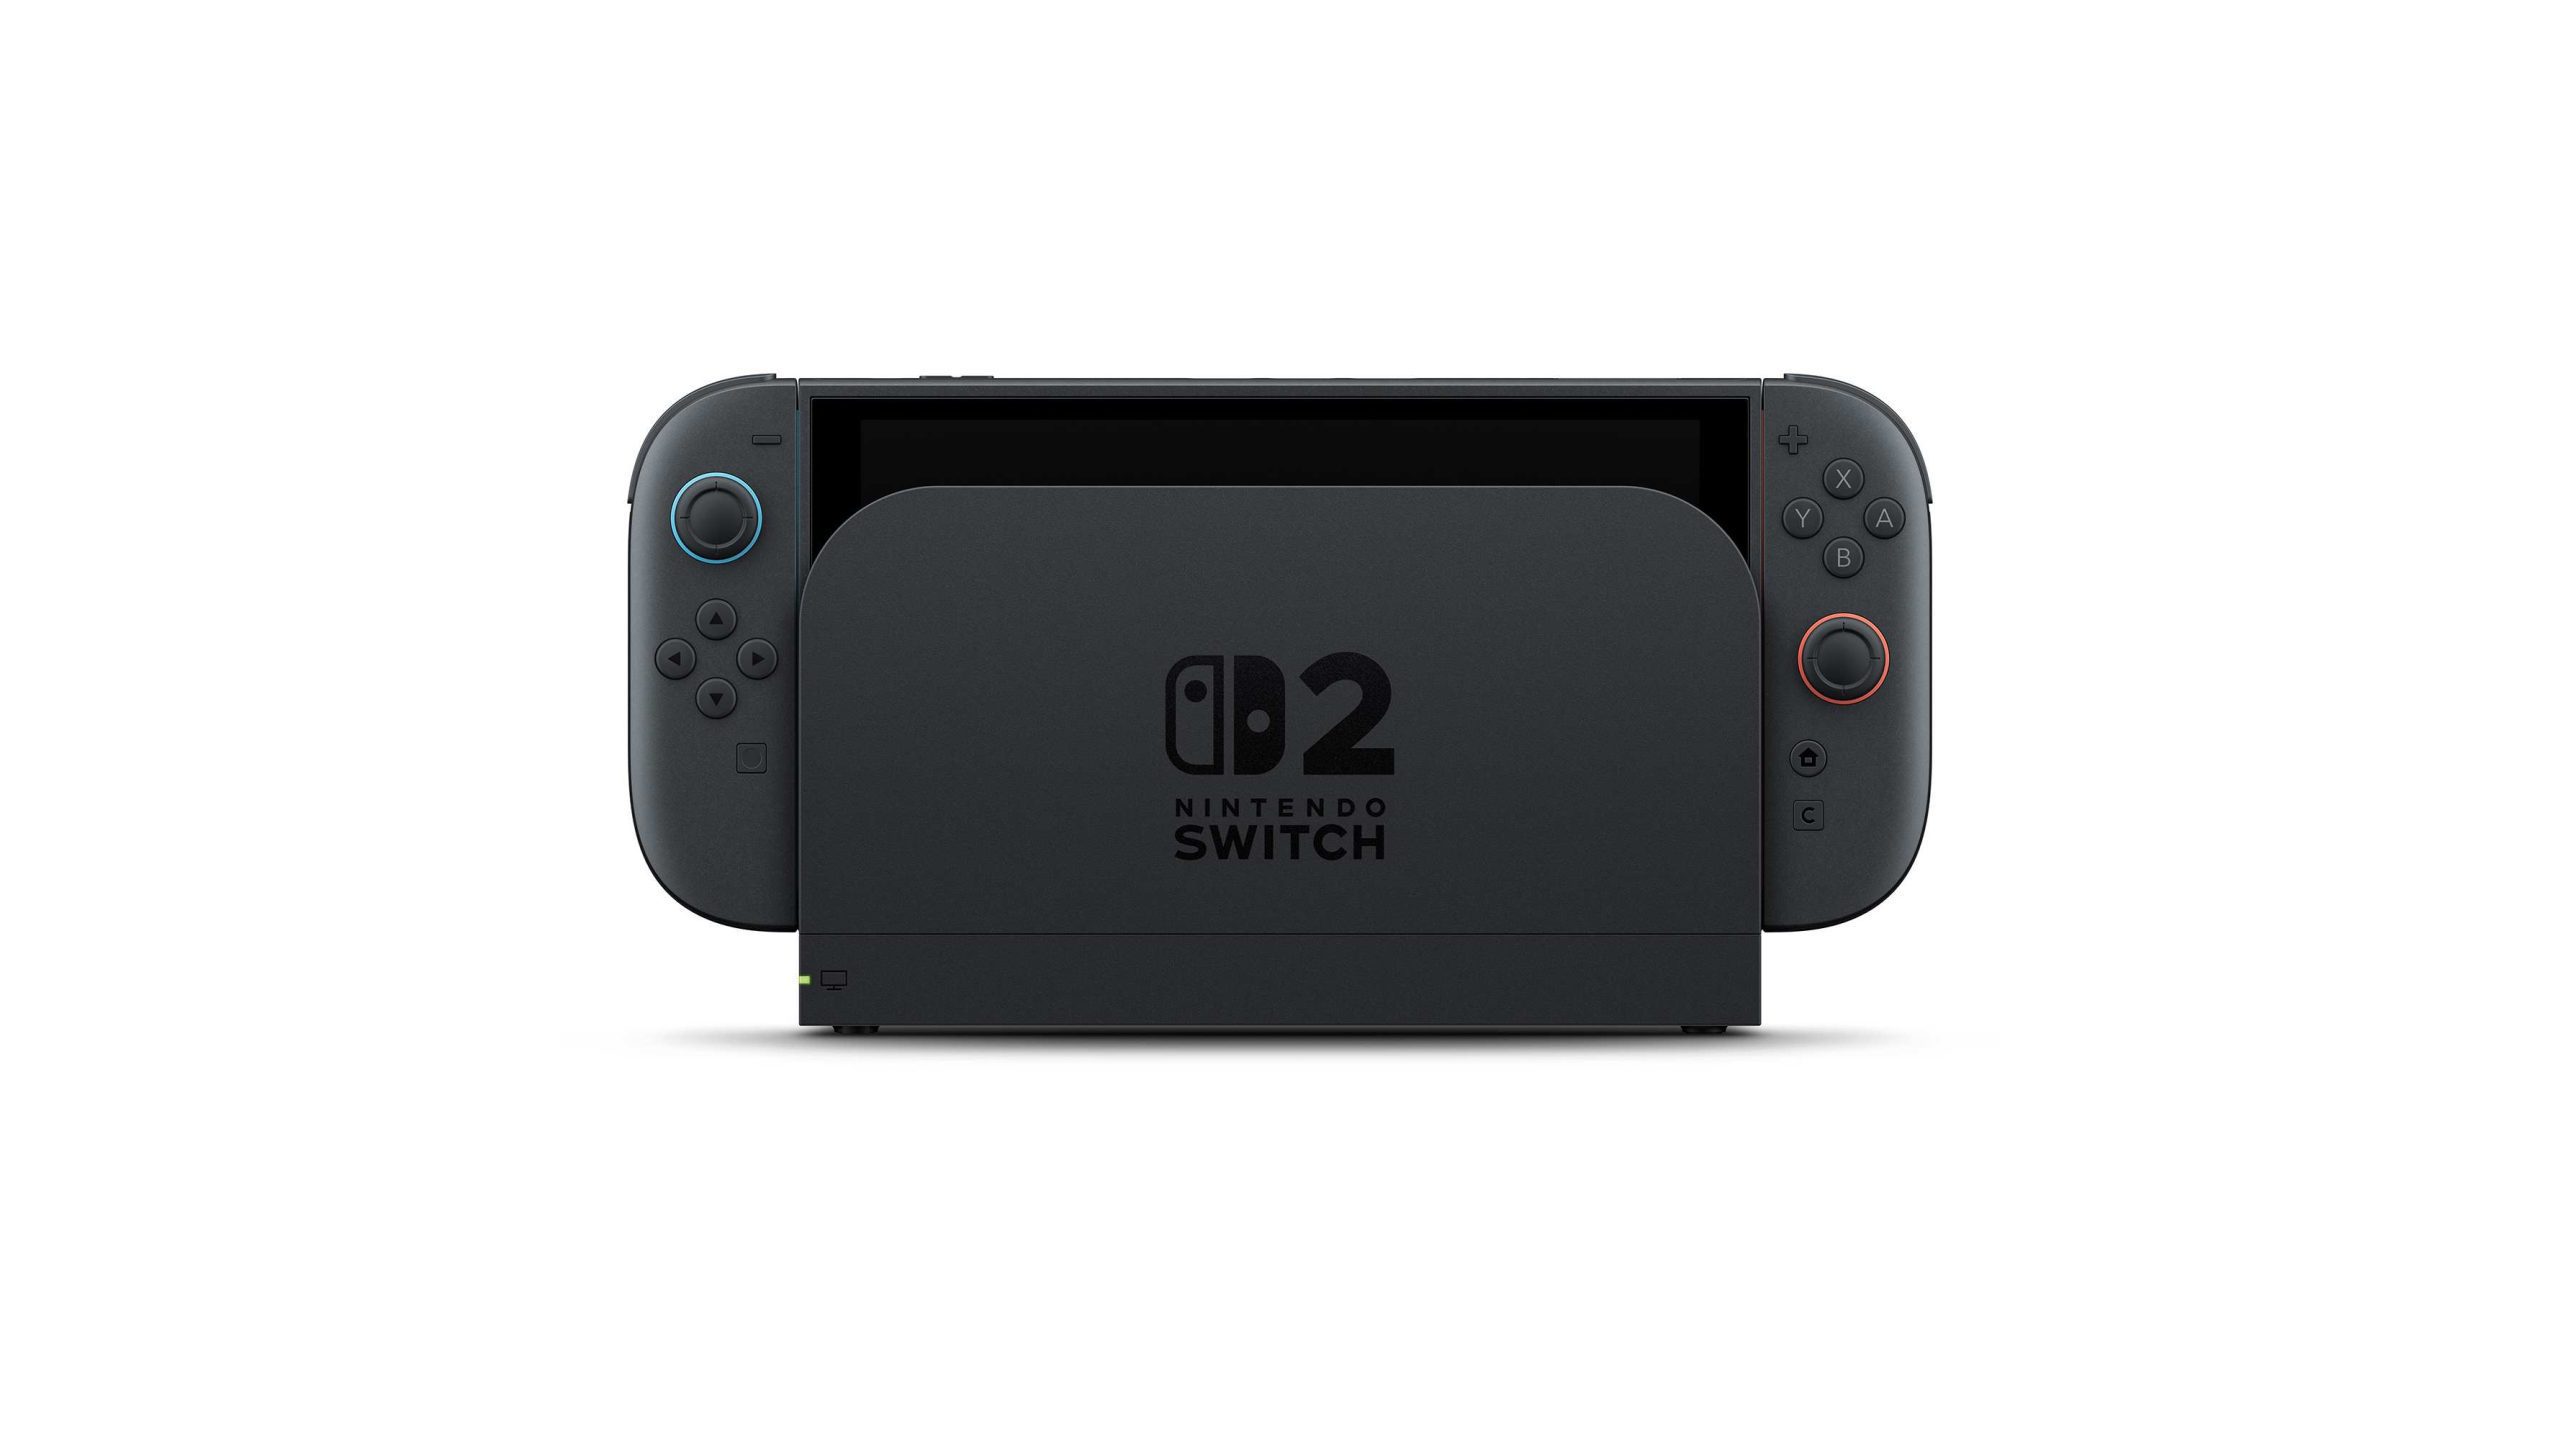
Nintendo Switch 2 battery replacement is an owner-service procedure for the revised BEE-001(-01) console, using Nintendo’s matching BEE-003(-01) kit. The original BEE-001 is different: its battery must be replaced through Nintendo Customer Support rather than by following the revised model’s instructions.
Nintendo has already published a detailed illustrated procedure and video, but the matching kit isn’t on sale yet. The steps here explain what the job involves. When you have the proper kit, keep Nintendo’s photographs open beside you rather than working from memory.
Nintendo Switch 2 battery replacement: model and equipment

Check the model marking before doing anything else. Only BEE-001(-01) uses this procedure and Nintendo’s BEE-003(-01) battery kit, which includes a Phillips PH00 screwdriver. There are nine black 3mm screws to remove before you can reach the battery.
For Nintendo Switch 2 battery replacement, use a dry, non-metallic work surface and have an adult carry out the job. Touch a wall or floor first to discharge static electricity. Keep children, drinks and small loose objects away, and stop if the battery is damaged, swollen or overheating.
Step 1: Shut down and detach everything
Hold the console’s POWER button, choose Power Options, then Power Off. To check that it is fully shut down, press HOME on a paired right Joy-Con 2; the screen should stay dark. Unplug the charger and any other cables, and detach both Joy-Con 2 controllers.
Remove every game card and any microSD or microSD Express card. Nintendo Switch 2 battery replacement must start with the machine powered off, not merely in sleep mode, with nothing connected to the console.
Step 2: Remove the housing screws
Using the PH00 screwdriver, remove the five rear-housing screws: one on top just left of the air vent, two behind the kickstand and two on the bottom beside the USB-C port. Then remove four more screws from the magnetic Joy-Con 2 connectors, two on each side.
The screws have thread-locking adhesive, so they can be tighter than expected. Keep the driver square to each screw and press down to avoid stripping its head. Keep all nine screws safe; Nintendo Switch 2 battery replacement uses them again when closing the case.
Open the game-card cover and carefully lift the rear housing from that end. There are hooks along the sides, so don’t pull hard if it catches. Check all nine screws are out, especially the two hidden behind the kickstand, and follow Nintendo’s video for the releasing motion.
Nintendo Switch 2 battery replacement: slide out and install the pack
Only touch the battery, not the nearby boards. Lift the small protrusion at its upper-right corner, then slide the module out. The revised housing is designed for this movement; forcing a battery out of the original console is not part of Nintendo’s instructions.
Before fitting the new pack, photograph its printed lot number for future support. Slide the BEE-003(-01) in with its terminals facing the front screen, then gently press the top to seat it. If it doesn’t fit correctly, check the orientation rather than forcing it.
Use a battery that is verified as compatible with BEE-001(-01). Nintendo identifies BEE-003(-01) as the official kit and warns that an incorrect battery can pose a fire or explosion risk. Nintendo Switch 2 battery replacement should stop immediately if the module resists fitting.
Step 4: Check the components and close the case
Before closing the case, make sure the POWER and volume button board is correctly seated in its groove. Check the rubber-covered microphone beside the game-card connector and ensure none of the four side magnets has picked up a screw or piece of metal. The grey rubber part in the rear housing must also be in place.
Reattach the housing with the game-card cover open, placing its top edge first and then pressing the lower edge into position. Refit all nine screws without over- or undertightening. Nintendo then says to gently check for rattling, test the buttons and power the console on.
If the battery gauge looks unusual after Nintendo Switch 2 battery replacement, follow Nintendo’s battery-level troubleshooting. Don’t keep reopening the console to try random changes.
Battery disposal and original Switch 2 owners
Before recycling the old battery, cover its connector with tape and leave the label intact. Don’t dismantle it or put it in household waste. If it becomes hot during removal, stop, move it away from flammable materials and follow Nintendo’s safety advice.
An original BEE-001 needs Nintendo’s paid battery service; it isn’t compatible with this owner procedure. Nintendo Switch 2 battery replacement at home is intended for BEE-001(-01), with the right kit and the precautions above.
Keep the manufacturer’s illustrated guide beside you for Nintendo Switch 2 battery replacement, especially when removing the hidden screws, aligning the new battery and checking the internal parts. Accuracy matters far more than speed.
Official manufacturer information: Nintendo Support.