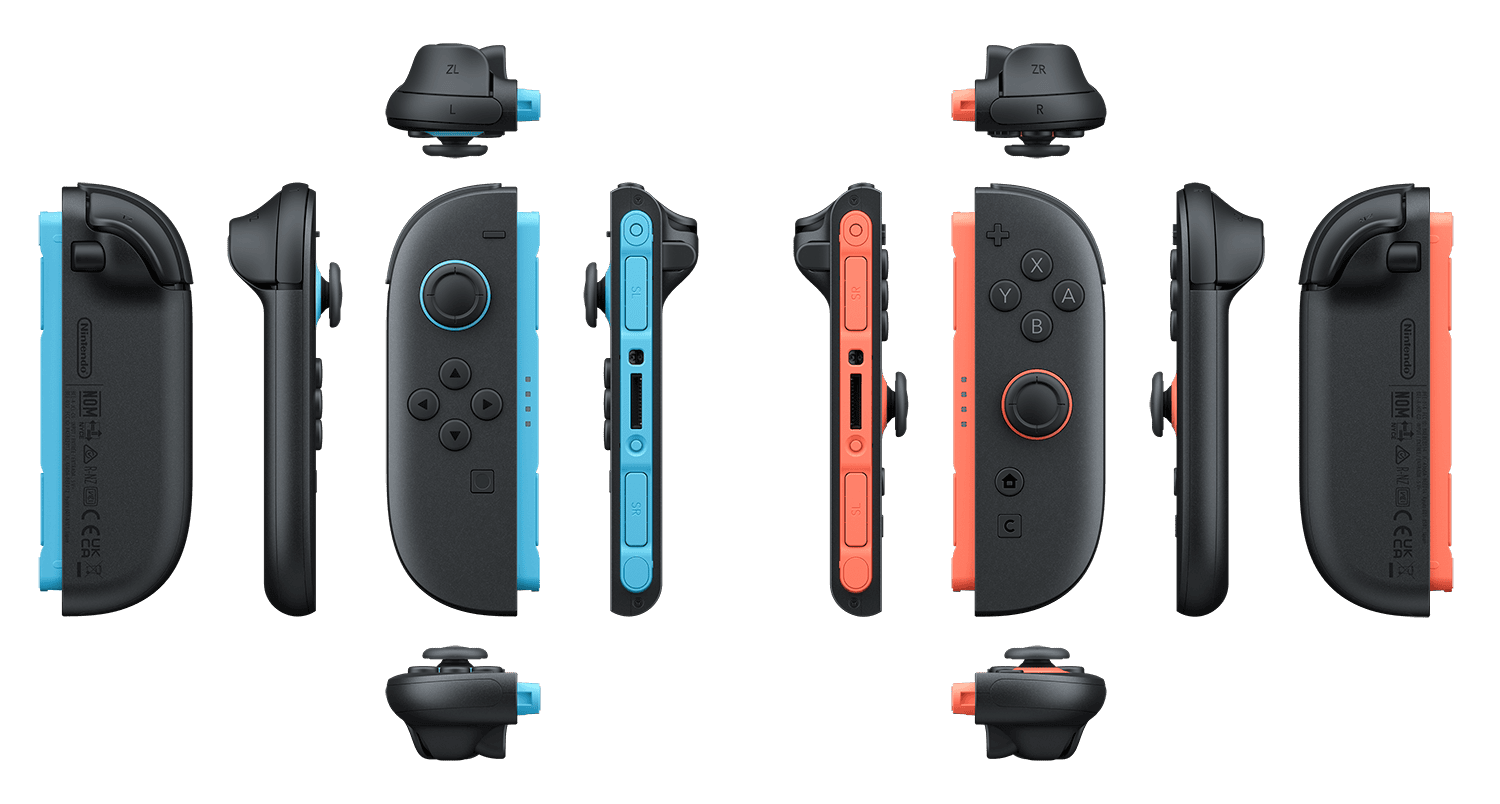
Joy-Con 2 battery replacement is supported on the revised BEE-012(-01) left controller and BEE-014(-01) right controller. Nintendo’s original BEE-012 and BEE-014 models aren’t designed for owner battery changes, so identify your controller before removing any screws.
Nintendo has separate illustrated instructions for left and right Joy-Con 2 controllers. The left uses battery kit BEE-004(-01L) and the right uses BEE-004(-01R); they aren’t interchangeable. Both kits are planned for future sale, with no confirmed UK price in Nintendo’s support information.
Joy-Con 2 battery replacement: compatible kits and tools
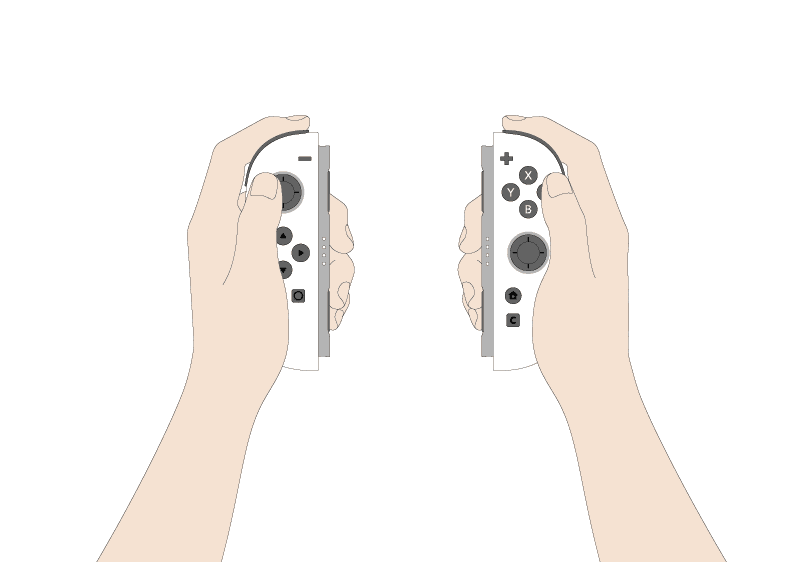
Nintendo says the official kits include a PH00 Phillips screwdriver, plastic tweezers and a plastic spudger. An adult should work on a dry surface away from liquids and children. Discharge static electricity and keep loose screws away from the electronics.
The manufacturer’s pictures matter here. The ribbon cables and battery connector are tiny, and the four case screws aren’t all the same colour. If a battery is swollen, damaged or heating up, stop rather than trying to force it out.
Joy-Con 2 battery replacement: remove bumper and screws
On the left Joy-Con 2, start beside the L shoulder button. On the right, use the R side. Carefully prise the bumper along its seam with the supplied plastic tool. The bumper is held by hooks and double-sided tape, so gently free it rather than pulling hard.
You’ll find two housing screws next to the magnetic connector and another two beneath the bumper. Three are black and one is white, with the white screw in the lower position under the bumper. Joy-Con 2 battery replacement is easier when you keep the screws arranged in the order they came out.
Open the back housing slowly. Ribbon cables still connect it to the circuit board, so leave them attached and keep the open controller facing upwards. Don’t yank the halves apart.
Joy-Con 2 battery replacement: disconnect the old battery
Disconnect only the battery’s small cable-side connector, as shown in the manufacturer’s video. Avoid touching the circuit board elsewhere. The battery is held by three screws. Remove the three indicated by Nintendo, not nearby screws that look similar.
Lift the battery from the end opposite its cable. Keep the left and right kits separate if you’re working on both controllers. The packs have different fittings, and the kit for one side is not a substitute for the other.
Step 3: Position and secure the new battery
Install the revised battery against the inner wall nearest ZL on the left controller or ZR on the right. Gently lower the connector side so it doesn’t touch other components. Screw the battery back down using the three original retaining screws.
Connect the battery cable to the yellow connector only after the pack is secured. The plug has a keyed direction. If it doesn’t fit, check orientation instead of pressing harder. Nintendo includes a photo of a correctly seated connector.
Photograph the new battery’s lot number before the rear shell goes back on. Nintendo uses it to handle support queries about the replacement pack, so save it somewhere you can find it after the controller is closed.
Joy-Con 2 battery replacement: close and test the controller
Before closing, check that the ribbon cables are still connected and haven’t been caught under the battery or housing. Look for foreign objects or stray screws inside. If the controller’s release button came out, refit it as shown in Nintendo’s official instructions.
Close the shell gently, then install all four housing screws in their original locations. Reattach the bumper by pressing the hooks into position from the L or R button side. Nothing should require excessive force or overtightening.
Check the closed controller for rattles and make sure each button presses normally. Reconnect it to Switch 2 and check that it responds and charges as expected. If something feels loose, don’t keep using it.
What if your Joy-Con 2 cannot be opened by its owner?
The older BEE-012 left and BEE-014 right Joy-Con 2 controllers do not qualify for this procedure. Nintendo Customer Support can replace their batteries for a fee. Use our Joy-Con 2 model identification guide to check the HM and HN serial prefixes before ordering a kit.
Never put an old lithium-ion cell in household waste. Cover its connector with tape, keep the label intact and use an approved battery collection route. If a battery is damaged or hot, seek safe handling advice first.
Follow Nintendo’s left or right video for the cable orientation and the shoulder bumper. Joy-Con 2 battery replacement doesn’t call for extra force or any work on the original non-user-replaceable model.
Official manufacturer instructions: Nintendo’s Joy-Con 2 battery replacement guide.