UEFN GLB import now lets you bring a .glb 3D model into Unreal Editor for Fortnite with compatible textures and materials. Fortnite’s v43.00 update added glTF support to the static mesh tools, so you do not need to convert every model to FBX first.
Importing the model is the easy part. It might look perfect in Blender but arrive in UEFN with grey surfaces, strange proportions or collision that lets players walk straight through it. You can fix most of those problems before using the prop in a map.
UEFN GLB import: How to add a model
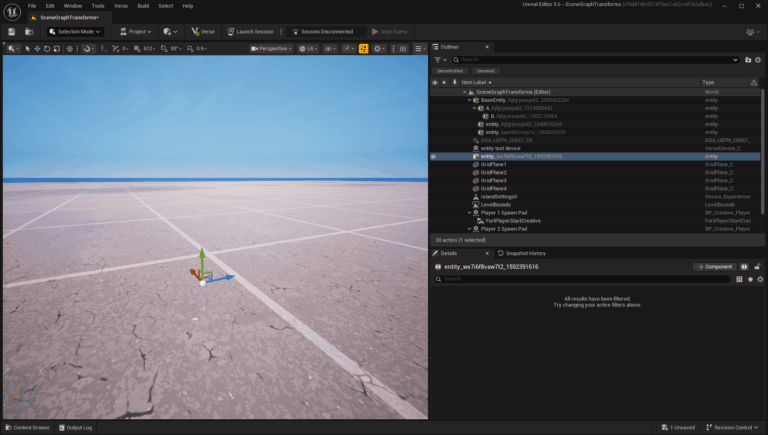
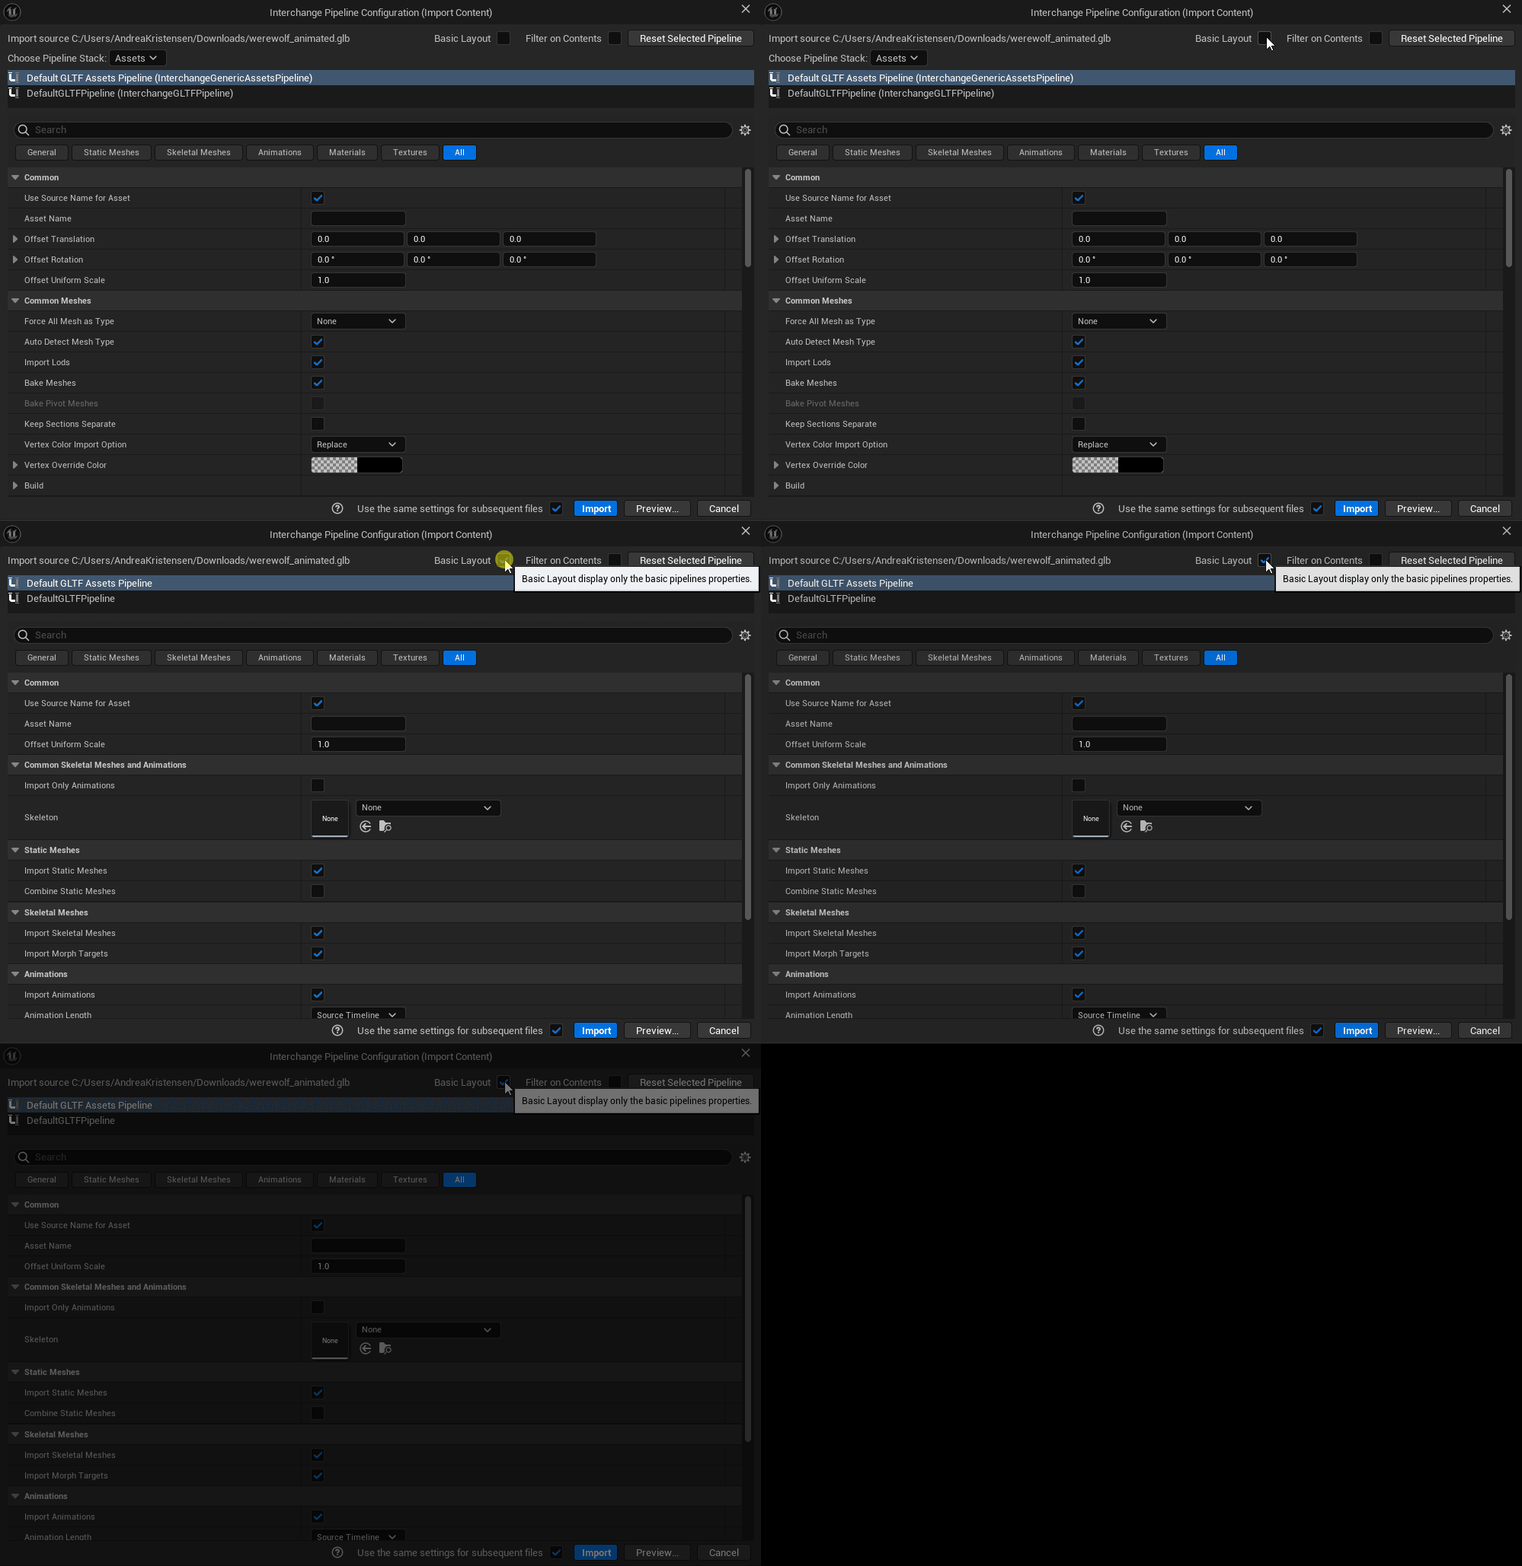
UEFN GLB import using Epic Games’ official glTF Interchange example. Credit: Epic Games.
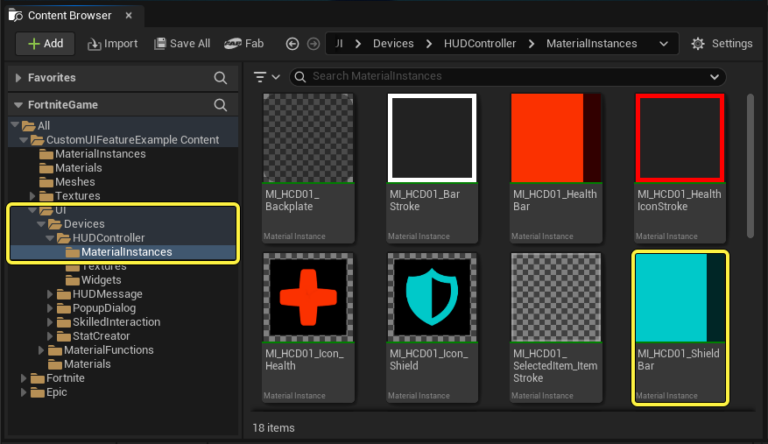
First, create a folder for the new model inside Project Content. Keep imported assets out of the built-in Fortnite and Epic folders.
- Select Import in the Content Browser, use its right-click Import To option, or drag your supported model into the destination folder.
- Choose the .glb file, or select your .gltf file with its referenced texture and buffer files available. UEFN uses the Interchange import workflow for non-FBX models.
- Review the import options, especially the static mesh, materials and texture selections. A model that needs its original textures should not be imported with those assets excluded.
- Run the import, then inspect the new files in Project Content. Open the static mesh and check its material slots before dragging it into the viewport.
- Place it in your scene and test the scale, appearance and collision in an edit session before depending on it for gameplay.
I’d try the default Interchange settings first. If the mesh imports without its textures, go back and check the material options rather than changing every setting at once. The import window can look different depending on your source file.
What is the difference between GLB and glTF?
GLB is a binary package that can keep the model and embedded resources together. A .gltf file is typically a text-based description with external files for textures or mesh data. With a .gltf file, missing companion resources are a common reason a model arrives in UEFN without its materials.
If you import a .gltf, preserve the original accompanying files and paths when moving it between folders or computers. A UEFN GLB import is usually easier to transfer between computers because the model and its resources can live in one file. It still won’t recreate complicated shader effects that the model never stored.
How to fix missing materials or textures
First, open the static mesh in UEFN and inspect the material slots. If a material was not brought across, locate the generated material and texture assets in Project Content. You may need to create a UEFN-compatible material and assign the imported texture to it.
If your UEFN GLB import turns into a flat grey mesh, start with the materials and texture links, not collision. Check UV mapping on the original model, ensure the texture files exist, and try importing again with the intended material and texture options enabled. Some complex shading setups from a modelling application do not transfer exactly.
Still stuck? Try importing a basic cube with one material. If that works, look again at the original model’s UV mapping, file references and geometry.
Set up collision before using the mesh
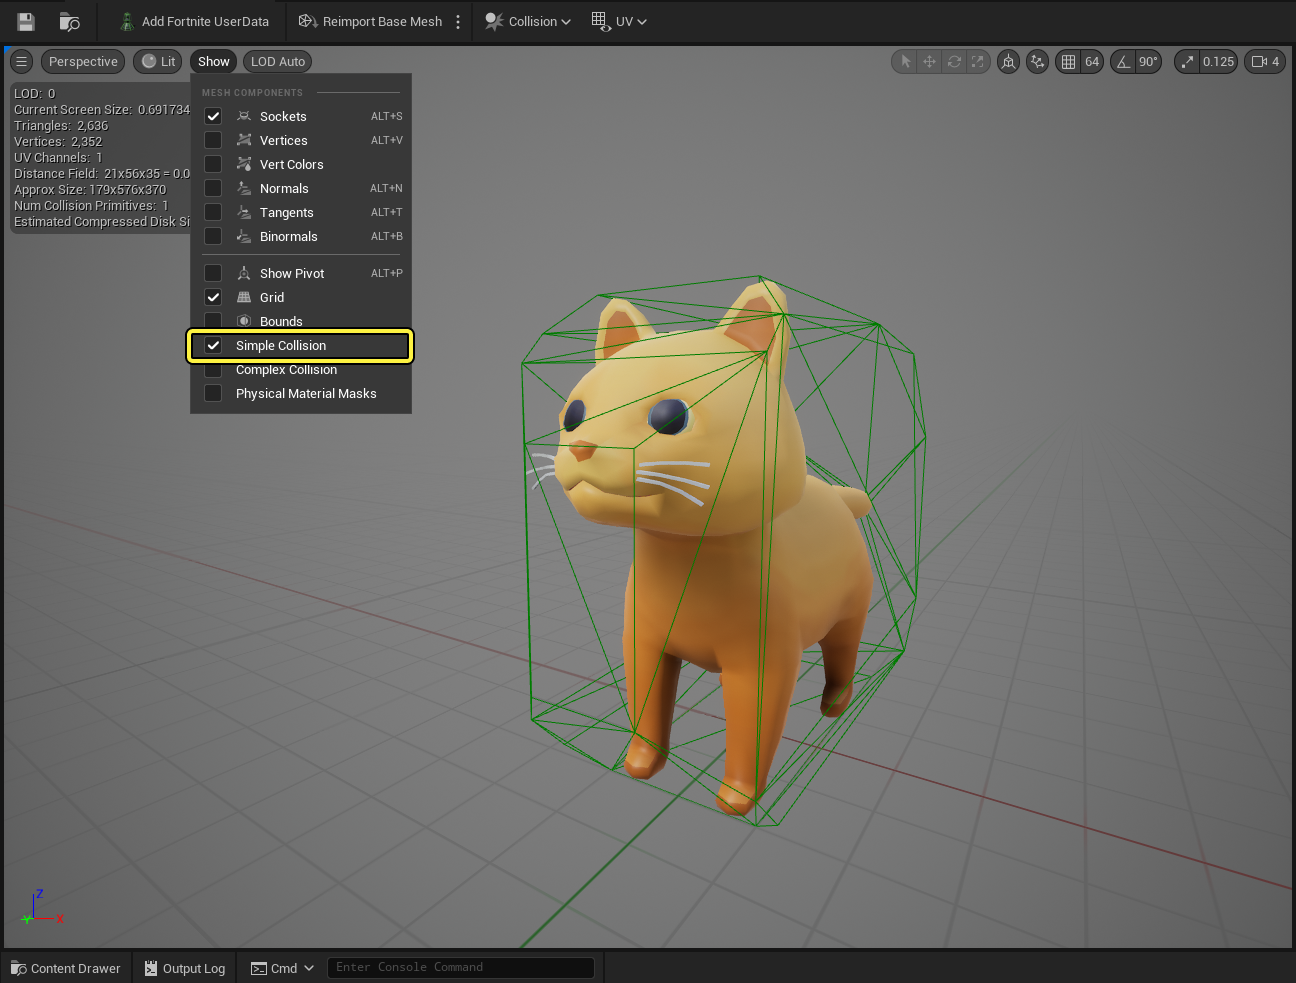
Check simple collision in the UEFN Static Mesh Editor after the UEFN GLB import. Official screenshot: Epic Games.
After a UEFN GLB import, open the mesh editor and check whether the object already has collision. Epic’s Static Mesh Editor lets you display simple collision, remove it and add simplified shapes or more detailed collision where appropriate. Use a simple collision shape wherever possible; detailed collision on every decorative prop can cost you performance.
If players walk through a wall or keep getting stuck on furniture, check collision before touching your material setup. Test from the player’s viewpoint and pay attention to objects they are supposed to climb, touch or move around. A UEFN GLB import does not guarantee the default collision matches the shape you want.
Check scale, pivot and island memory
If a mesh is tiny, enormous, rotated unexpectedly or difficult to place, go back to its source scale and pivot. Compare the object with normal Fortnite geometry in the viewport. A model exported at a different unit scale can be valid yet inconvenient to use.
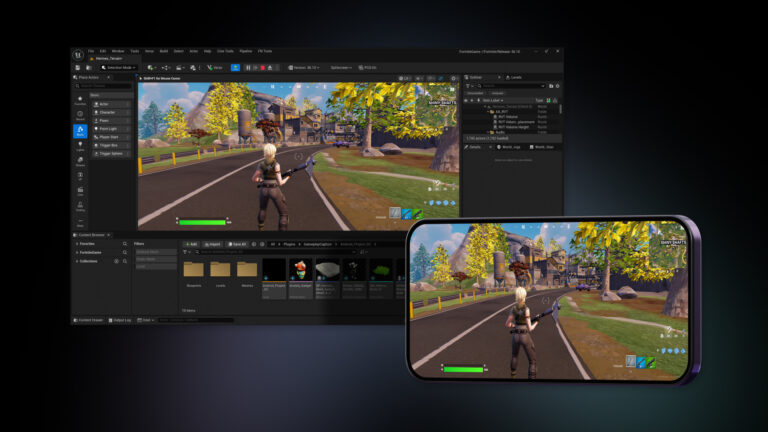
Heavy meshes and oversized textures can become expensive quickly, particularly on mobile. Remove geometry you don’t need, keep texture sizes sensible and test the island after placing multiple copies. A prop that runs beautifully on an empty test island can still cause trouble when you fill a level with dozens of copies.
Is UEFN GLB import the same as USD import?
No. The UEFN GLB import handles glTF files, whereas USD import works with .usd, .usda, .usdc and .usdz through Interchange. Both can create useful assets, but their source formats and import options are not interchangeable. If you have a USD file already, use the separate USD workflow rather than renaming its extension.
For an individual textured prop, GLB is a good place to start. For an existing USD scene, stick with the USD importer. Whatever file you use, test how it looks, how players interact with it and what happens to performance once it’s in your island.
Related Guides
Official source: Epic Games documentation.