UEFN USD import is available from Fortnite v43.00. You can now import .usd, .usda, .usdc and .usdz files directly into Unreal Editor for Fortnite using its Interchange importer.
If your model or animated scene is already saved in USD, you no longer have to convert it to FBX just to get started. Not everything inside a USD file will transfer, though, and UEFN still cannot export USD files.
UEFN USD import: Step-by-step
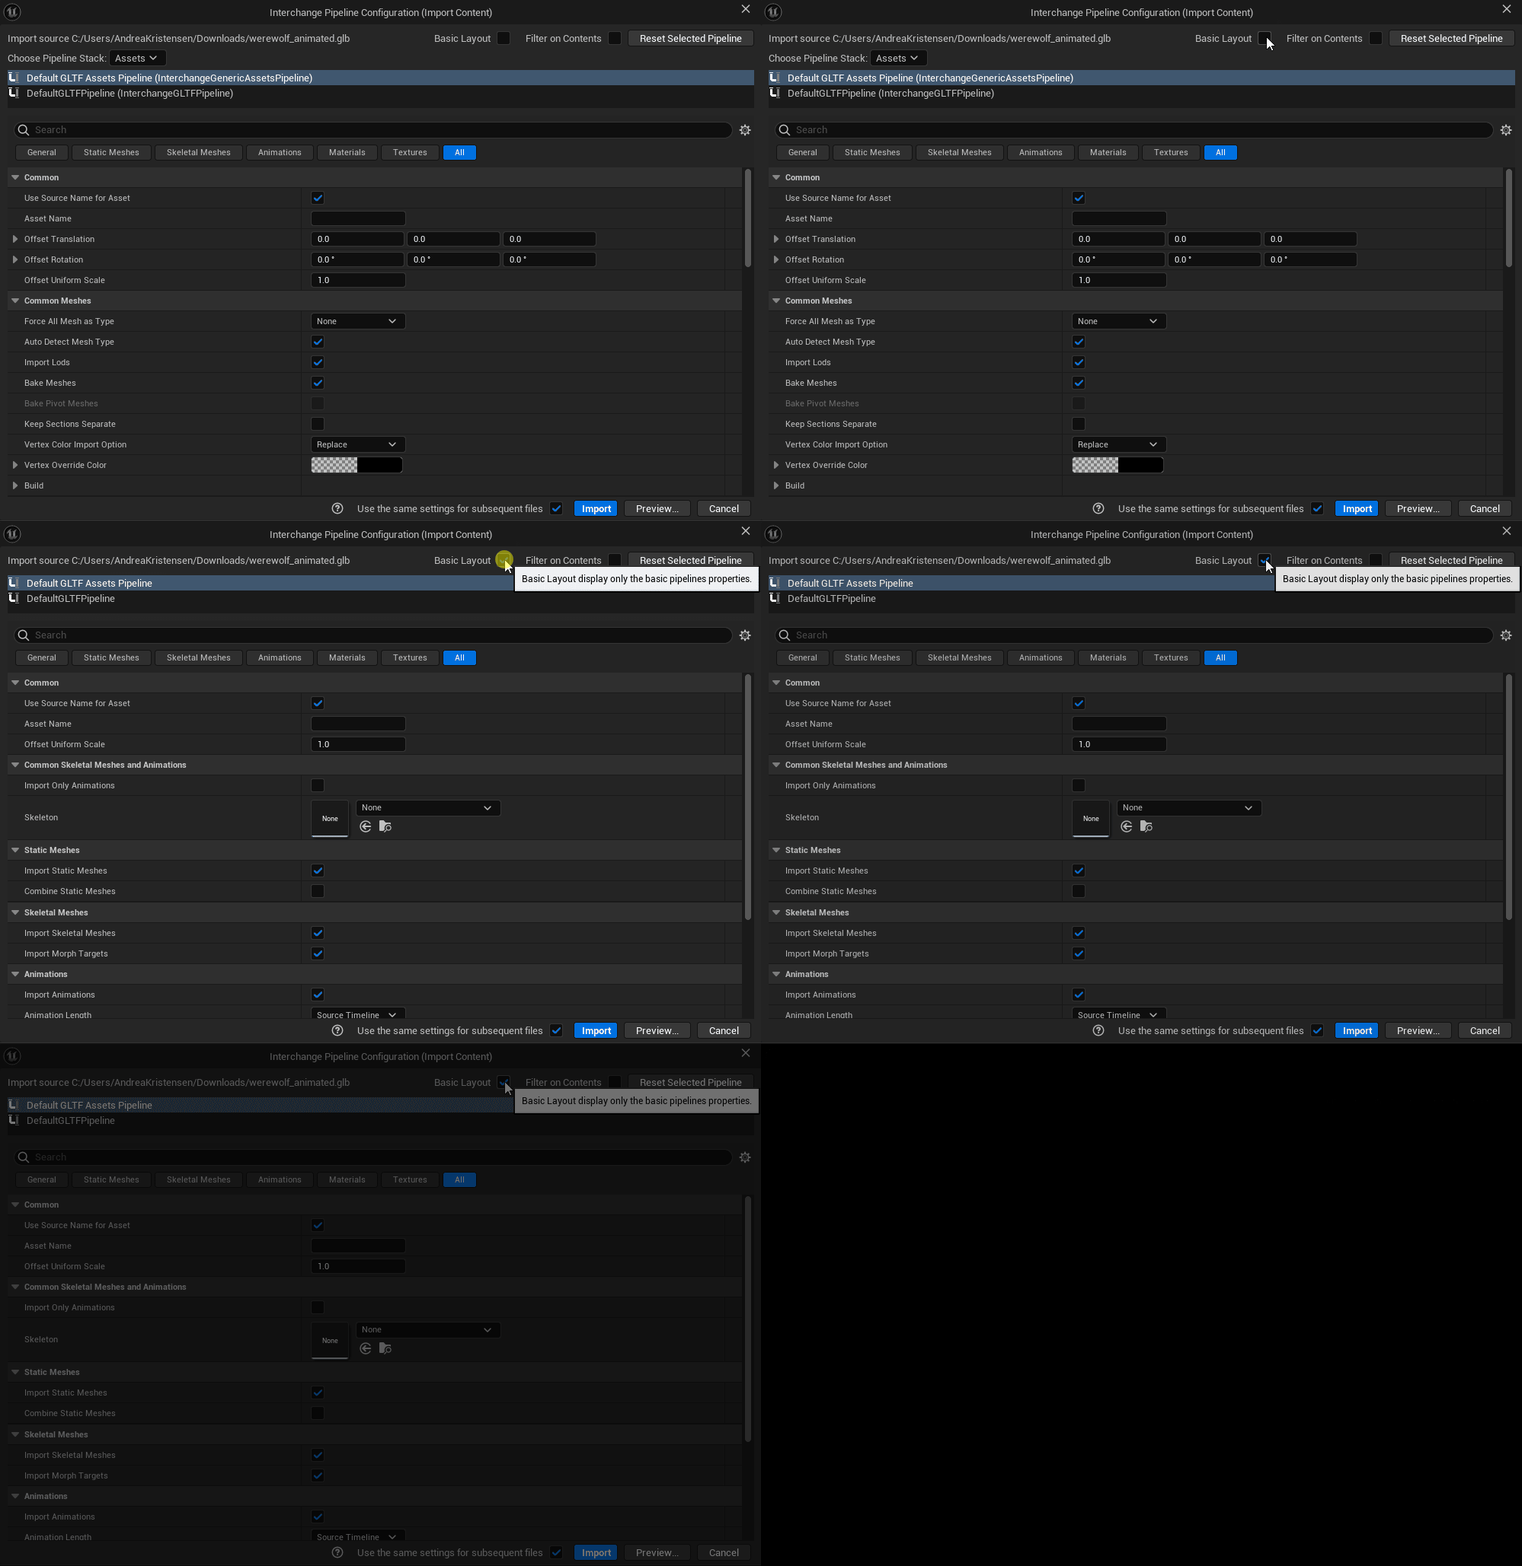
UEFN USD import uses the Interchange system. This official Epic Games animation demonstrates Basic Layout with a GLB file; the USD source is selected using the same supported import workflow.
Import into your own Project Content folder, not one of Epic’s built-in Fortnite folders. Keeping the meshes and materials together makes it much easier to work out what the importer created.
- Open your UEFN project in v43.00 or newer and find the Content Browser or Content Drawer.
- Open the destination folder inside your own Project Content area. You cannot import files into Epic’s built-in Fortnite folders.
- Choose Import in the Content Browser, use Import To from the right-click menu, or drag a supported file into the content area.
- Select the .usd, .usda, .usdc or .usdz file. For non-FBX formats, UEFN opens Interchange Asset Import.
- Review the detected asset types. For a typical model, start with the standard default options and click Import.
- Inspect the meshes, textures, materials and animations that appeared. Place the relevant asset in your level and test it in a session.
Epic says the default settings work for most USD files. If the result looks wrong, inspect the import options and the original scene. Once the UEFN USD import finishes, check materials and collision before putting the asset into gameplay.
Which file types work with UEFN USD import?
All four extensions belong to Universal Scene Description. USDA is the readable text form, USDC is a binary format, and USDZ is a packaged archive. USD is the general name and extension. UEFN accepts all four, so there’s no reason to rename a supported file.
The supported UEFN import result can include static meshes, skeletal meshes, materials, textures and skeletal animations, depending on what the source file actually contains. A USDZ file with no compatible renderable assets will not magically turn into a working Fortnite object.
Where are the advanced UEFN USD import settings?
Interchange includes a Basic Layout and a more detailed view. The basic view streamlines the interface; the expanded options let you inspect the import pipelines and their asset selections.
For USD files, Epic identifies three notable advanced controls: subdivision level, material purpose and prim collapsing. These adjust how a supported USD scene is converted. Leave settings at their defaults when you have no specific reason to change them, then compare the imported result in the editor.
If a model arrives in pieces or the textures look wrong, inspect the separate meshes and material assets. Materials sometimes need to be created or assigned manually. Check the result in UEFN, rather than assuming the appearance in the source 3D application will be identical.
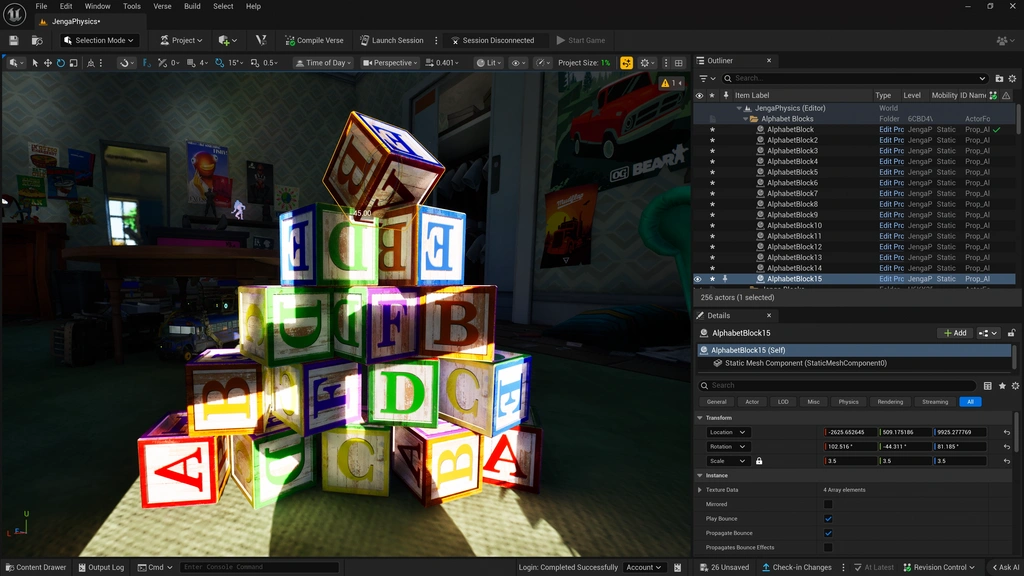
Epic Games’ UEFN editor overview. Check imported asset placement and project content in UEFN before testing an island.
What UEFN USD import cannot bring into Fortnite
USD import support does not mean every feature from full Unreal Engine is available in UEFN. Epic explicitly excludes importing Audio, Chaos Cloth, Geometry Cache, Groom, MaterialX and Sparse Volume Texture through the USD pipeline, even if some labels appear in the import interface.
There is also no USD export from UEFN, and creators should not follow a workflow requiring a USD Stage Actor as though that were supported here. These limitations are easy to miss when a tutorial has been written for Unreal Engine rather than Fortnite’s editor.
If the project depends on an unsupported asset type, prepare a compatible representation in your original 3D application instead of trying to force the import options to accept it.
Fixing a failed UEFN USD import or missing materials
When the imported asset does not appear, check the Message Log and confirm you selected a supported file and a writable folder in Project Content. You can also test a simpler USD file to distinguish a problem with the particular source data from a general import issue.
Missing textures or flat-looking meshes need a different check: inspect the material assets, then attach or create supported materials in UEFN. If a static mesh has no collision, configure that separately rather than assuming the USD file’s visual geometry automatically provides the desired gameplay collision.
If a USDZ archive imports incompletely, look at the assets inside the source package and whether they use a feature UEFN doesn’t support. A valid extension is not a guarantee that every embedded asset can be converted.
Is UEFN USD import better than FBX or glTF?
You don’t need USD for every prop. UEFN still accepts FBX, OBJ, glTF and GLB. If a tool already exports a compatible USD scene, the new importer saves a conversion step. For an ordinary single mesh, FBX or GLB may be just as convenient.
For a straightforward static prop, FBX or GLB may be simpler. For an existing USD scene, the new UEFN USD import route removes an avoidable conversion step. Either way, check results in the actual editor and playtest on target devices before publishing.
Quick UEFN USD import questions
Can UEFN import USDZ directly? Yes. Epic added .usdz alongside .usd, .usda and .usdc in v43.00.
Can UEFN export USD? No. Epic’s v43.00 notes explicitly say USD export is unsupported.
Do I need Advanced settings? Usually not. Start with the default settings, then adjust USD-specific options if the model needs them.
Related Guides
Official source: Epic Games’ Fortnite v43.00 release notes.