The Sinking City 2 safe codes are hidden throughout Arkham, with combinations discovered through documents, environmental clues and investigations. If you would rather get straight to the answer, there are several numerical codes alongside sequence and symbol locks that appear across the campaign.
Some locks are required for story progression, while others lead to weapon upgrades, supplies, achievements and optional investigation rewards.
Here are all the confirmed The Sinking City 2 safe codes and combinations.
| Location | Code or solution | Chapter |
|---|---|---|
| Apartment 5 safe | 1908 | Chapter 1 |
| Redemption Church watergate | 1672 | Chapter 2 |
| Devil’s Reef Hotel Room 301 | 2137 | Chapter 2 |
| Akeley Memorial Hospital Storage | 1308 | Chapter 3 |
| Hospital Wireless Room | 13 → 05 → 36 | Chapter 3 |
| Fish Market safe | 6294 | Chapter 4 |
| Fish Market safe/lock | 1496 | Chapter 4 |
| Salt Storage | I → IV → IX → XVI | Chapter 4 |
| Fishing Shop symbol lock | Lighthouse → Ropes → Starfish → Octopus | Chapter 4 |
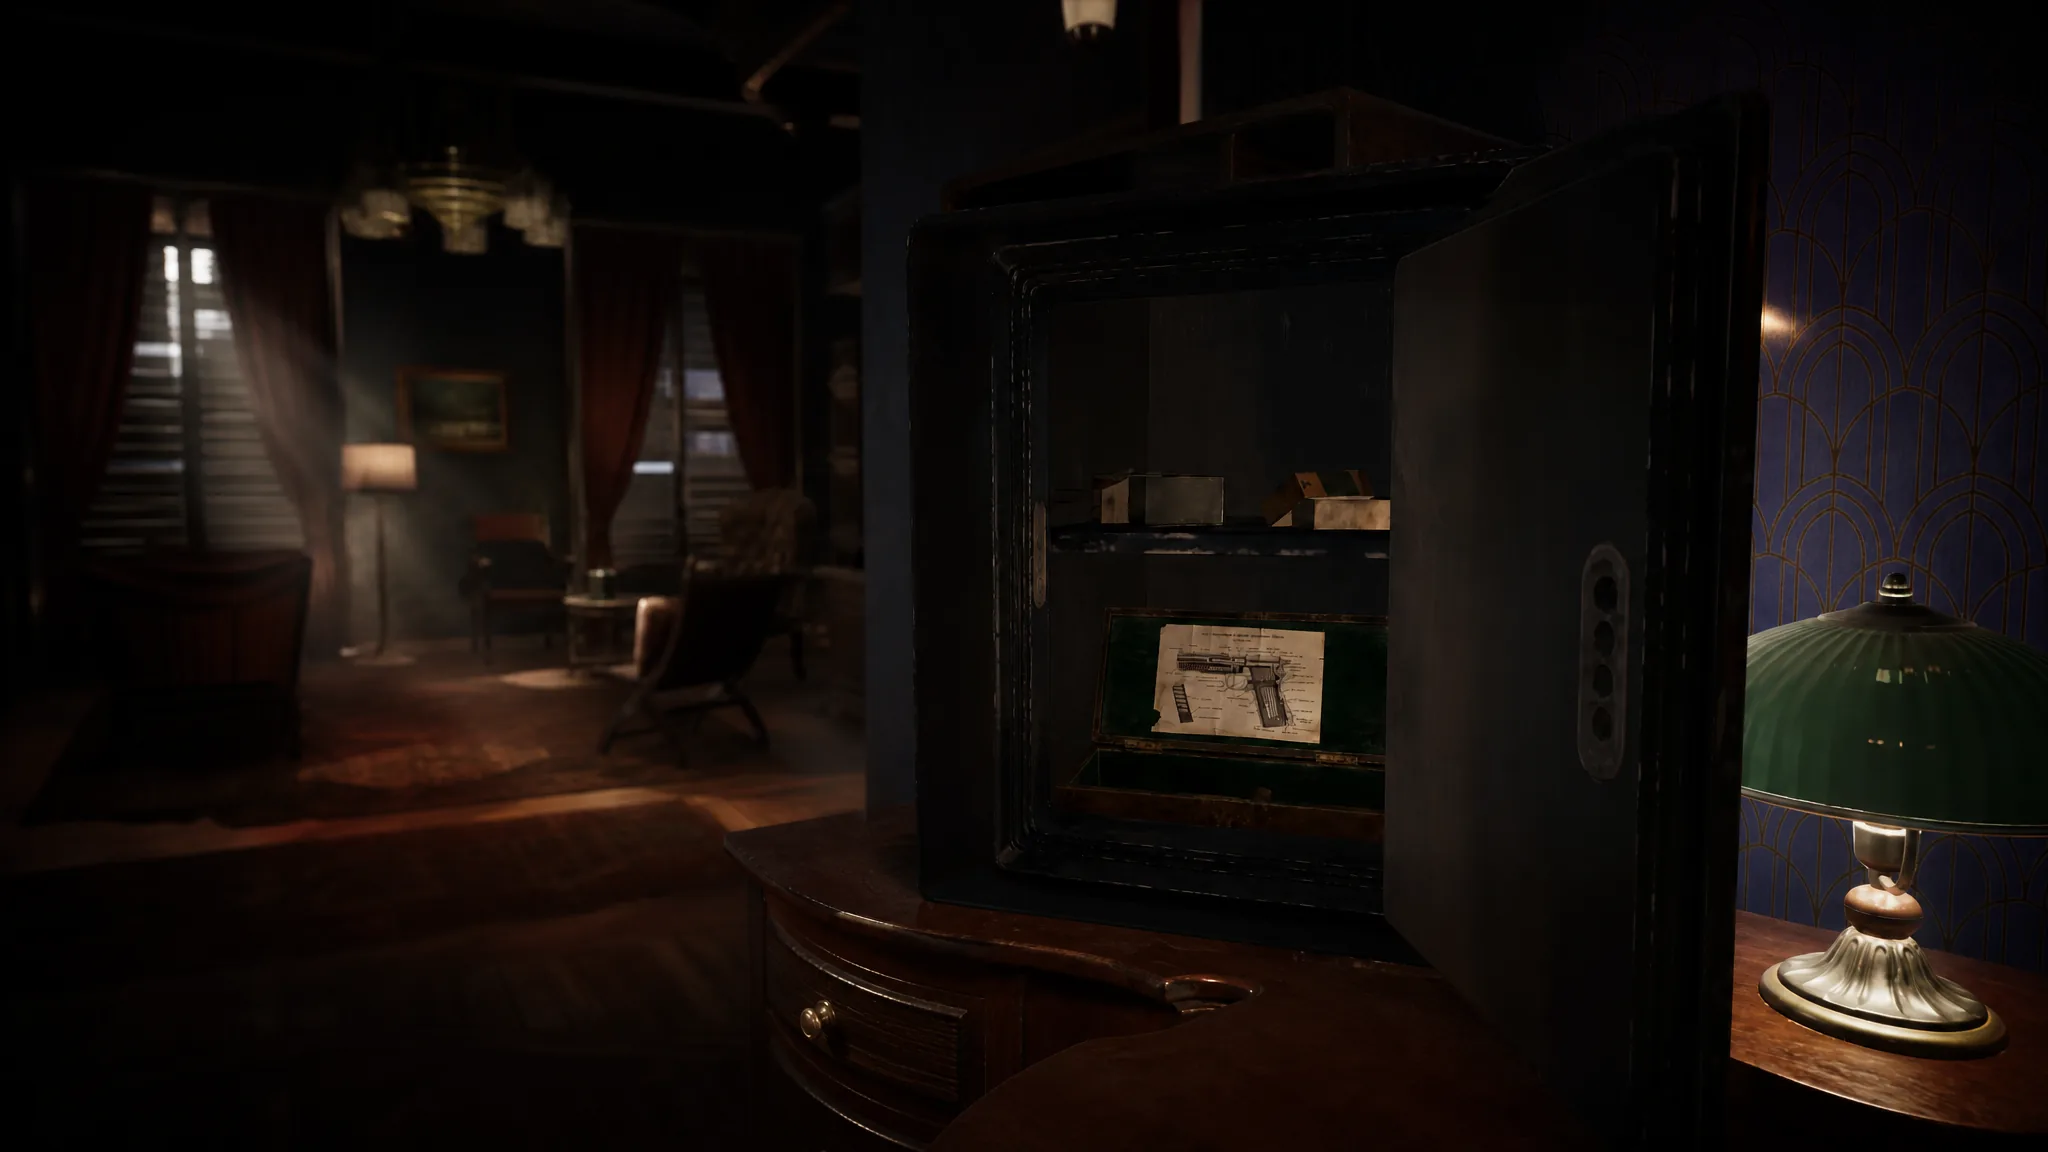
Apartment 5 Safe Code – 1908
The first of The Sinking City 2 safe codes you can use is 1908.
The safe is found inside Apartment 5 in the apartment building near the Radio Station during Chapter 1: A New Day.
The clues inside the apartment point toward the year the Radio Store opened. You do not need to collect or solve those clues before opening the safe if you already know the combination.
Enter:
1908
Opening the safe provides useful early-game supplies, including handgun ammunition and a Dolorocide Pill.
It is also associated with The Inheritance achievement, making this an optional safe worth opening even if you do not need the supplies.
Redemption Church Watergate Code – 1672
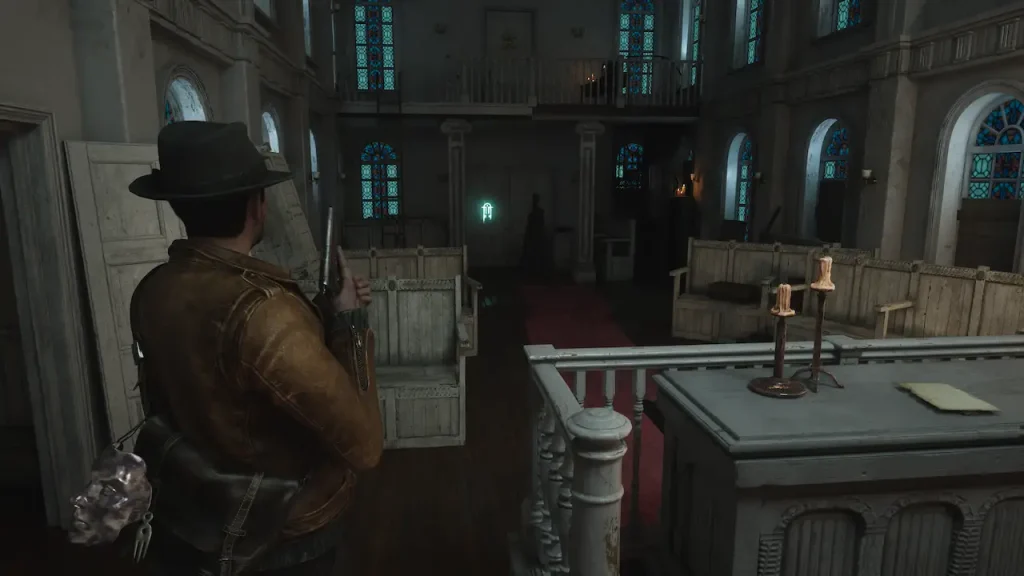
During Chapter 2: The Wake-Up Call, you eventually need to operate the watergate near Redemption Church.
The correct combination is:
1672
Unlike some optional safes, this lock is part of the route through the chapter.
The clues used to determine the combination refer to the church and its bell. The church was built in 1667, with the bell cast five years later, giving the year 1672.
Enter 1672 into the watergate lock to continue.
Devil’s Reef Hotel Room 301 Safe Code – 2137
One of the most useful The Sinking City 2 safe codes is found at Devil’s Reef Hotel during Chapter 2.
The safe is associated with Room 301 and the optional Siren’s Call investigation.
The code is:
2137
The combination can be worked out using two pieces of evidence found in the hotel, including the Baby, One More Tide lyrics.
Each line points toward a number:
| Clue | Number |
|---|---|
| Bat wings | 2 |
| Tail | 1 |
| Octopus hearts | 3 |
| Deadly sins | 7 |
Together, these give 2137.
The safe can be opened as soon as you reach it if you already know the answer, so you do not have to wait until you have collected the clues.
Inside is a Voss Target/Aiming Grip pistol attachment along with ammunition.
Opening the safe also completes the associated investigation and unlocks The Siren’s Call achievement.
Akeley Memorial Hospital Storage Code – 1308
Chapter 3 takes Calvin to Akeley Memorial Hospital, where another combination lock protects a basement storage area.
The Akeley Memorial Hospital Storage code is 1308.
Enter:
1308
You first need to reach the basement storage area, with access to this section also involving Anti-Rust Acid for a corroded door.
The intended solution requires information gathered from several pieces of evidence around the hospital, including clues found around the Outpatient Room, Workshop Materials area, General Ward route and Nurse Station.
If you simply want to open the lock, enter 1308.
The storage area contains supplies and crafting materials.
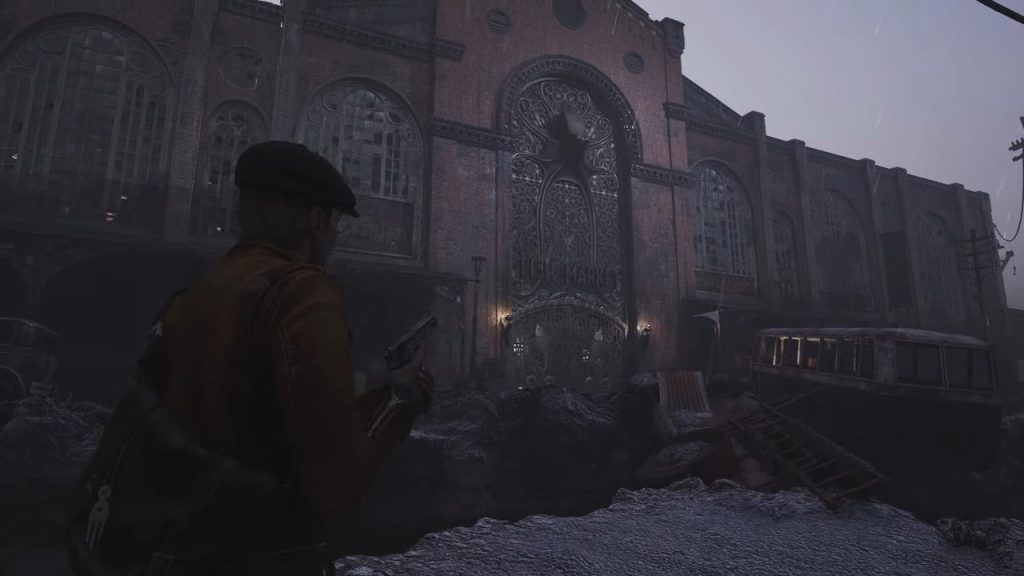
Akeley Memorial Hospital Wireless Room Code – 13-05-36
Another Chapter 3 puzzle uses a sequence rather than a conventional four-digit safe combination.
The correct Wireless Room solution is:
13 → 05 → 36
This puzzle is found within Akeley Memorial Hospital and involves three brains connected to the machine.
Interact with the brains and enter the numbers in the following order:
13
05
36
This is the solution associated with The Whisperers achievement.
Do not enter the sequence as one six-digit number. The three values are separate inputs used in order.
Fish Market Safe Code – 6294
During Chapter 4: Time and Tide, another safe can be found as you explore the Arkham Fish Market.
The combination is:
6294
The clue for this safe is obtained through a nearby conversation rather than a traditional written note.
If you already have the answer, you can simply enter 6294 and open it without working through the clue.
Fish Market Code – 1496
There is another numerical combination to use during the Fish Market section.
The code is:
1496
This lock is connected with the wider sequence of puzzles and optional investigation content found around the Fish Market.
If you encounter the four-digit Fish Market lock requiring this combination, enter 1-4-9-6.
Be careful not to confuse it with the nearby Salt Storage solution, which uses Roman numerals rather than a conventional four-digit code.
Salt Storage Code – I-IV-IX-XVI
The Salt Storage puzzle appears during the Sixteen Punishments investigation in Chapter 4.
Instead of ordinary numbers, the lock uses Roman numerals.
Enter the sequence:
I → IV → IX → XVI
In standard numbers, that is:
1 → 4 → 9 → 16
The sequence consists of square numbers.
Evidence pointing toward the solution can be found while investigating the surrounding Fish Market area, including around the Pub, Abandoned Office and Jewelry Workshop.
Once the sequence has been entered correctly, you can access Salt Storage and continue the Sixteen Punishments investigation.
Fishing Shop Symbol Lock Solution
Not every The Sinking City 2 lock uses numbers.
During the optional Ezekiel investigation in the Fish Market, you can encounter a lock requiring four symbols.
The correct sequence is:
Lighthouse → Ropes → Starfish → Octopus
Select the four symbols in that order to open the lock.
The reward includes a weapon upgrade, making this worth solving even though it is part of optional content rather than the main route.
Are The Sinking City 2 Safe Codes Random?
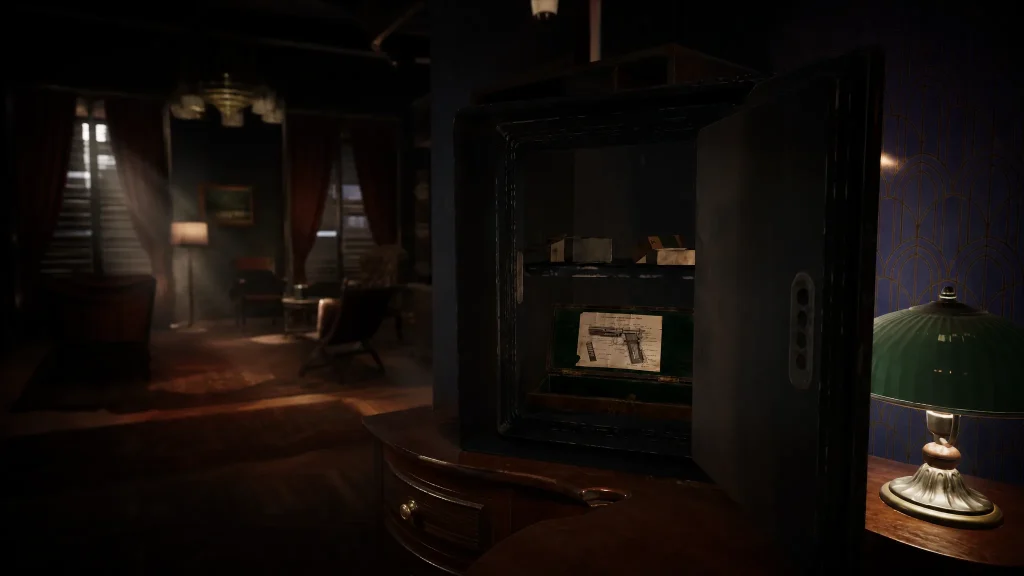
No. The confirmed The Sinking City 2 safe codes are fixed combinations rather than randomly generated passwords.
That means you can enter a known combination immediately without first collecting every clue used to solve it.
This is particularly useful for optional safes such as the one in Devil’s Reef Hotel Room 301, where you can encounter the safe before finding all of the evidence explaining its combination.
Do You Need to Find the Clues Before Entering a Safe Code?
Usually, no.
If you already know the correct combination, you can enter it when you reach the relevant lock.
The clues exist to provide the intended solution for players discovering the code themselves, but the game does not generally require Calvin to have collected every associated document before accepting the correct answer.
Other progression requirements can still apply. Knowing a combination will not necessarily bypass a locked door, missing key or another environmental obstacle preventing you from reaching the safe itself.
All The Sinking City 2 Safe Codes at a Glance
For a quick reference, the main confirmed codes and combinations are:
Apartment 5: 1908
Redemption Church watergate: 1672
Devil’s Reef Hotel Room 301: 2137
Akeley Hospital Storage: 1308
Akeley Hospital Wireless Room: 13 → 05 → 36
Fish Market safe: 6294
Fish Market lock: 1496
Salt Storage: I → IV → IX → XVI
Fishing Shop symbol lock: Lighthouse → Ropes → Starfish → Octopus
Knowing The Sinking City 2 safe codes lets you bypass the clue hunting when you simply want the reward or need to continue through a locked section. The most important thing is matching the combination to the correct location, particularly in the later chapters where several different locks and puzzles appear close together.