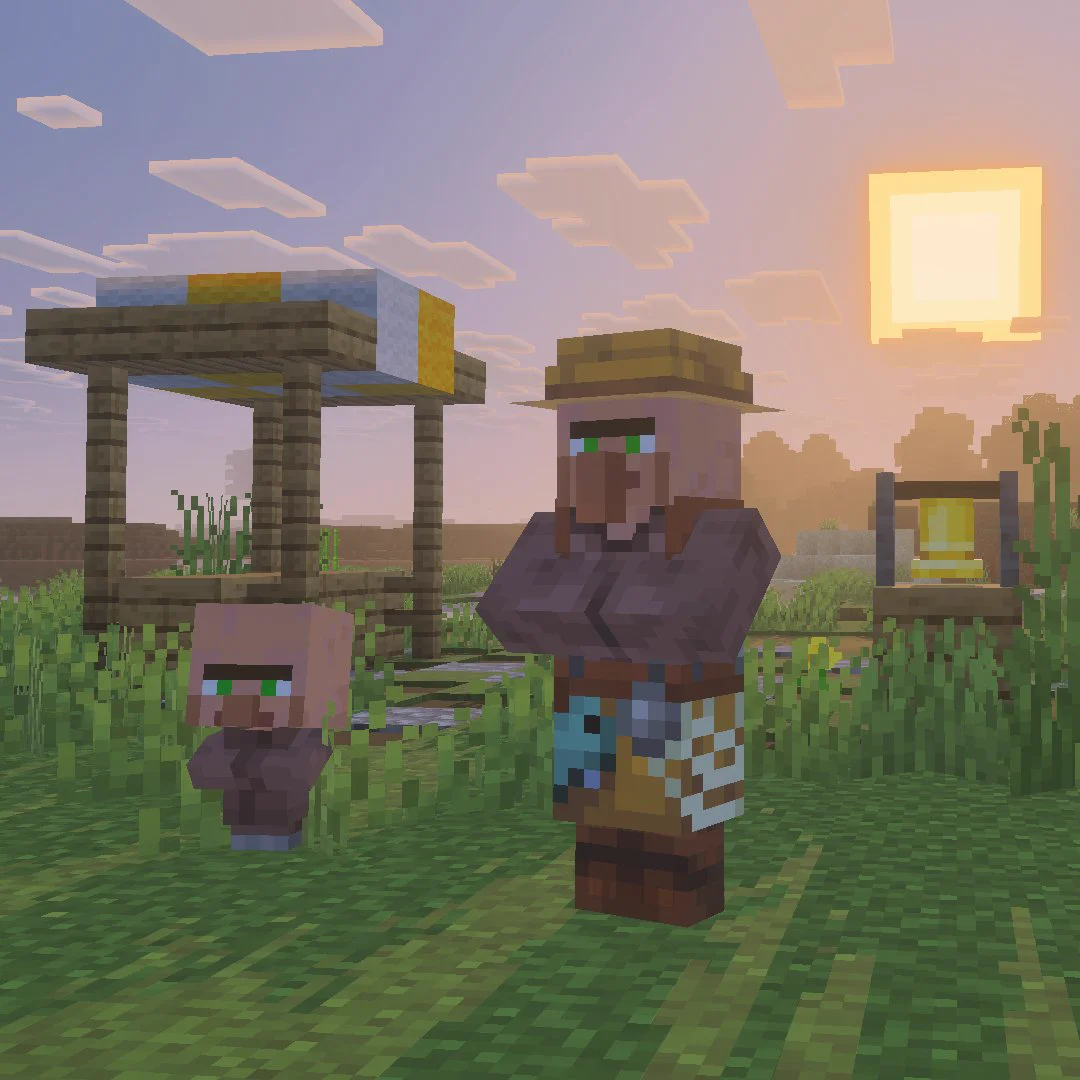
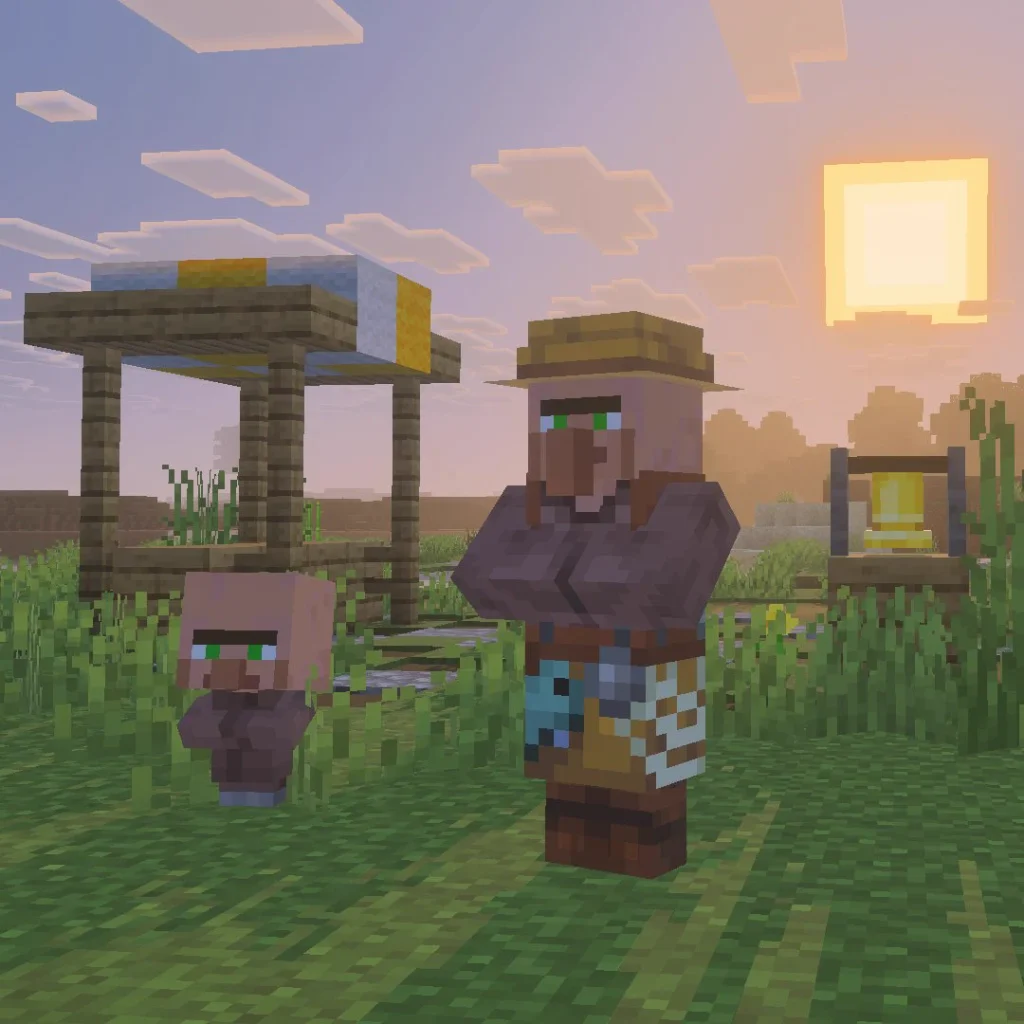
Minecraft Bedrock Villager Breeder is a Bedrock-specific build for players who want a steady supply of villagers for trading halls and iron farms. This guide is written for Bedrock mechanics rather than assuming a Java Edition tutorial will behave the same way, and it puts the shopping list, build checks and common fixes in one place before you start placing hundreds of blocks.
Farm: Villager Breeder
Main output: Baby Villagers
Automation: Semi-automatic or automatic
Best for: Trading halls, iron farms and replacing villagers
Minecraft Bedrock Villager Breeder quick information
| Farm information | Details |
|---|---|
| Edition | Minecraft Bedrock Edition |
| Difficulty | Easy–Medium |
| Build time | 20–30 minutes |
| Main output | Baby Villagers |
| AFK friendly | Yes |
| Nether required | No |
| Redstone | None to Low |
| Recommended location | A safe, well-lit area away from unwanted village links |
| Key Bedrock consideration | Breeding needs spare valid beds and willing villagers |
A villager breeder is less about redstone and more about maintaining the conditions that let villagers breed repeatedly. The dependable Bedrock approach is to keep two adults safe, provide a renewable food source and maintain spare beds that baby villagers can claim. A farmer villager can automate the food side by harvesting and sharing crops.
The Minecraft Bedrock Villager Breeder instructions below are written for Bedrock Edition. For official game information and current releases, visit Minecraft.
Materials needed for Minecraft Bedrock Villager Breeder
Gather the full list before building. Where a quantity is marked as approximate, bring extra: terrain, storage choices and the length of collection channels can change the final count.
| Material | Quantity | What it does |
|---|---|---|
| Adult villagers | 2 | Breeding pair |
| Beds | 4+ | Two adult beds plus spare beds for babies |
| Composter | 1 | Creates a farmer for automated crop harvesting |
| Farmland | At least 9×9 recommended | Food production |
| Carrots or potatoes | Several stacks | Simple breeding food crop |
| Water bucket | 1 | Hydrates farmland |
| Fences / glass / blocks | 2–3 stacks | Secure enclosure |
| Trapdoors | 2–4 | Guides babies into collection area |
| Minecart / boat | Optional | Moves villagers to other builds |
How to build Minecraft Bedrock Villager Breeder
Step 1 – Prepare a safe enclosure
Build a lit enclosure that zombies cannot enter. Leave enough headroom and keep the adults from wandering into the baby collection channel.
Step 2 – Create the crop plot
Make a hydrated crop plot and plant carrots or potatoes. Place a composter so one villager can become a farmer and harvest food.
Step 3 – Add beds with spare capacity
Place beds for both adults plus at least two spare beds. The beds must remain valid and reachable by the village logic; a breeder stalls when there is no unclaimed bed for a new baby.
Step 4 – Give the villagers food
If the farmer has not built up supplies yet, manually give the adults carrots, potatoes or bread. Villagers need enough food to become willing to breed.
Step 5 – Create the baby collection route
Use trapdoors, a short drop or a water channel to move baby villagers away from the adults while keeping the beds associated with the breeder. Keep the route safe from suffocation and hostile mobs.
Step 6 – Test and expand storage
Allow the breeder to run through a day cycle. Move grown villagers out before the collection area becomes crowded and keep spare beds available for future births.
How Minecraft Bedrock Villager Breeder works
Villager breeding depends on willingness and available housing. Food creates willingness; valid spare beds provide capacity. A farmer is useful because it turns crop growth into a renewable food-sharing loop.
| Mechanic | What matters in Bedrock |
|---|---|
| Food | Villagers can become willing after receiving enough bread, carrots, potatoes or beetroot. |
| Beds | There must be an unclaimed valid bed available for the baby. |
| Farmer | A farmer can harvest and share crops, reducing manual feeding. |
| Mob griefing | Villager crop harvesting depends on mobGriefing being enabled. |
| Safety | Zombies can destroy a breeder quickly, so lighting and physical barriers matter. |
Minecraft Bedrock Villager Breeder not working
If the farm is built but the output is poor or completely stops, work through these checks before tearing it down. Bedrock farms often fail because of spawning distance, village linking, collection direction or a nearby spawn area rather than because the visible structure is wrong.
| Problem | Likely cause | Fix |
|---|---|---|
| Hearts then angry particles | No valid spare bed | Add accessible beds and make sure there is clear space above them. |
| No hearts | Villagers are not willing | Give more food and confirm a farmer can harvest if using automation. |
| Farmer does nothing | mobGriefing is disabled or crop/job access is blocked | Enable mobGriefing where appropriate and make sure the composter and farmland are reachable. |
| Babies stay with adults | Collection route is blocked | Check trapdoor orientation, gaps and the baby-sized exit. |
| Breeder suddenly stops | Population has caught up with bed count | Move villagers out or add more valid beds. |
Is Minecraft Bedrock Villager Breeder worth building?
Absolutely if you use villagers at all. A breeder turns two hard-to-move villagers into a renewable supply for librarians, toolsmiths, farmers and iron farms. It also saves the repeated job of finding and transporting distant villages.