
Genshin Impact 3.0 Kokomi Build Updated Guide: Weapons, Artifact Sets, Talents and more
Last Updated on: 9th September 2022, 09:36 am
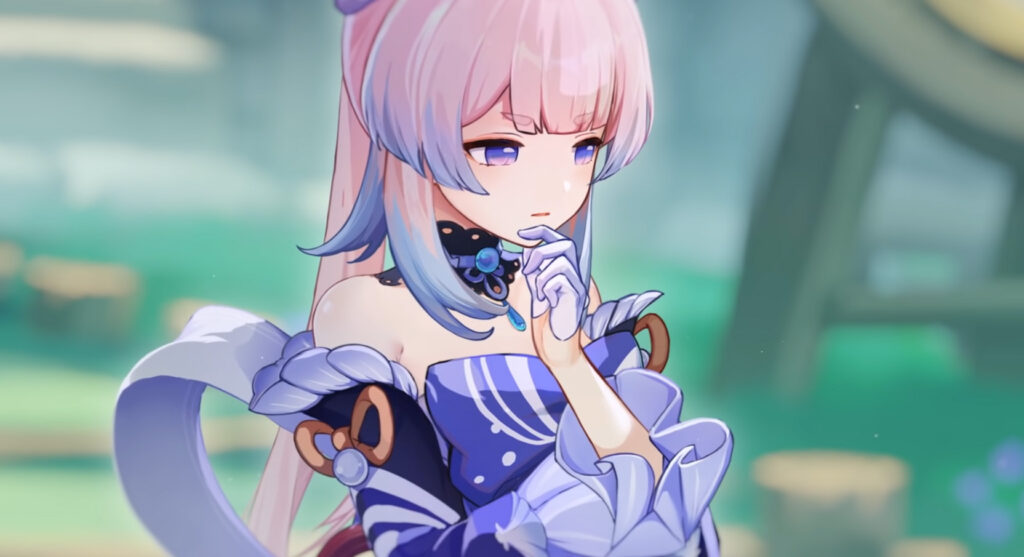
Sangonomiya Kokomi is a 5-star Hydro Catalyst character in Genshin Impact. As a descendant from the Sangonomiya clan, she’s the supreme leader of Watatsumi Island, and has her shoulders full of responsibilities to her people.
With her dazzling looks and equally clever wits, she’s both the Divine Priestess of the island and a talented military strategist well versed in the art of war. She excels at both duties and more, even if it makes her completely exhausted at the end of the day.
As a playable character, she’s the game’s first battle healer and has a somewhat peculiar way of building. This guide provides suggestions to create your own Kokomi build along with the best weapons, recommended talents order and suggested teams.

Sangonomiya Kokomi Talents information
| Normal Attack – The Shape of Water | Normal Attack Performs up to 3 consecutive attacks that take the form of swimming fish, dealing Hydro DMG. Charged Attack Consumes a certain amount of Stamina to deal AoE Hydro DMG after a short casting time. Plunging Attack Gathering the might of Hydro, Kokomi plunges towards the ground from mid-air, damaging all opponents in her path. Deals AoE Hydro DMG upon impact with the ground. |
| Elemental Skill – Kurage’s Oath | Summons a “Bake-Kurage” created from water that can heal her allies. Using this skill will apply the Wet status to Sangonomiya Kokomi. Bake-Kurage Deals Hydro DMG to surrounding opponents and heals nearby active characters at fixed intervals. This healing is based on Kokomi’s Max HP. |
| Elemental Burst – Nereid’s Ascension | Summons the might of Watatsumi, dealing Hydro DMG to surrounding opponents, before robing Kokomi in a Ceremonial Garment made from the flowing waters of Sangonomiya. Ceremonial Garment ·Sangonomiya Kokomi’s Normal Attack, Charged Attack and Bake-Kurage DMG are increased based on her Max HP. ·When her Normal and Charged Attacks hit opponents, Kokomi will restore HP for all nearby party members, and the amount restored is based on her Max HP. ·Increases Sangonomiya Kokomi’s resistance to interruption and allows her to walk on the water’s surface. These effects will be cleared once Sangonomiya Kokomi leaves the field. |
| Ascension Talent 1 – Tamanooya’s Casket | If Sangonomiya Kokomi’s own Bake-Kurage is on the field when she uses Nereid’s Ascension, the Bake-Kurage’s duration will be refreshed. |
| Ascension Talent 2 – Song of Pearls | While donning the Ceremonial Garment created by Nereid’s Ascension, the Normal and Charged Attack DMG Bonus Sangonomiya Kokomi gains based on her Max HP will receive a further increase based on 15% of her Healing Bonus. |
| Utility Talent – Princess of Watatsumi | Decreases swimming Stamina consumption for your own party members by 20%. Not stackable with Passive Talents that provide the exact same effects. |
| Passive – Flawless Strategy | Sangonomiya Kokomi has a 25% Healing Bonus, but a 100% decrease in CRIT Rate. |
In every Kokomi build you make, she’s very flexible to your preferred teams. She can be used either as an on-field DPS/Enabler or simply as a jellyfish only bot. She can easily make your team effectively immortal with her absurd her healing can get.
With lots of HP scalings, any good Kokomi build will need to make use of this stat, as it makes her damage and healing stronger. There’s also no need for critical, as she literally cannot crit (unless she’s explicitly built only for that. Avoid building for that).
With that said, we recommend leveling Burst = Skill > Normals. Even if you don’t plan to use her to deal damage, her Burst helps to keep your team healthy.
Constellations

| Constellation | Description |
| 1 – At Water’s Edge | While donning the Ceremonial Garment created by Nereid’s Ascension, the final Normal Attack in Sangonomiya Kokomi’s combo will unleash a swimming fish to deal 30% of her Max HP as Hydro DMG. This DMG is not considered Normal Attack DMG. |
| 2 – The Clouds Like Waves Rippling | Sangonomiya Kokomi gains the following Healing Bonuses with regard to characters with 50% or less HP via the following methods: ·Kurage’s Oath Bake-Kurage: 4.5% of Kokomi’s Max HP. ·Nereid’s Ascension Normal and Charged Attacks: 0.6% of Kokomi’s Max HP. |
| 3 – The Moon, A Ship O’er the Seas | Increases the Level of Nereid’s Ascension by 3. Maximum upgrade level is 15. |
| 4 – The Moon Overlooks the Waters | While donning the Ceremonial Garment created by Nereid’s Ascension, Sangonomiya Kokomi’s Normal Attack SPD is increased by 10%, and Normal Attacks that hit opponents will restore 0.8 Energy for her. This effect can occur once every 0.2s. |
| 5 – All Streams Flow to the Sea | Increases the Level of Kurage’s Oath by 3. Maximum upgrade level is 15. |
| 6 – Sango Isshin | While donning the Ceremonial Garment created by Nereid’s Ascension, Sangonomiya Kokomi gains a 40% Hydro DMG Bonus for 4s when her Normal and Charged Attacks heal, or would heal, any party member with 80% or more HP. |
She definitely doesn’t need extra healing, and unless you really like her and want to deal more damage, there’s no need to go for extra copies. She’s perfect at C0 and is very F2P friendly, as we’ll show below.
READ MORE: Genshin Impact 3.0: New Ganyu and Kokomi banner revealed
Recommended weapons for Sangonomiya Kokomi build
Her best weapons (aside from her signature one) are all easy to obtain and/or craftable. Gearing her is not hard at all.
| Weapon | Sub Stat | Comments |
| Everlasting Moonglow (5*) | HP% | Aesthetically perfect and strongest stats, but unless you’ve obtained it by accident in the banner, there’s not much reason to go for it. Other options have similar damage and are cheaper/free. |
| Thrilling Tales of Dragon Slayers (3*) | HP% | AKA TTDS, an all-purpose weapon for showcases. Chances are that you already have at least one R5 copy of it unless you haven’t realised it’s value yet, and it’s one of the best choices for a Kokomi build. Gives her even more HP and team support. |
| Prototype Amber (4*) | HP% | Kokomi is prone to having energy issues, so this weapon helps her out with its passive. You lose the extra attack from TTDS though. |
| Hakushin Ring (4*) | ER% | Preferred for Electro-based teams, and it’s more of a niche option than a priority. |
Generally, TTDS wins out on every option as she’s an expert on helping her allies to do bigger numbers. Pick your weapon according to your necessities.
Artifact Sets guide for Sangonomiya Kokomi build
Kokomi is very flexible in her builds and she aged like wine with the introduction of new Artifacts that directly benefit her and the coming of Dendro, which allows her to create even more reactions.
| Artifact Set | Effects | Comments |
| 4x Ocean-Hued Clam | – Healing Bonus +15% – When the character equipping this artifact set heals a character in the party, a Sea-Dyed Foam will appear for 3 seconds, accumulating the amount of HP recovered from healing (including overflow healing). At the end of the duration, the Sea-Dyed Foam will explode, dealing DMG to nearby opponents based on 90% of the accumulated healing. (This DMG is calculated similarly to Reactions such as Electro-Charged, and Superconduct, but it is not affected by Elemental Mastery, Character Levels, or Reaction DMG Bonuses). Only one Sea-Dyed Foam can be produced every 3.5 seconds. Each Sea-Dyed Foam can accumulate up to 30,000 HP (including overflow healing). There can be no more than one Sea-Dyed Foam active at any given time. This effect can still be triggered even when the character who is using this artifact set is not on the field. | The go-to option for her, which allows her to inflict some extra damage even outside of the field. She’ll easily proc its max damage during her burst. |
| 4x Tenacity of the Millelith | – HP +20% – When an Elemental Skill hits an opponent, the ATK of all nearby party members is increased by 20% and their Shield Strength is increased by 30% for 3s. This effect can be triggered once every 0.5s. This effect can still be triggered even when the character who is using this artifact set is not on the field. | More buffs for her team. Her jellyfish procs it consistently, and she also makes use of the 2-piece combo. |
| 4x Heart of Depth | – Hydro DMG Bonus +15% – After using an Elemental Skill, increases Normal Attack and Charged Attack DMG by 30% for 15s. | Alternative set for personal damage. Not very recommended nowadays as her other options are usually superior. |
2 pieces combos from any of these sets also work but aim for the complete versions. Millelith is more support-focused while Clam is a generalist damage/heal option.
Sangonomiya Kokomi build desired stats
- Circlet: HP% or Healing Bonus%
- Sands: HP% or Energy Recharge%
- Goblet: Hydro Dmg %
Desired substats are ER% > HP% > HP with, obviously, no need for crit. You’ll want around 170% ER to consistently Burst off CD. Substats are usually enough for it, so you’re probably safe with HP% Sands.
Teams and Synergy
Kokomi is very flexible and can fit in almost any team that needs a healer. But of course, there are a lot of compositions in which she shines mostly and/or it’s irreplaceable.
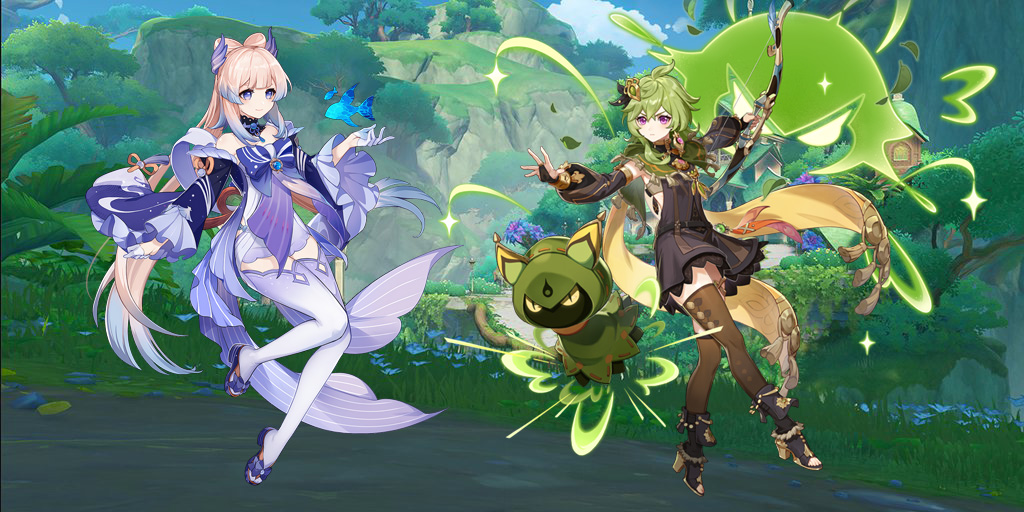
The popular Sukokomon team is made of Kokomi, Sucrose, Xiangling and Fischl, and plays around Swirling this team’s “Pokémons” (their summonable pets) to trigger as many reactions as possible. Cannot be created without Kokomi, and very powerful if executed correctly.
With a good Kokomi build, you can also pair her with Diluc, Yoimiya or other Pyro characters for some good Vaporize potential. Avoid running her with Hu Tao, though, as the Polearm user prefers to be on low HP and Xingqiu/Yelan are better partners overall.
The biggest change was the introduction of Dendro. While Nilou will be the best character to create the Bloom reaction, any Kokomi build is incredible when paired with Collei or the Dendro Traveler. From there, you can add someone like Beidou to induce Hyperbloom or another Pyro character for Burgeon.
READ MORE: Genshin Impact Collei Build Guide: Weapons, Artifact Sets, Roles, Talents, Constellations, and more
She’s also great in Freeze comps. Pairing her with Ayaka, Ganyu or Shenhe can halt your opponents until they’re simply frozen out of existence.