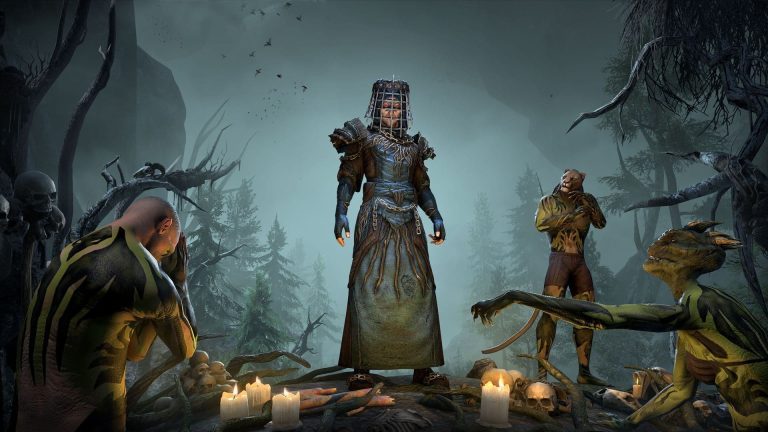
ESO March of Sacrifices Dungeon is the original four-player Wolfhunter dungeon set in Hircine’s Hunting Grounds. Its five encounters are the Wyrd Sisters, Aghaedh of the Solstice, Dagrund the Bulky, Tarcyr and Balorgh. The final fight tests whether your group understands the difference between electrified water, deadly flowers and the shadow hunt.
This is a group-dungeon guide, not the newer solo Story Mode walkthrough. Bring a tank, healer and two damage dealers, and be ready to handle interrupts, pinned teammates and changing safe zones, especially on Veteran.
ESO March of Sacrifices Dungeon location and all five bosses
Find the dungeon entrance in southwestern Greenshade, southwest of Serpent’s Grotto Wayshrine, or access it through Dungeon Finder. Pick up The Great Hunt from Hanu to follow the story and gain its quest reward, including a skill point upon completion.
- Wyrd Sisters: Wyress Ursus, Wyress Rangifer and Wyress Strigidae.
- Aghaedh of the Solstice: area attacks and adds.
- Dagrund the Bulky: elemental projectiles and dangerous jumps.
- Tarcyr: pin attacks and stealth hunting phase.
- Balorgh: electrified water, poisonous flowers and four shadow hunters.
March of Sacrifices Wyrd Sisters: separate the auras
The opening fight is against three Wyresses. Ursus is the sword-and-shield fighter, Rangifer heals, and Strigidae attacks from range. Their ground auras can empower nearby sisters, so keep them separated. Tank Ursus and pull her away from the others while killing the healer or designated priority target.
Interrupt Rangifer’s healing and avoid Strigidae’s ranged pressure. A loose group formation makes it easier to respond to attacks. If you stack all three sisters, the overlapping abilities create a much harder fight than handling one at a time.
Aghaedh of the Solstice: the second boss
For Aghaedh, the tank should face the boss away from the damage dealers, leave hostile circles immediately and kill adds that threaten the healer. Keep healing coverage close enough for the party to regroup after each area attack.
As with all five encounters, don’t ignore dangerous ground effects just because Normal difficulty allows some mistakes. In Veteran, sustained damage from adds and standing in overlapping effects can overwhelm a healer quickly.
ESO March of Sacrifices Dungeon – Dagrund the Bulky: elemental jump attacks
Dagrund throws elemental attacks and summons adds that create persistent hazards. When he jumps into the air, expect targeted elemental projectiles to chase players. Watch their approach and dodge roll through the incoming attack rather than waiting in the damage circle.
Dagrund is much easier when you kill his archers and elementals promptly. Fire adds leave dangerous ground damage, while ice effects slow movement. Don’t let the group become trapped between multiple lingering hazards.
March of Sacrifices Tarcyr: pinned players and the hunt
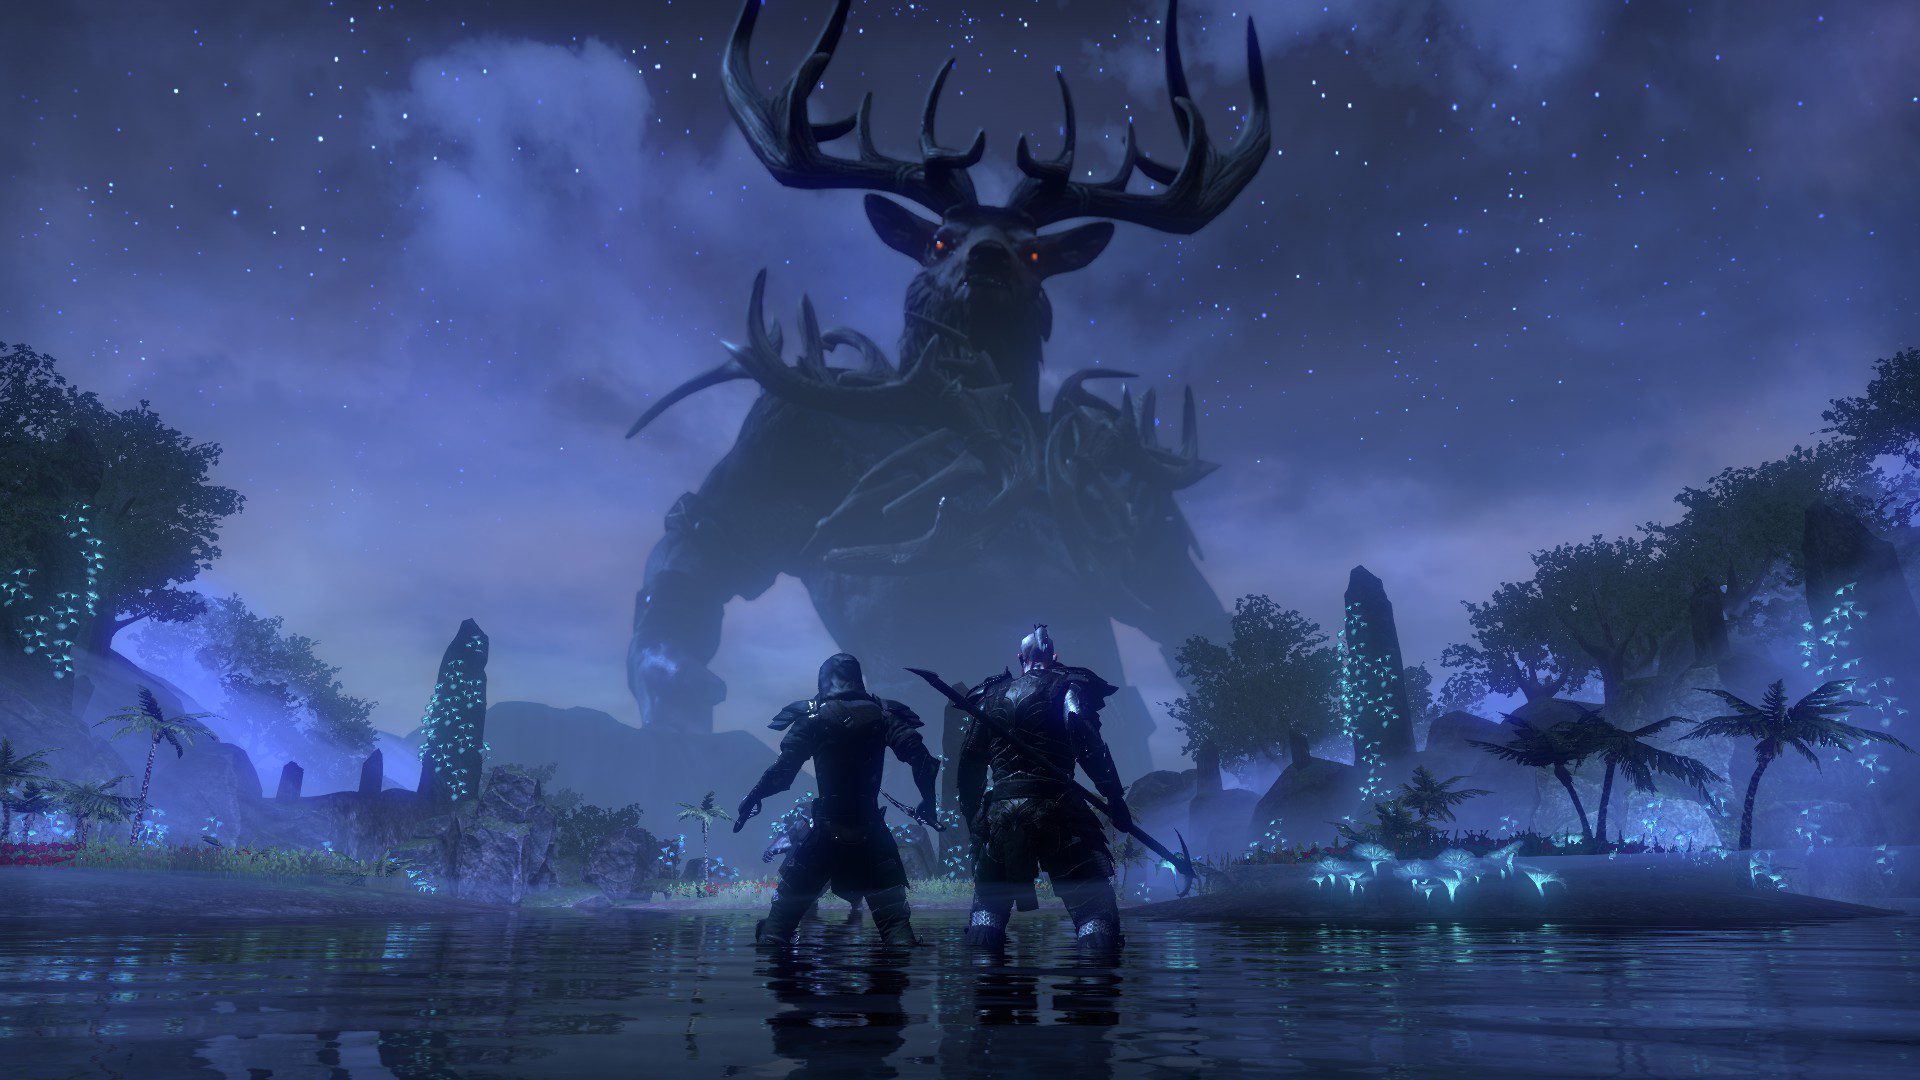
Tarcyr can pin a player and produce dangerous lightning or fire-trail attacks. Interrupt his channel when appropriate and focus the supporting adds before attacking him again. During his hunt phase, use the available stealth and cover: stay hidden rather than continuing to run in full view of the hunter.
In Tarcyr’s hunt phase, staying hidden is essential. Move with the group, don’t let pinned teammates die unattended, and reserve stamina for a quick dodge or escape when Tarcyr charges.
March of Sacrifices Balorgh: lightning water and poison flowers
Balorgh’s arena has islands separated by shallow water. When the water becomes electrified, stand on the islands and avoid spreading lightning damage onto teammates. During the flower and poison phase, the islands are unsafe, so move into the water instead. Confusing the two states is one of the most common wipes.
Balorgh also charges across the arena, leaving a dangerous fire trail, and stomps to send waves of damage. In the final battle, save a dodge roll for Balorgh’s charge and don’t stack on top of teammates during lightning-targeted effects.
ESO March of Sacrifices Dungeon – March of Sacrifices Hard Mode: survive the hunt
In the hunt, Balorgh splits into four invulnerable shadows that pursue the group. Stay together, follow the target of the hunt to the light and place or use the trap so a shadow runs into it. Each trap captures only one shadow, so repeat the process four times. Scattering makes it much harder to protect the hunted player.
On Veteran Hard Mode, you have to manage traps, electrified water and poison plants without losing control of the group. Achievements include Element of Surprise for avoiding Lightning Water and Poison Plants and Apex Predator for the timed, no-death Hard Mode clear. Veteran Balorgh also drops the Balorgh monster mask.
March of Sacrifices Normal, Veteran and Story Mode
Normal is the place to practise the five fights. Veteran adds stricter survival and coordination requirements, and the dungeon’s Hard Mode challenges the Balorgh encounter. If you want the separate story-focused solo experience instead, use our March of Sacrifices Story Mode guide.
This walkthrough covers the original group encounters and achievements. For the best chance of a clear, learn Balorgh’s opposite safe zones, assign someone to handle pins and interrupts, and keep the team together during both hunt phases.
Related ESO March of Sacrifices Dungeon Guides
Official source: The Elder Scrolls Online Wolfhunter DLC.