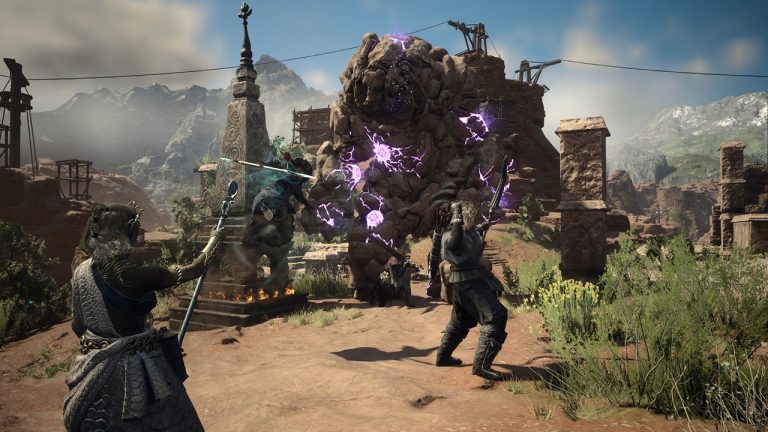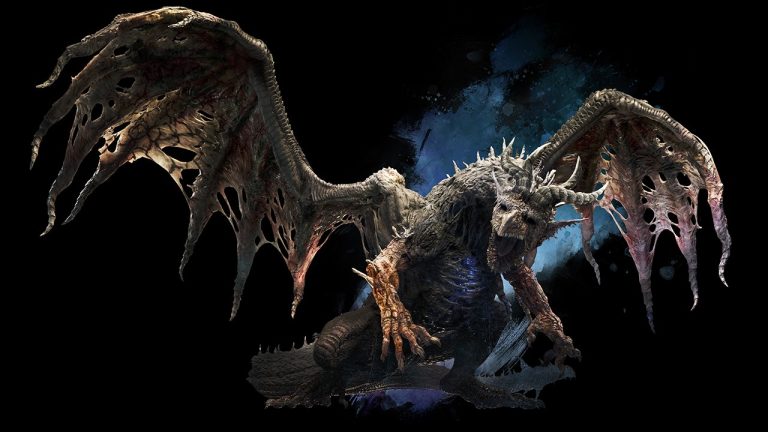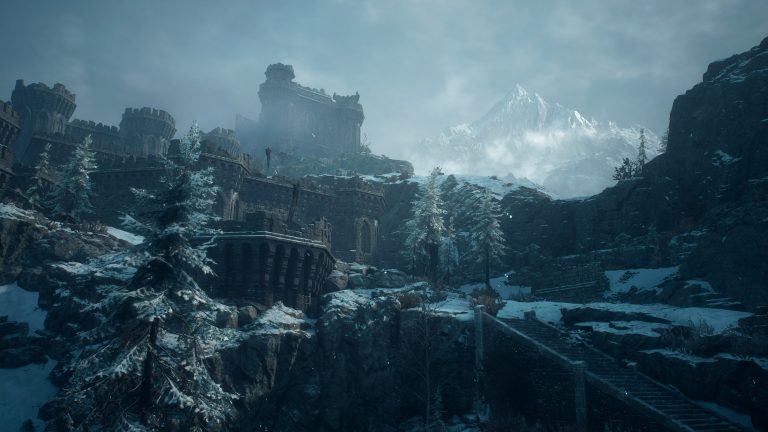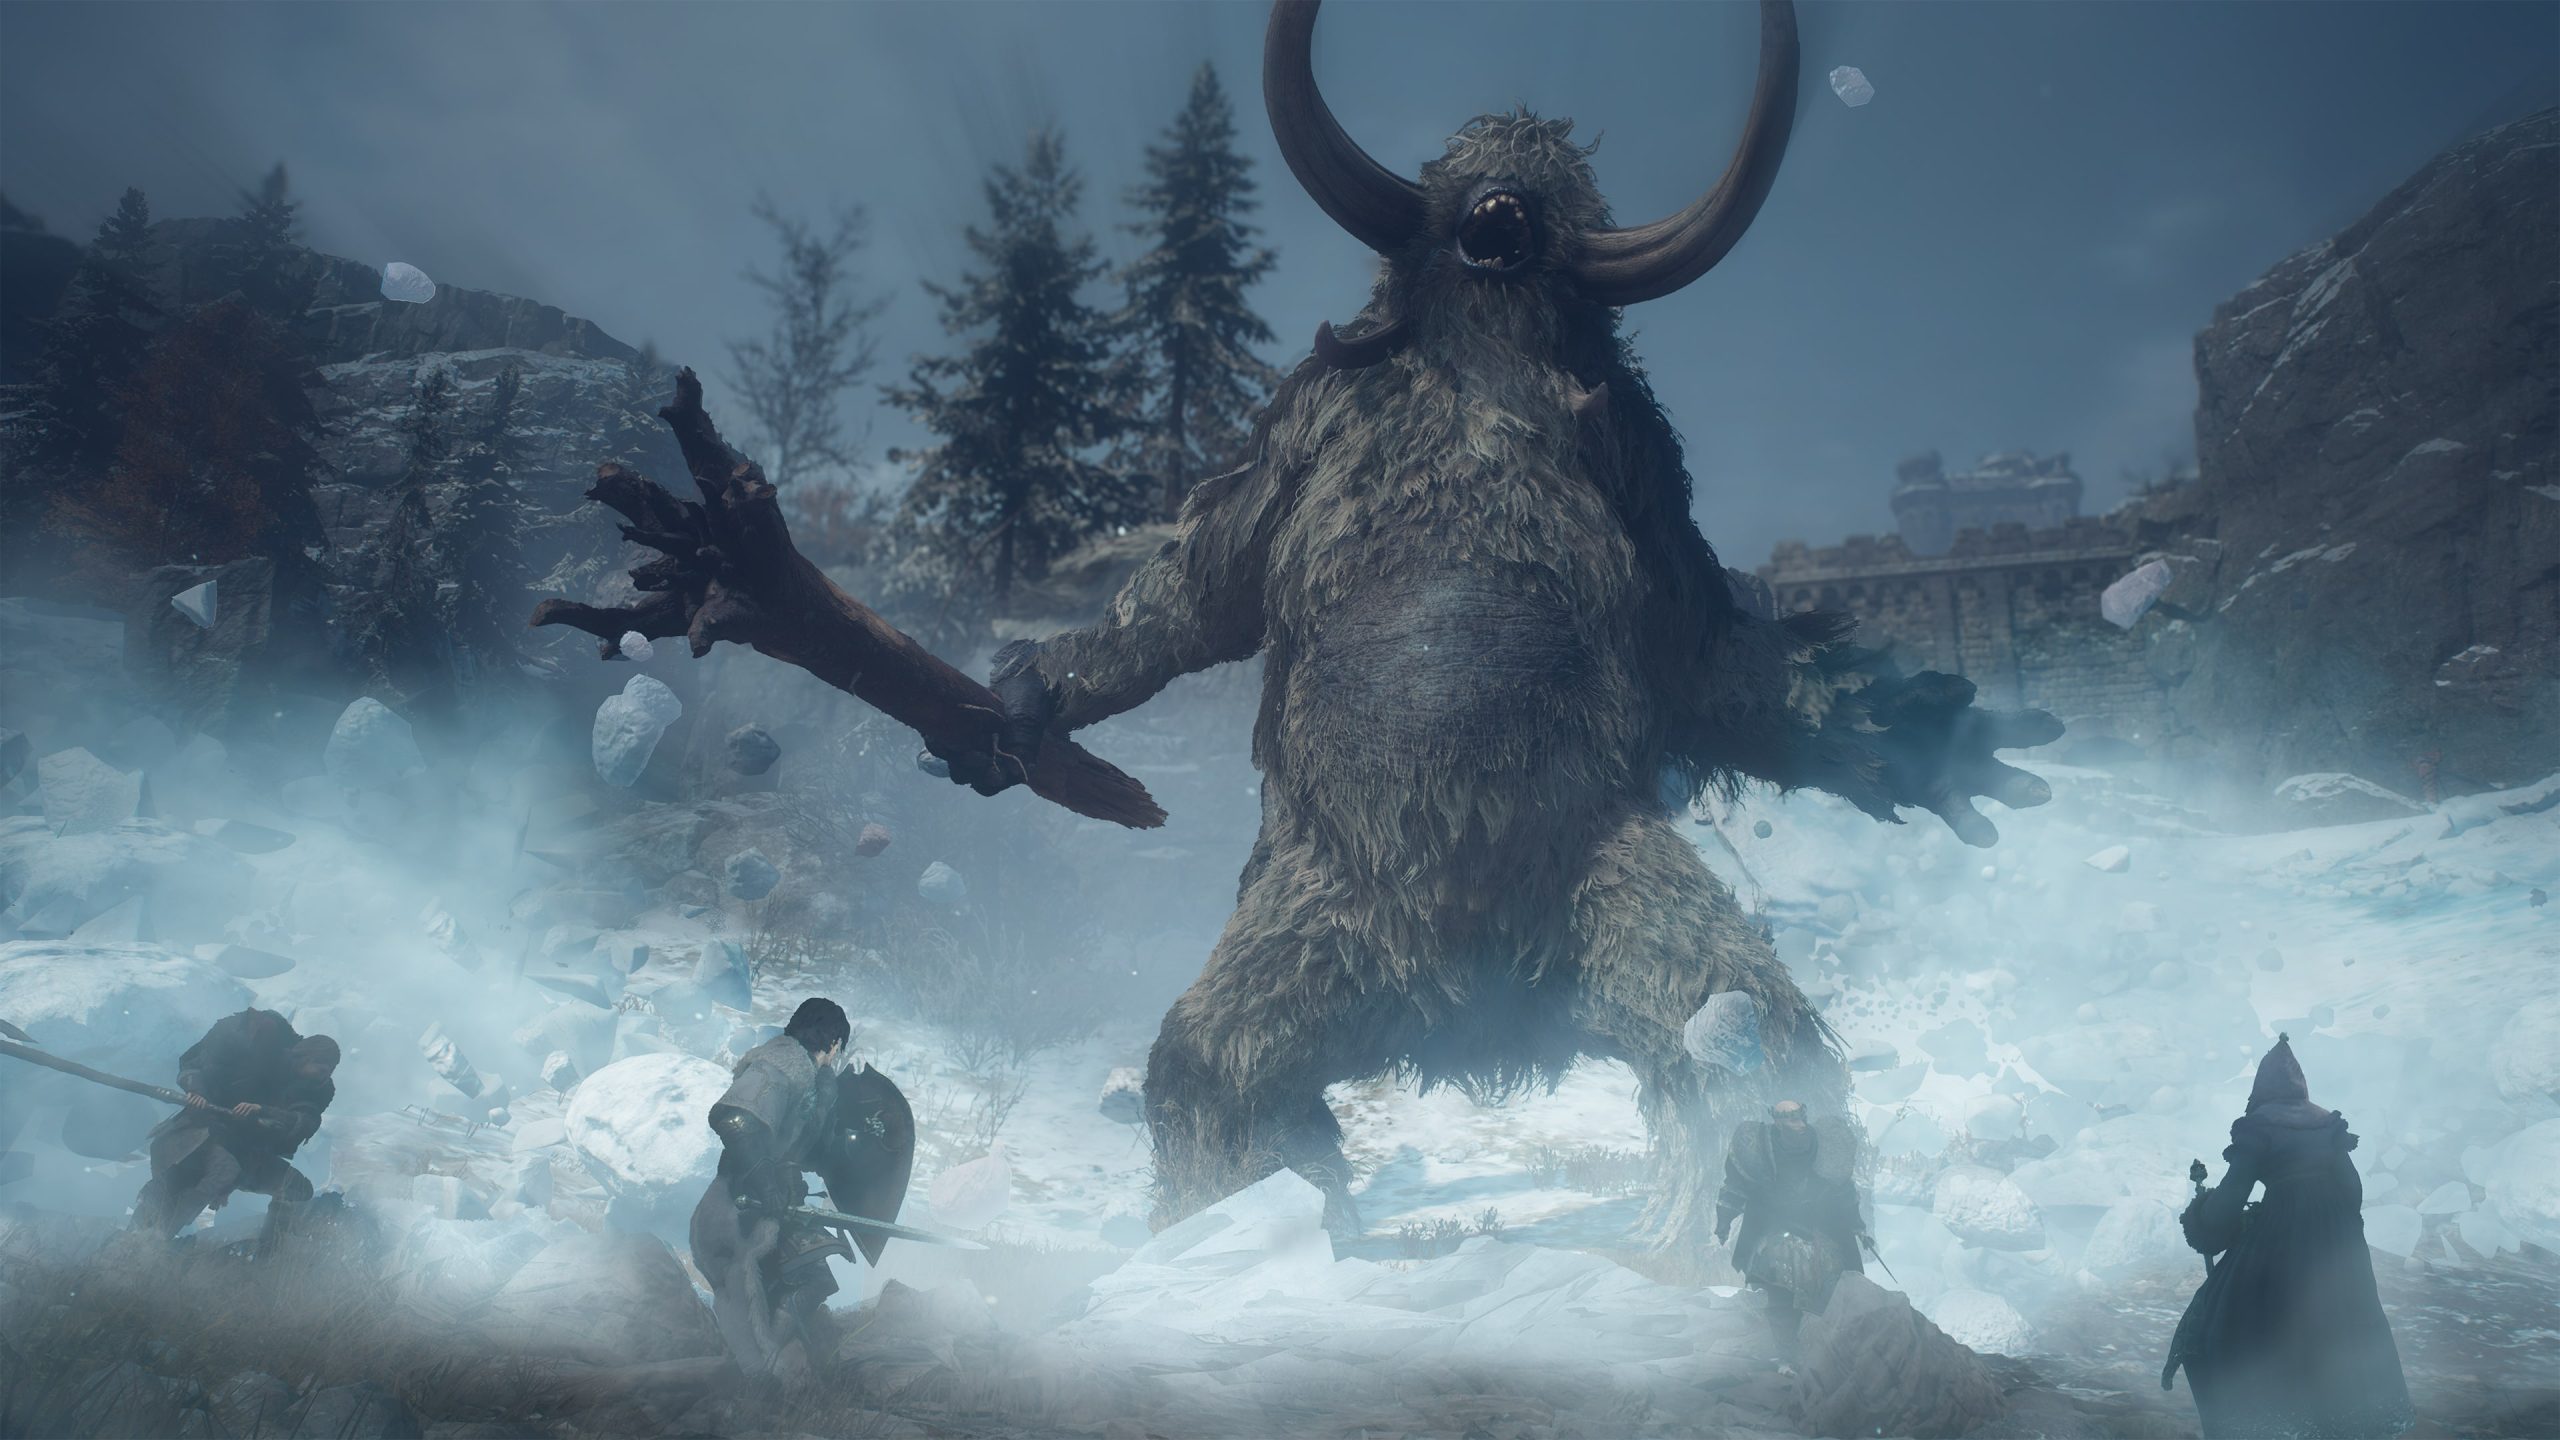
Lost Rites are Dragon’s Dogma 2: Dark Arisen’s twelve challenge dungeons, scattered around the original game’s world rather than the snowy Norgan region. They’re more involved than ordinary caves: some won’t admit you unless your party is carrying the right equipment, and three don’t become accessible until the Unmoored World.
Trying every sealed entrance with the wrong vocation can turn this into a frustrating tour of locked doors. This guide covers how to reveal the trials, the complete twelve-name roster, the specific admission conditions and the rewards that connect Lost Rites to Norgan’s Obelisks of Benediction.
How to unlock Lost Rites and get the Proving Ground Compass
Visit Captain Brant at Vernworth’s Stardrop Inn at night after progressing to the city. Ask about the uncovered ruins, rather than the dialogue that sends you to Norgan. Your first trial is Devilkin Hollow, reached through Darkhorde Cave in the western Malachite Forest. Defeat its corrupted enemies and open the final reward chest.
The first clear gives you the Proving Ground Compass, an Offering Flame and equipment rewards. Use the compass from the Items menu to put the remaining trials on your map. If another door has a rune seal, you’ll need the Empowered Godsbane Blade obtained later in the main story; the compass alone doesn’t open every entrance.
All 12 Lost Rites dungeon names and entry requirements
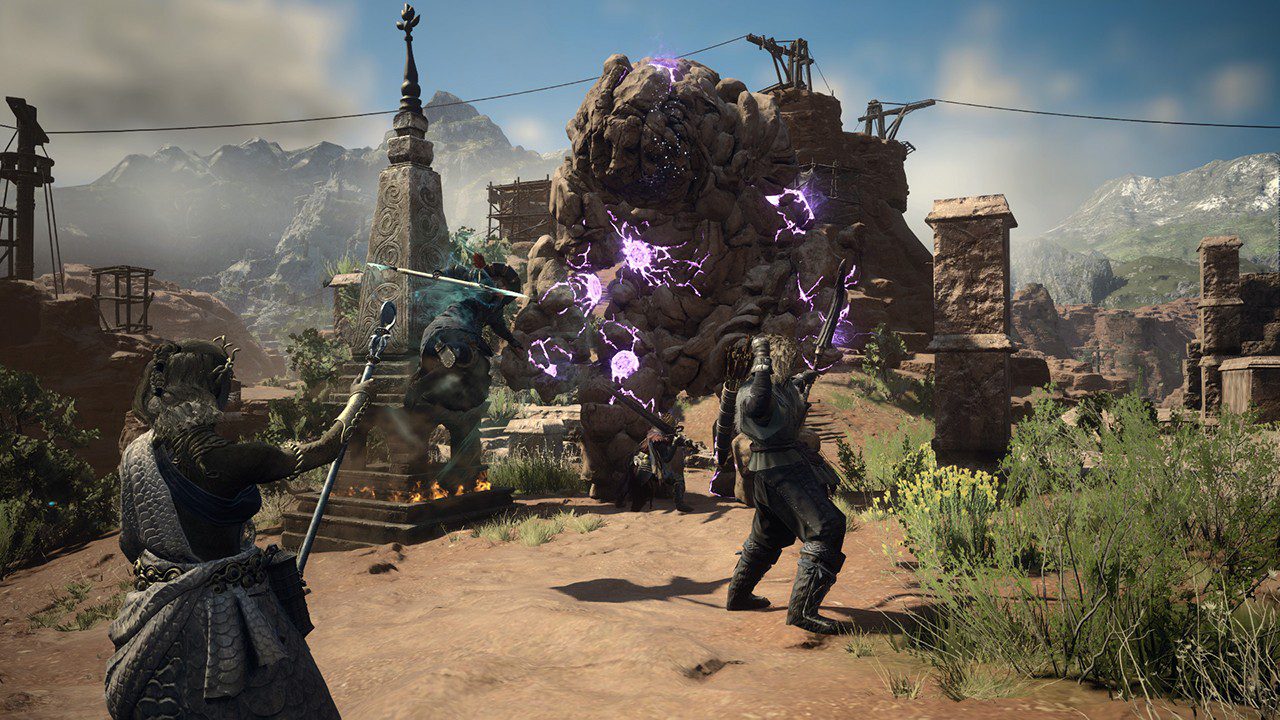
| Dungeon | Where or when to look | Entry condition |
|---|---|---|
| 1. Devilkin Hollow | Darkhorde Cave, western Malachite Forest | First trial, no additional conditions |
| 2. Daemons’ Corral | East of Vernworth | No party restriction; sealed-door progression may apply |
| 3. Sunken Spire | North of Checkpoint Rest Town | No party restriction; sealed-door progression may apply |
| 4. Interminable Corridor | Base-game map, revealed by the compass | Every party member’s carried weight must be Very Light |
| 5. Wyrmsblood Arena | Base-game map, revealed by the compass | Arisen may have only two weapon skills equipped |
| 6. Precipitous Catacombs | Base-game map, revealed by the compass | Arisen must be Archer or Magick Archer |
| 7. Mired Conduit | Base-game map, revealed by the compass | Clear at least four other Lost Rites first |
| 8. Embersand Mine | Battahl, near Bakbattahl | No enchanted weapons, grimoires or fire/ice/lightning/holy archmagick weapon skills |
| 9. Shrouded Warren | Base-game map, revealed by the compass | Only your main pawn may accompany the Arisen |
| 10. Molten Gauntlet | Exposed western seabed of the Vermund–Battahl strait | Unmoored World only; use Empowered Godsbane Blade |
| 11. Seafloor Sepulcher | Unmoored seabed close to Seafloor Shrine | Unmoored World only; use Empowered Godsbane Blade |
| 12. Final Proving Ground | Unmoored seabed near Seafloor Shrine | Clear both Molten Gauntlet and Seafloor Sepulcher first |
The compass is the precise in-game locator for the nine main-world entrances. A short regional label alone cannot pin down some of these cave doors reliably; use the icon revealed on your own save and approach its rune gate. For the final three, the sea has to recede in the Unmoored World before the terrain containing their entrances is exposed.
Why a Lost Rites door won’t open
Some Lost Rites doors check your party composition, not your level. At Interminable Corridor, empty your bags and reduce every pawn’s load until all characters show Very Light. Wyrmsblood Arena checks only the number of skills assigned to the Arisen. Precipitous Catacombs requires a vocation change, while Shrouded Warren asks you to leave hired pawns outside.
Embersand Mine checks both weapons and spell skills, so simply unequipping a staff may not be enough. Remove forbidden enchantments and magick skills before retrying. Mired Conduit checks your number of completed trials, while the last proving ground checks the names of two specific cleared dungeons.
Offering Flames, dungeon loot and repeat rewards
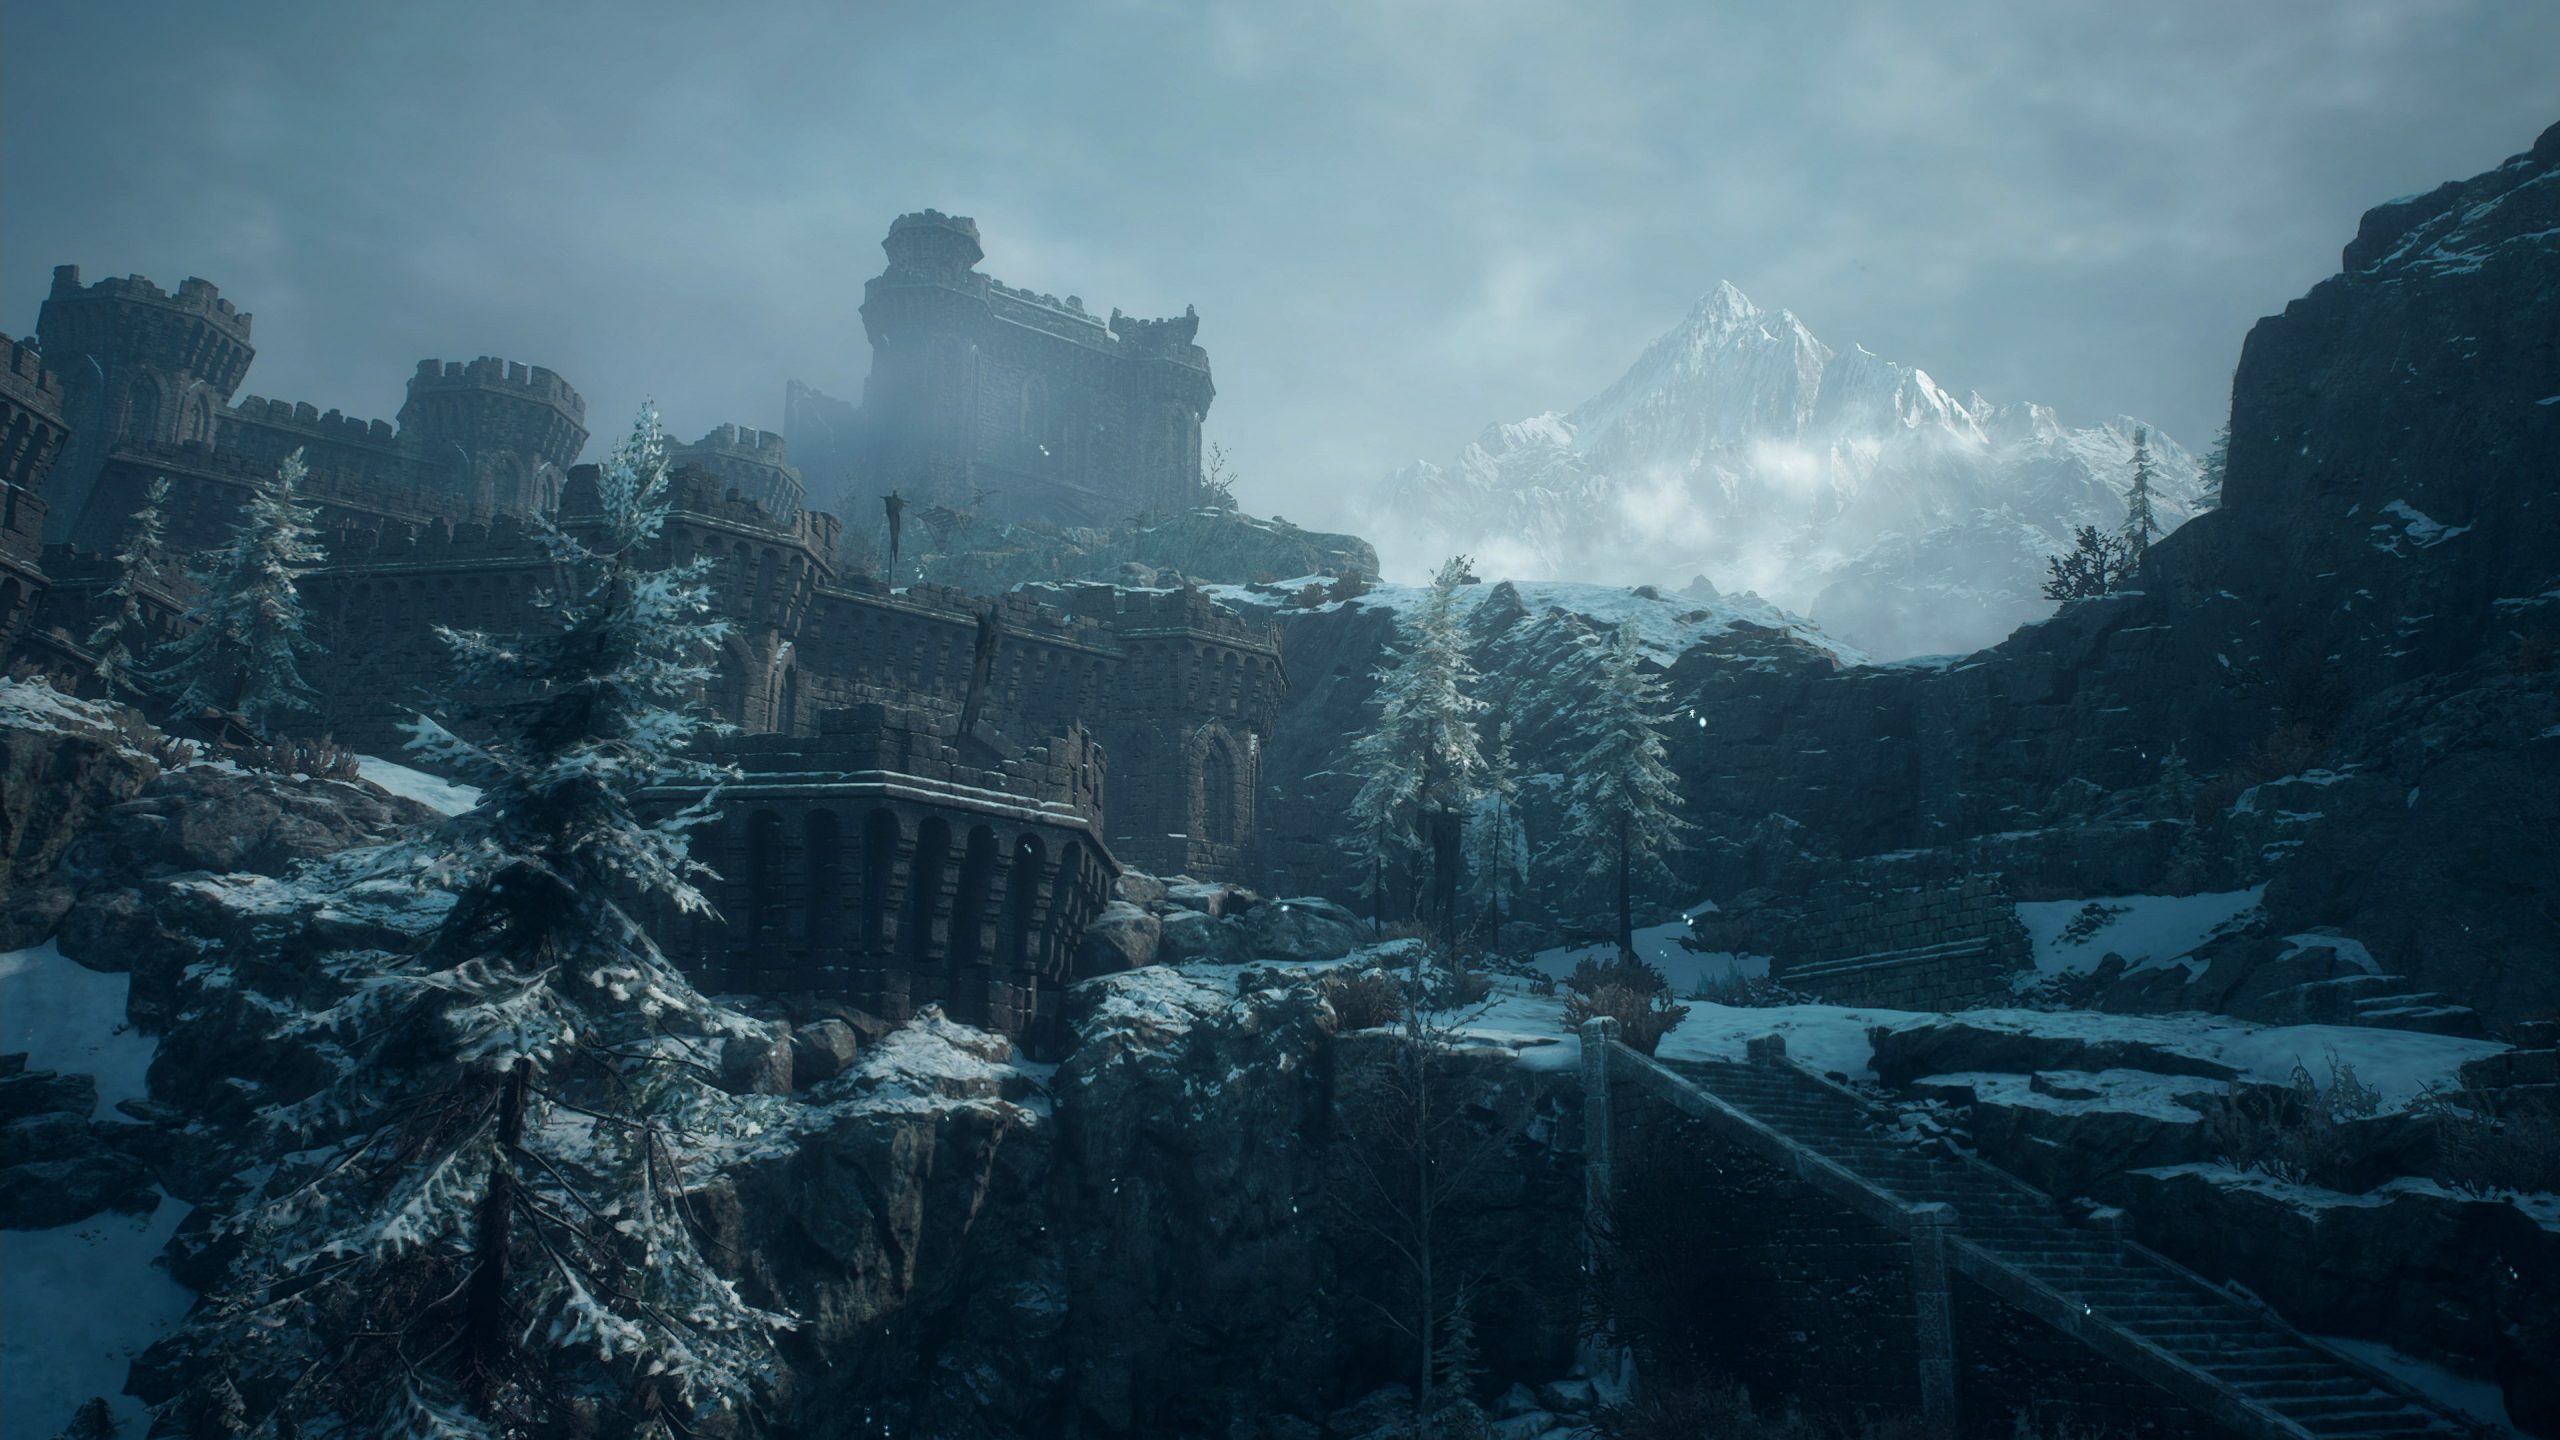
The final treasure chests in Lost Rites provide Offering Flames, spent at Norgan’s Obelisks of Benediction to access advanced vocation skills, permanent stat boosts and temporary loot buffs. Trial enemies also yield materials such as Brinebeast Fragments, while chests can contain fixed weapons and equipment once carried by earlier Arisen.
Devilkin Hollow is especially valuable as your first clear: its reward cache includes the compass and early weapons such as Hexfinger, Dread Tusk and Calycate Scepter. These can be upgraded using materials obtained from corrupted enemies, giving lower-level characters something to work towards before entering Norgan.
Lost Rites can be revisited as monsters return, making them useful for materials and different loot opportunities. Not every reward is a guaranteed fresh piece of gear on every visit. The Final Proving Ground is the toughest special case, built as a late-game boss gauntlet after you clear the other two Unmoored World trials.
Best order to tackle the twelve trials
Start with Devilkin Hollow, then target Daemons’ Corral and Sunken Spire while you’re still in Vermund. Work through the remaining main-map trials as your vocation, skill configuration and Godsbane Blade allow, and leave the last three until the Unmoored World. If you want to collect more Offering Flames quickly, prioritise accessible chests rather than repeatedly bouncing off class-restricted entrances.
The Lost Rites chain is separate from Forsaken Dominion, but its flames make Norgan progression stronger. That connection is why the dungeons are worth doing even if your main objective is reaching the expansion’s northern bosses.
Related Guides
Official game information: Dragon’s Dogma 2: Dark Arisen at Capcom.