Valheim 1.0 Progression Guide takes you through the full biome order from the Meadows to the Deep North, focusing on the boss drops, resources and crafting upgrades that actually unlock the next stage. Valheim is deliberately open-ended, but the main progression still follows a clear path because each biome gives you tools or materials needed for the next one.
Valheim 1.0 Progression Guide is especially useful now that version 1.0 has added the Deep North as the eighth and final biome. If you are starting fresh, Iron Gate recommends a new world for the best 1.0 experience, although old saves still work and unexplored terrain can generate new content.
Valheim biome order in 1.0
The main order is Meadows, Black Forest, Swamp, Mountains, Plains, Mistlands, Ashlands and Deep North. You can physically wander into later regions early, but doing so normally means facing enemies, weather and resource gates without the equipment intended for them.
The Valheim 1.0 Progression Guide gives you a route through required crafting milestones. Early exploration is possible, but entering the next biome with its predecessor’s gear makes survival and gathering harder.
Meadows: Eikthyr and your first pickaxe
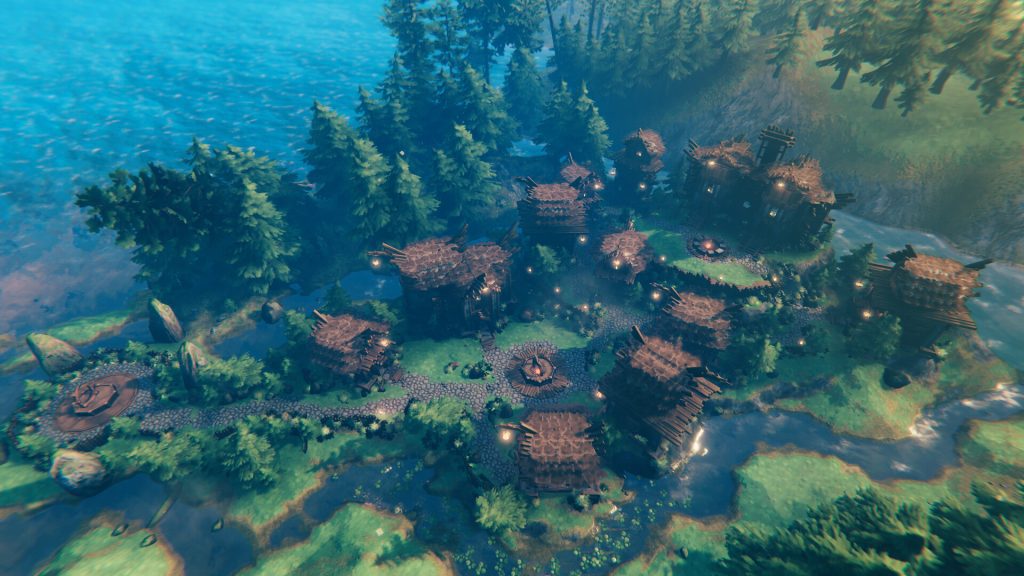
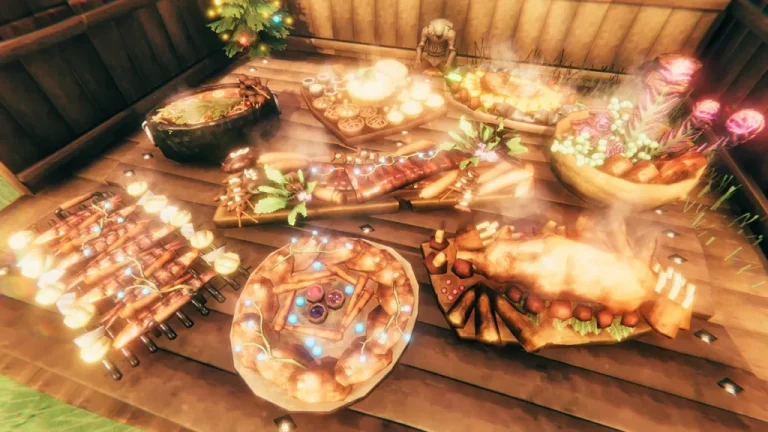
Build a basic base, craft flint weapons, hunt deer and learn the food system in the Meadows. Your first major target is Eikthyr. Defeating Eikthyr gives Hard Antlers, which let you make the Antler Pickaxe.
That pickaxe is the real progression reward because it lets you mine copper and tin in the Black Forest. Before leaving the Meadows, set up a bed, Workbench, storage and a dependable source of cooked food.
Black Forest: bronze and The Elder
In the Black Forest, mine copper and tin, smelt them into bronze and clear Burial Chambers for Surtling Cores. Those cores unlock smelters, kilns and portals, turning your small camp into a proper travelling network.
The Elder is the biome boss. Its drop gives you the key needed for Sunken Crypts in the Swamp, so the Black Forest phase is really about building a bronze-era kit and enough infrastructure to move iron later.
Swamp and Mountains
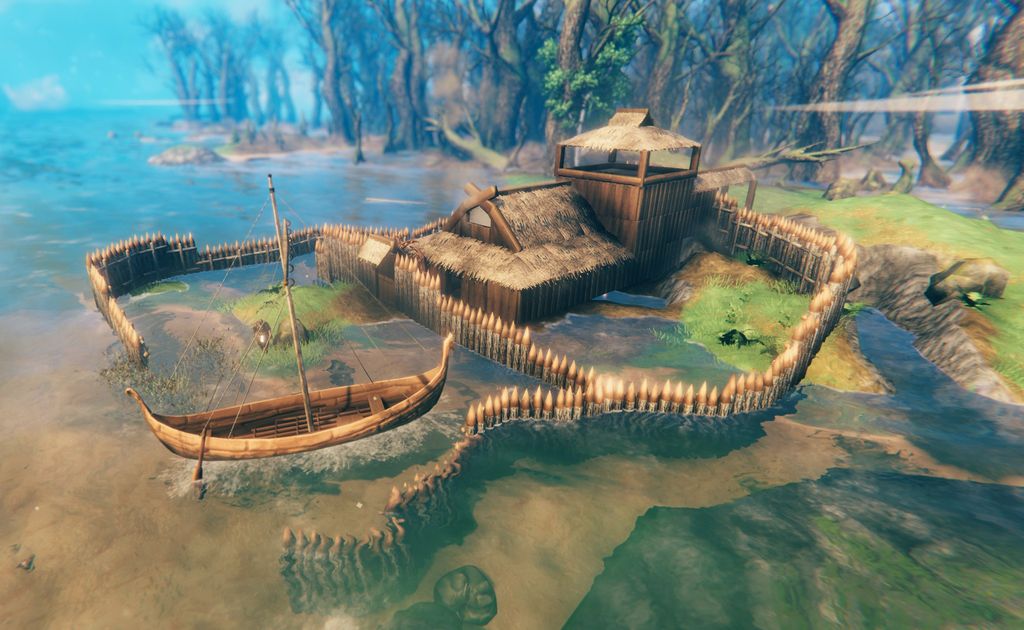
The Swamp is where iron becomes the priority. Use the key from The Elder to open Sunken Crypts, mine Muddy Scrap Piles and turn Scrap Iron into the gear and station upgrades needed for Bonemass. Poison resistance mead makes this stage dramatically less miserable.
Bonemass leads into the Mountains, where frost resistance and silver become central. Mine silver, improve your cold-weather gear and defeat Moder. Moder’s reward is a major crafting gate for the Plains and later metal progression.
Plains, Mistlands and Ashlands
The Plains introduce Black Metal, barley and flax, with Yagluth as the boss. After that comes Mistlands, where visibility, magic progression and Black Marble become important. The Mistlands boss opens the route toward Ashlands technology.
Ashlands is the final preparation stage before Deep North. Flametal gear, late-game food and the Fader boss reward all matter. Keep the Fader Relic because Deep North progression uses it when you start producing Embers for Ember Charges.
Deep North: the final 1.0 progression loop
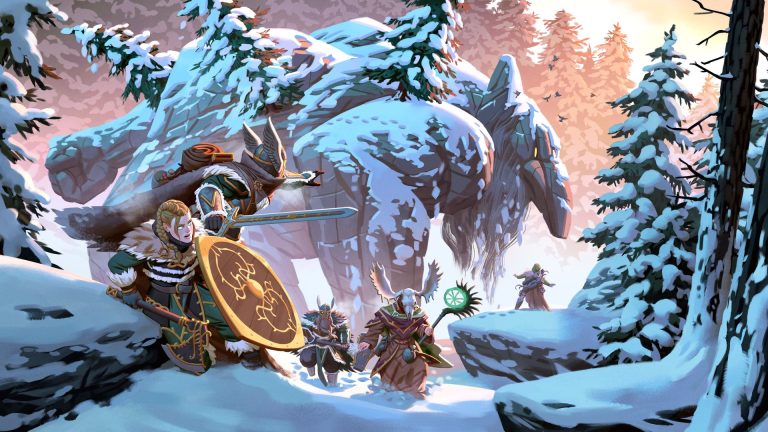
Valheim 1.0 Progression Guide reaches its final stage in Deep North, where it becomes less linear. First clear Winding Tunnels for Frostcores and moulds. Frostcores unlock the Frigid Kiln and Frost Foundry, while moulds are used to create casts for Nord gear and Intricate Keys.
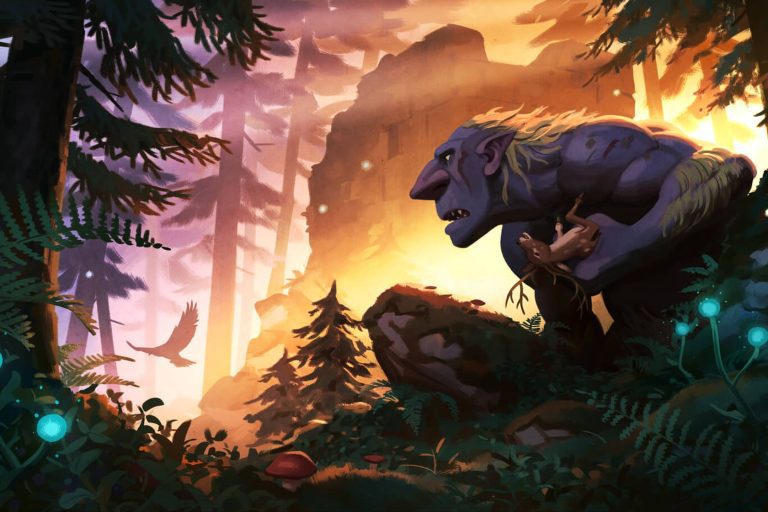
Kill Gammeltrolls and use Ember Charges on their petrified bodies to collect Petrified Tissue. Smelt that in a Blast Furnace to make Bloodgold. Bloodgold plus moulds creates casts, the Frigid Kiln turns Ice into Liquid Frost, and the Frost Foundry hardens those casts into finished items.
Mörkhalla, Jotun invasions and the final boss
An Intricate Key opens one Mörkhalla dungeon. At the bottom, break Malicious Ice to trigger a Jotun invasion somewhere else on the map. Travel to the marked invasion, defeat the Jotun and destroy the large Malicious Ice to obtain Malicious Blood.
You need three Malicious Blood for the Aesir Passage, so expect to repeat the Mörkhalla and invasion loop three times. That repetition is the final progression gate before Kall Fimbulbringer.
Follow the Valheim 1.0 Progression Guide through the item gates: upgrade food and armour, beat the biome boss and bring its unlocking materials to the next region.
Official site: Valheim
Once you reach the north, the Frostcore guide explains where your first crafting-station material comes from. Build the Frost Foundry to finish casts, then prepare for the Kall Fimbulbringer encounter after three successful Jotun Invasions.
Related Guides
Official source: Iron Gate’s Valheim 1.0 FAQ.