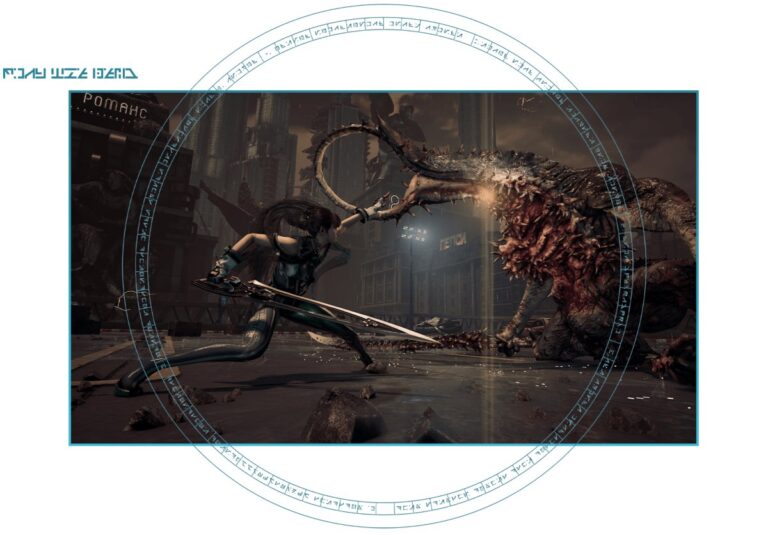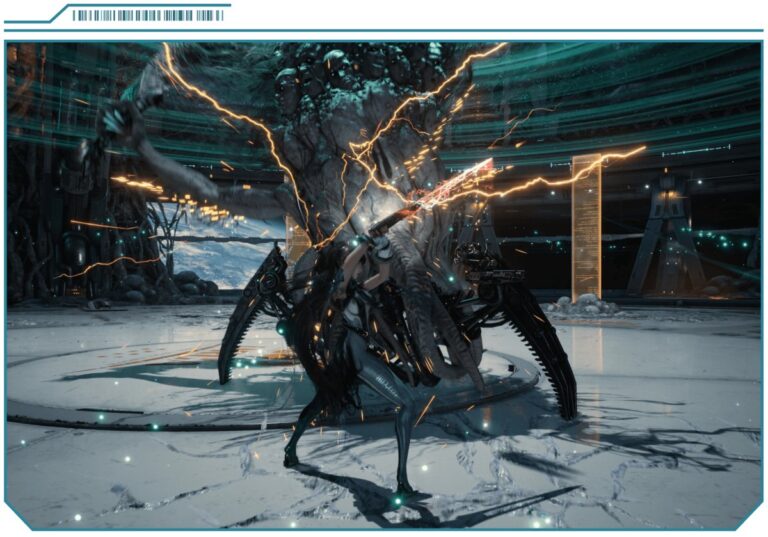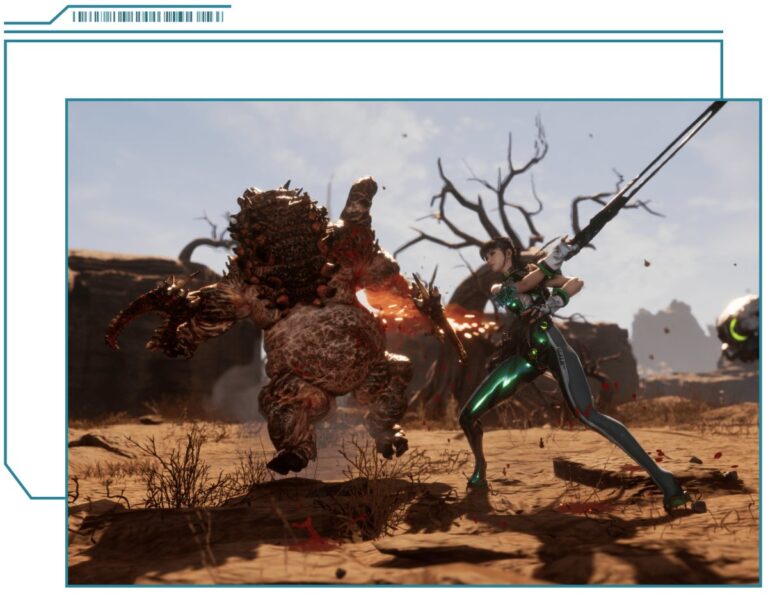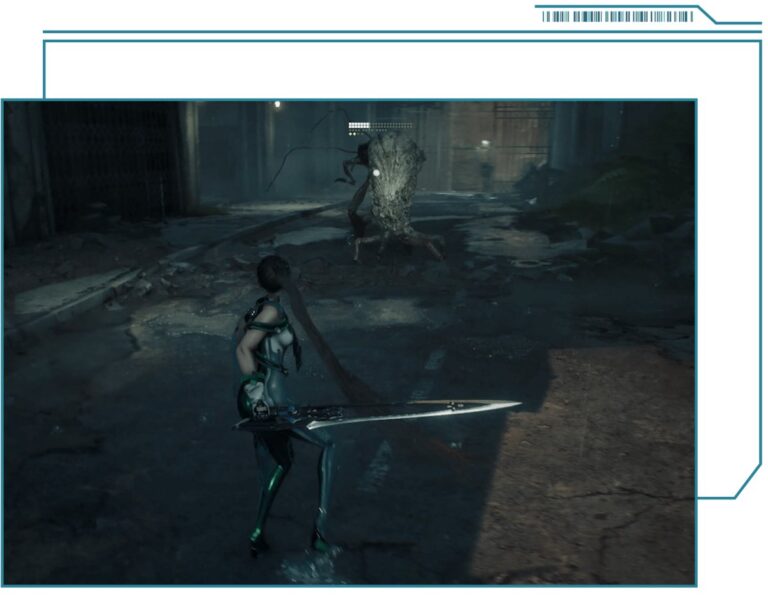
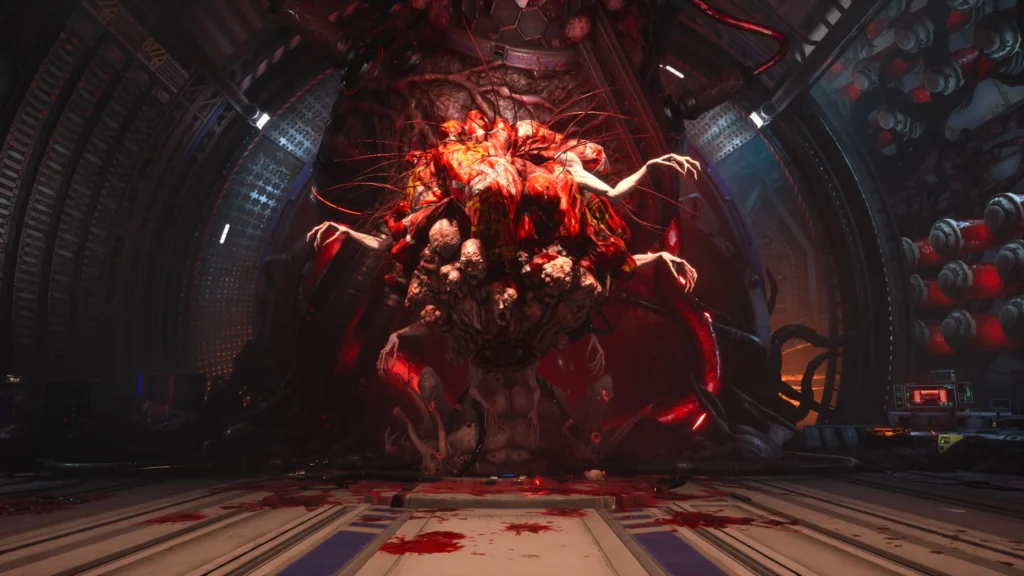
Stellar Blade Maelstrom boss is different from most other big fights because you’re supposed to shoot it, not win a sword duel. You’ll meet this enormous, stationary Naytiba in both Altess Levoire and Abyss Levoire, and the key is destroying the glowing weak spots until its central mouth opens.
In the Levoire facilities, EVE’s sword is disabled, so this is a Drone Gun boss fight. Aim at the glowing outer targets, dodge the incoming projectiles and hit the open maw when it appears. Your normal parry-heavy approach won’t work here.
Where to find the Stellar Blade Maelstrom boss encounters
The first Maelstrom fight takes place at the end of Altess Levoire, the underground research facility. A second, harder version appears at the end of Abyss Levoire. Both use the same essential ranged-weapon loop, but the later encounter is more demanding.
These underground sections restrict EVE to ranged combat, and the Maelstrom stays rooted in place. Your job is to keep a clean shooting angle while dodging its attacks. There’s no need to try sword combos or wait for a melee stagger.
How to damage the Stellar Blade Maelstrom boss weak spots
Look for the glowing pustules around Maelstrom’s body. Aim and shoot them while keeping an eye on incoming attacks. Once you’ve destroyed the relevant exterior weak points, the creature opens its large central maw, revealing the target that takes major damage.
When that opening appears, stop firing at the outside of the body and aim into the exposed centre. Slug shots can deal substantial damage during this window. If the mouth closes again and other weak points become relevant, return to clearing those first.
The Stellar Blade Maelstrom boss fight is easiest to understand as a repeated cycle: shoot glowing nodes, avoid the next volley, then punish the exposed mouth. You don’t need a fabricated number of pustules or a precise phase percentage to follow that pattern.
How to avoid Stellar Blade Maelstrom boss projectiles
Maelstrom attacks from a fixed position, but it can still fill the room with dangerous volleys. It fires groups of gooey projectiles and can sweep from one side to the other, forcing you to move even while lining up a shot. Watch the firing animation rather than keeping your aim fixed on one weak spot.
Watch for a volley of three spaced projectiles that leave damaging goop on the floor. Move into the gaps between their landing points rather than dodging toward a fresh puddle. Maelstrom can also release homing toxin balls, so keep moving even after you avoid the initial volley.
A useful Stellar Blade Maelstrom boss habit is to reposition between shots. Standing still and holding the trigger might damage a weak point, but it also makes you an easy target for the next volley. Keeping a clear sightline matters more than squeezing out one extra round.
Which ammunition works best for the Stellar Blade Maelstrom boss?
Your Drone Gun is the important tool for both fights. Use accurate shots to destroy external weak spots, then favour powerful slug ammunition when the central maw opens. Don’t waste your strongest ammo against an armoured surface if the actual damage window isn’t available yet.
Restock ammunition before entering. If you run low during the fight, Maelstrom can release small Test Subject enemies; shooting them before they reach you can replenish ammo. Don’t run right up to the boss for supplies, since it has a close-range area attack.
Is the Abyss Levoire Stellar Blade Maelstrom boss different?
The later version uses the same target priority: glowing exterior spots first, exposed mouth second. The difficulty and rhythm can vary, so don’t assume that knowing the Altess encounter means you can stand in the same place and repeat the same timing.
The Abyss Levoire fight uses the same weak-spot and mouth pattern. Relearn the projectile rhythm rather than assuming the later encounter plays out at exactly the same pace, and preserve stronger shots for the centre.
What if the Stellar Blade Maelstrom boss fight still won’t end?
If the health bar barely moves, check what you’re shooting. Destroy the glowing outer nodes, then fire into the exposed mouth. If you’re running out of ammo, deal with the Test Subjects when they appear. If you’re being hit by the laser, wait until it finishes before aiming again.
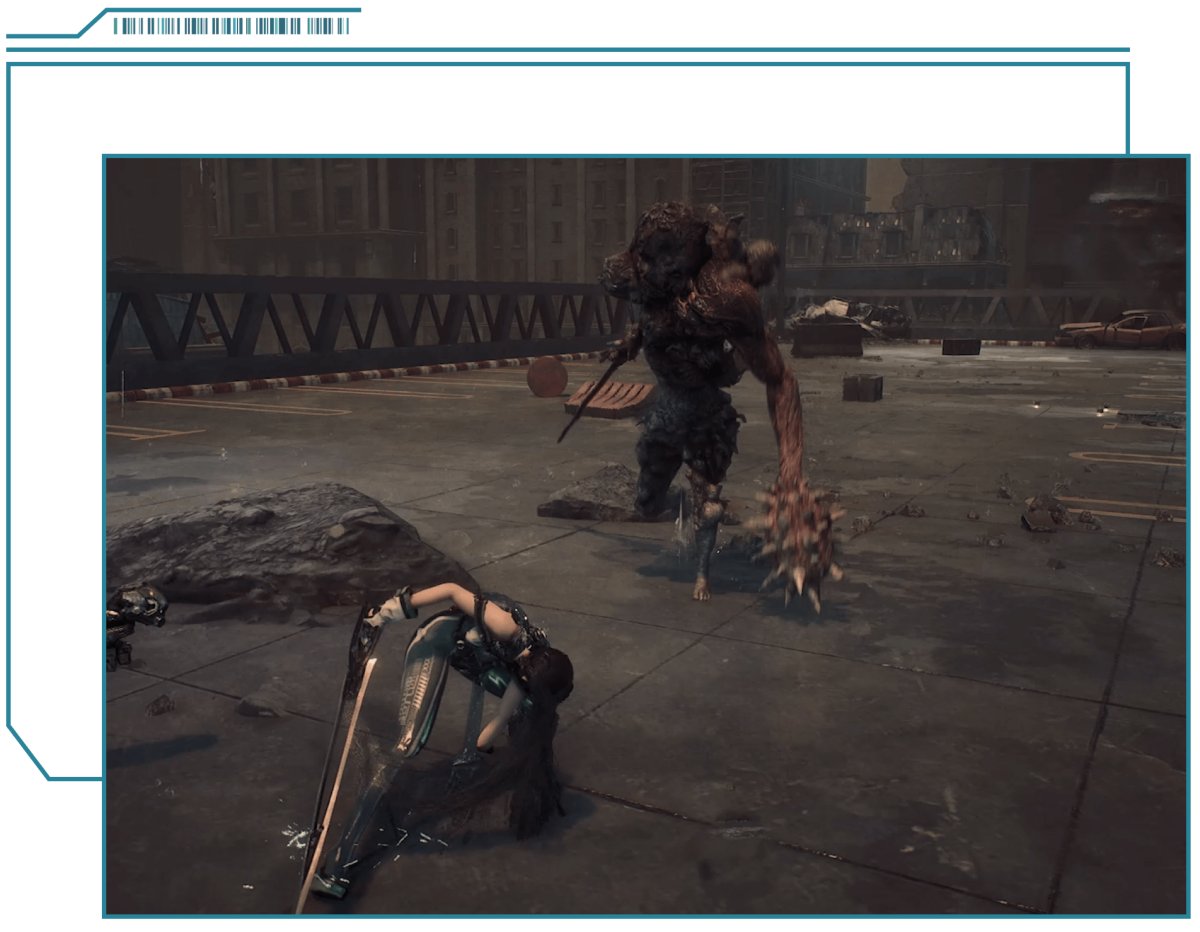
Don’t search for a melee parry combination as the solution to this encounter. Perfect Blocks are valuable against other Naytiba, but Maelstrom is designed around the Drone Gun. Defeat the visible weak points, move out of the goo and use the brief central opening.
That approach applies to both Altess and Abyss Levoire on PS5, PC and Switch 2. Button prompts can differ by platform or custom layout, so this guide focuses on the targets and timing rather than inventing a Switch 2 control combination.
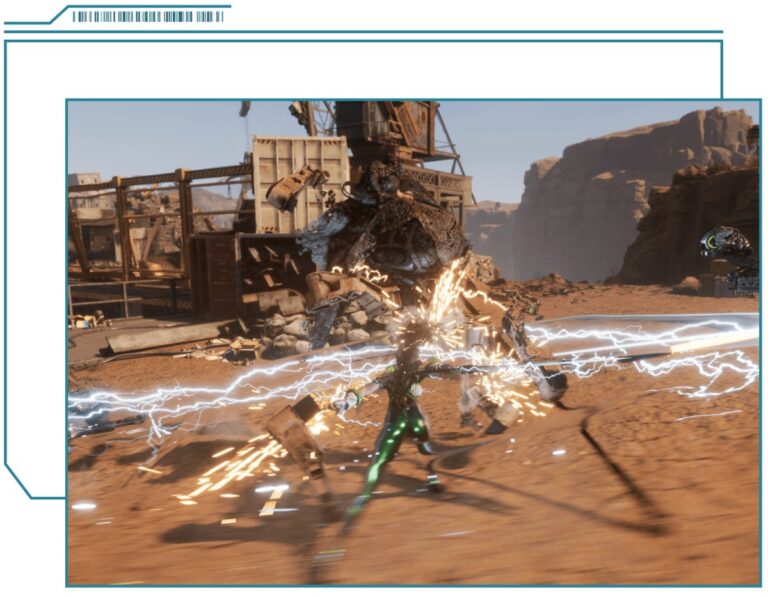
For an entirely different sort of boss, try Abaddon’s sword-and-lightning fight or Gigas’s ground-pound encounter. Boss Challenge and the Perfect Block guides are linked below if you want to practise EVE’s other combat systems.
Related Guides
Official source: PlayStation’s official Stellar Blade combat overview.