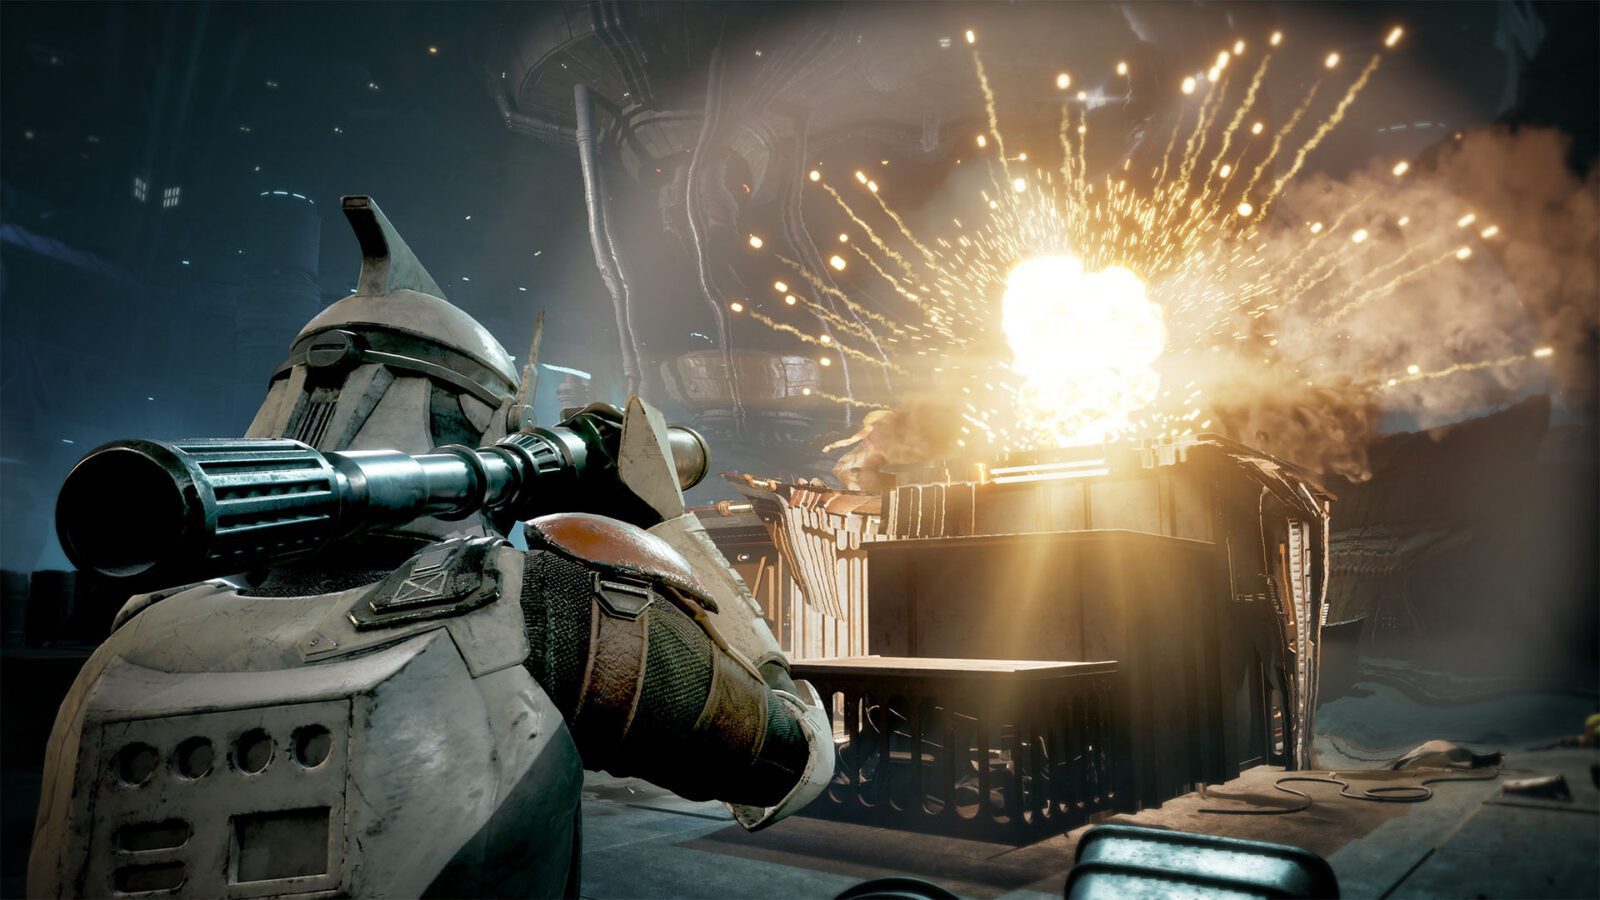
Star Wars Zero Company Tactical Mission Guide starts at The Den, where each Cycle offers Operations and Tactical Missions through the holotable. Operations are strategic assignments that can give instant rewards or unlock more content, while Tactical Missions are the turn-based combat layer where you choose a squad and deploy onto a battlefield.
A useful Star Wars Zero Company Tactical Mission Guide therefore begins before combat. Read the objective, check which Operators are required, inspect Injuries, choose a four-person squad and make sure each character still has the AP, Advantage and Utility tools needed for the mission type.
How Tactical Missions work in the Star Wars Zero Company Tactical Mission Guide
Each Cycle ends with a Tactical Mission selection. Both Operations and Missions can expire, while story-critical missions eventually become obligatory if left too long.
General Tactical Mission types include Sabotage, Combat, Rescue, Retrieval and narrative missions centred on a particular hero. The objective should influence your squad more than a generic tier list does.
Choose the right squad in the Star Wars Zero Company Tactical Mission Guide
A normal squad has up to four Operators, with Hawks required on story missions. Fill the remaining slots around the objective: bring movement for Rescue or Retrieval, control for defended positions, and support when Injuries would be especially costly.
Check Bonds and current health, but do not deploy an injured favourite just to preserve a familiar team. A healthy replacement can be a better choice than carrying a Chance-to-Hit penalty into a dangerous mission.
Free-roam phase in the Star Wars Zero Company Tactical Mission Guide
Story missions can include a small third-person free-roam phase before tactical combat. Explore instead of sprinting straight to the encounter because the phase can provide world details, Intel Points and Advantage before the first normal combat turn.
Starting a fight with extra information or Advantage can change the opening round, especially if your squad has expensive control or ultimate abilities.
Action Points in the Star Wars Zero Company Tactical Mission Guide
Each Operator normally begins a turn with three AP. Movement, attacks, Utilities and some abilities all compete for those points, and you can perform actions in flexible order rather than being locked into one move and one attack.
Before spending the first AP, look at the whole turn. Moving into a flank is only useful if enough AP remains for the shot, while firing first can sometimes open a safer route for the movement that follows.
Advantage in the Star Wars Zero Company Tactical Mission Guide
Advantage is shared across the squad and is used for powerful special actions. Damage can generate the resource, while abilities such as Combat Recon can accelerate the pool by assessing several enemies.
Do not let the first Operator spend all 10 points simply because an ability is available. Check which later character has the ability that solves the objective or dangerous enemy more efficiently.
Cover, Overwatch and assists in the Star Wars Zero Company Tactical Mission Guide
Use cover whenever the objective allows it, and remember that Call for Backup can add a nearby teammate’s attack to your action. Overwatch spends the remainder of an Operator’s plan on reaction pressure during the enemy turn.
Those systems reward positioning the squad as a group. A lone Operator may have a great shot but no assist, no rescue route and no Overwatch support if the enemy counterattacks.
Rally and Injuries in the Star Wars Zero Company Tactical Mission Guide
When an Operator reaches zero Health, they become Downed and gain an Injury. Another Operator can Rally them back into the fight, but the Injury remains until medical treatment after the mission.
Make the rescue route safe before committing another squad member. Losing a second Operator while attempting a reckless Rally is one of the fastest ways to turn one bad round into a campaign problem.
How to finish the Star Wars Zero Company Tactical Mission Guide cleanly
Once the objective is secure, stop taking unnecessary risks for extra kills unless the mission explicitly rewards them. Tactical Missions are part of a larger campaign, so preserving healthy Operators can be more valuable than squeezing every enemy off the map.
Star Wars Zero Company Tactical Mission Guide is about managing the whole chain from The Den to the final objective. Choose the right mission, bring the right four, use free-roam opportunities, plan AP and Advantage together, and protect the squad from Injuries that carry into the next Cycle.