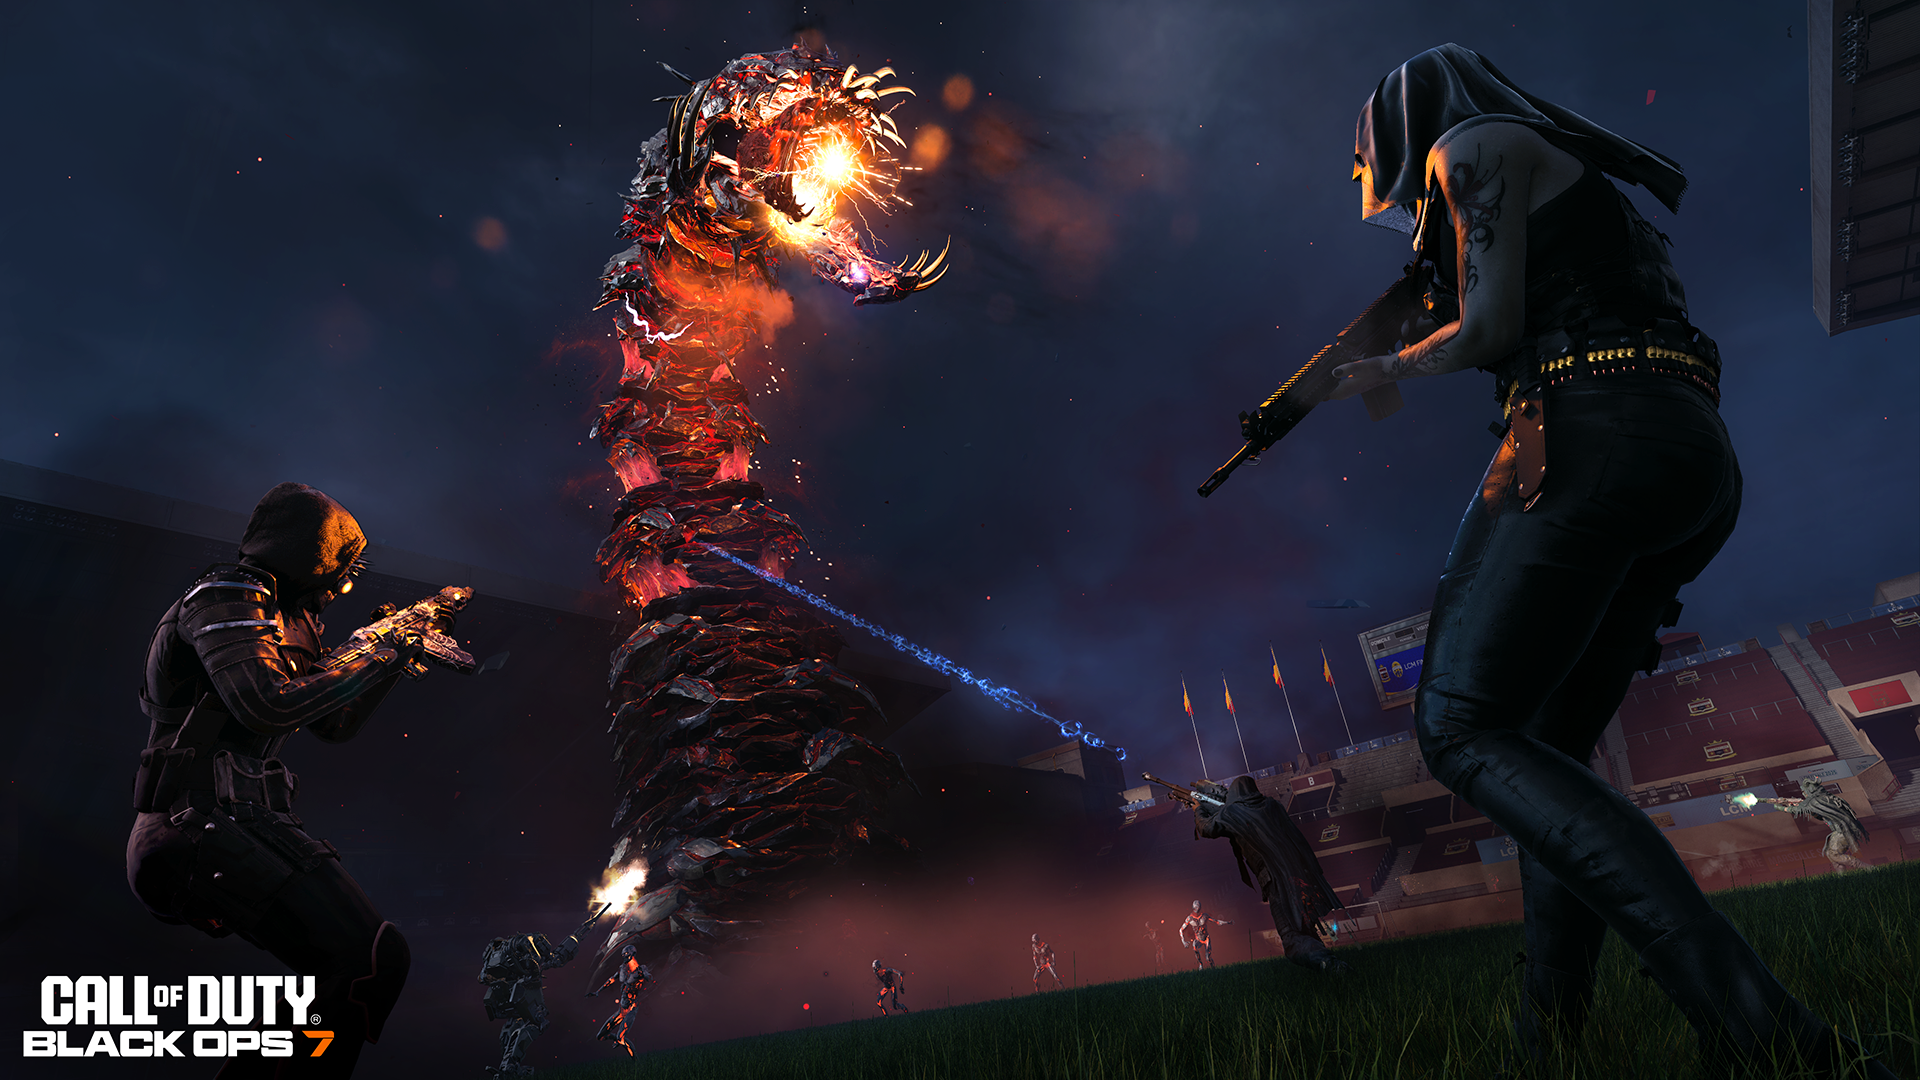
Black Ops 7 Greylorm Weak Spots are the glowing vulnerable areas you should focus during the Forbidden Summoning boss fight at Trinity Stadium. Greylorm has a large body and a substantial health pool, so simply firing into whichever section is easiest to see can burn through the ammunition you saved during the three Summoning Seals. Watch for the glowing target areas and make those damage windows count.
Black Ops 7 Greylorm Weak Spots become especially important because the boss repeatedly interrupts your aim with orb attacks, a sweeping laser, close-range bites and burrow attacks. The fight rewards short, accurate bursts of meaningful damage followed by movement. If you cannot see a vulnerable area clearly, surviving the current attack and repositioning is often more useful than holding the trigger into the boss body.
Black Ops 7 Greylorm Weak Spots explained
Look for the glowing areas on the worm when Black Ops 7 Greylorm Weak Spots are exposed. Those are the visual cue for where the squad should concentrate fire. Communicating one target helps prevent four players from spraying different sections of the boss while the damage window passes. Accuracy is particularly valuable if your Exotic or primary boss weapon has limited reserve ammunition.
The exact angle changes as Greylorm surfaces and rotates around the Stadium. Black Ops 7 Greylorm Weak Spots are therefore not a single permanent floor marker that you can camp beside. Track the boss, maintain enough distance to see its body and shift position when stadium structures or other players block the glowing target.
What to do when a weak spot is not exposed
Do not force damage when Black Ops 7 Greylorm Weak Spots are unavailable or hard to hit. Use that time to clear nearby enemies, reload, restore armour and prepare for the next attack. The fight contains multiple survival mechanics, and getting knocked or eaten costs the squad far more damage than waiting a few seconds for a clean shot.
Floating orbs can be destroyed before they reach you, the laser should be sidestepped and the burrow attack is a cue to move rather than continue aiming at the ground. Black Ops 7 Greylorm Weak Spots matter most when you are alive and positioned to shoot them, so treat defensive movement as part of the damage cycle rather than lost time.
Positioning for cleaner weak-point shots
Keep enough range to read the boss animation. Black Ops 7 Greylorm Weak Spots are easier to track when you are not directly underneath the worm or trapped against the edge of the active fight area. Close positioning also increases the danger from bites and sudden resurfacing, which can turn a good damage phase into an emergency revive.
If the worm burrows, spread and watch for its return. If you are launched upward, deploy the wingsuit to recover instead of dropping straight back into danger. Once Greylorm resurfaces, reacquire the glowing target and resume fire. This repeated reset is the core of using Black Ops 7 Greylorm Weak Spots efficiently throughout the encounter.
Ammo management during the Greylorm fight
Because the Forbidden Summoning setup can require as many as 300 Exotic weapon eliminations, players often reach Trinity Stadium with less ammunition than expected. Black Ops 7 Greylorm Weak Spots help stretch those remaining rounds by giving the squad an obvious priority target. Avoid wasting magazines on homing orbs unless they are an immediate threat, and use the Stadium Munitions Box when you genuinely need to refill.
The best Black Ops 7 Greylorm Weak Spots strategy is simple: survive the attack, identify the glow, focus the exposed area and reset when the boss changes phase or position. You do not need a complicated puzzle once the worm is active. The challenge is maintaining that discipline while the arena fills with pressure and the boss keeps forcing you to move.
Official source: Call of Duty