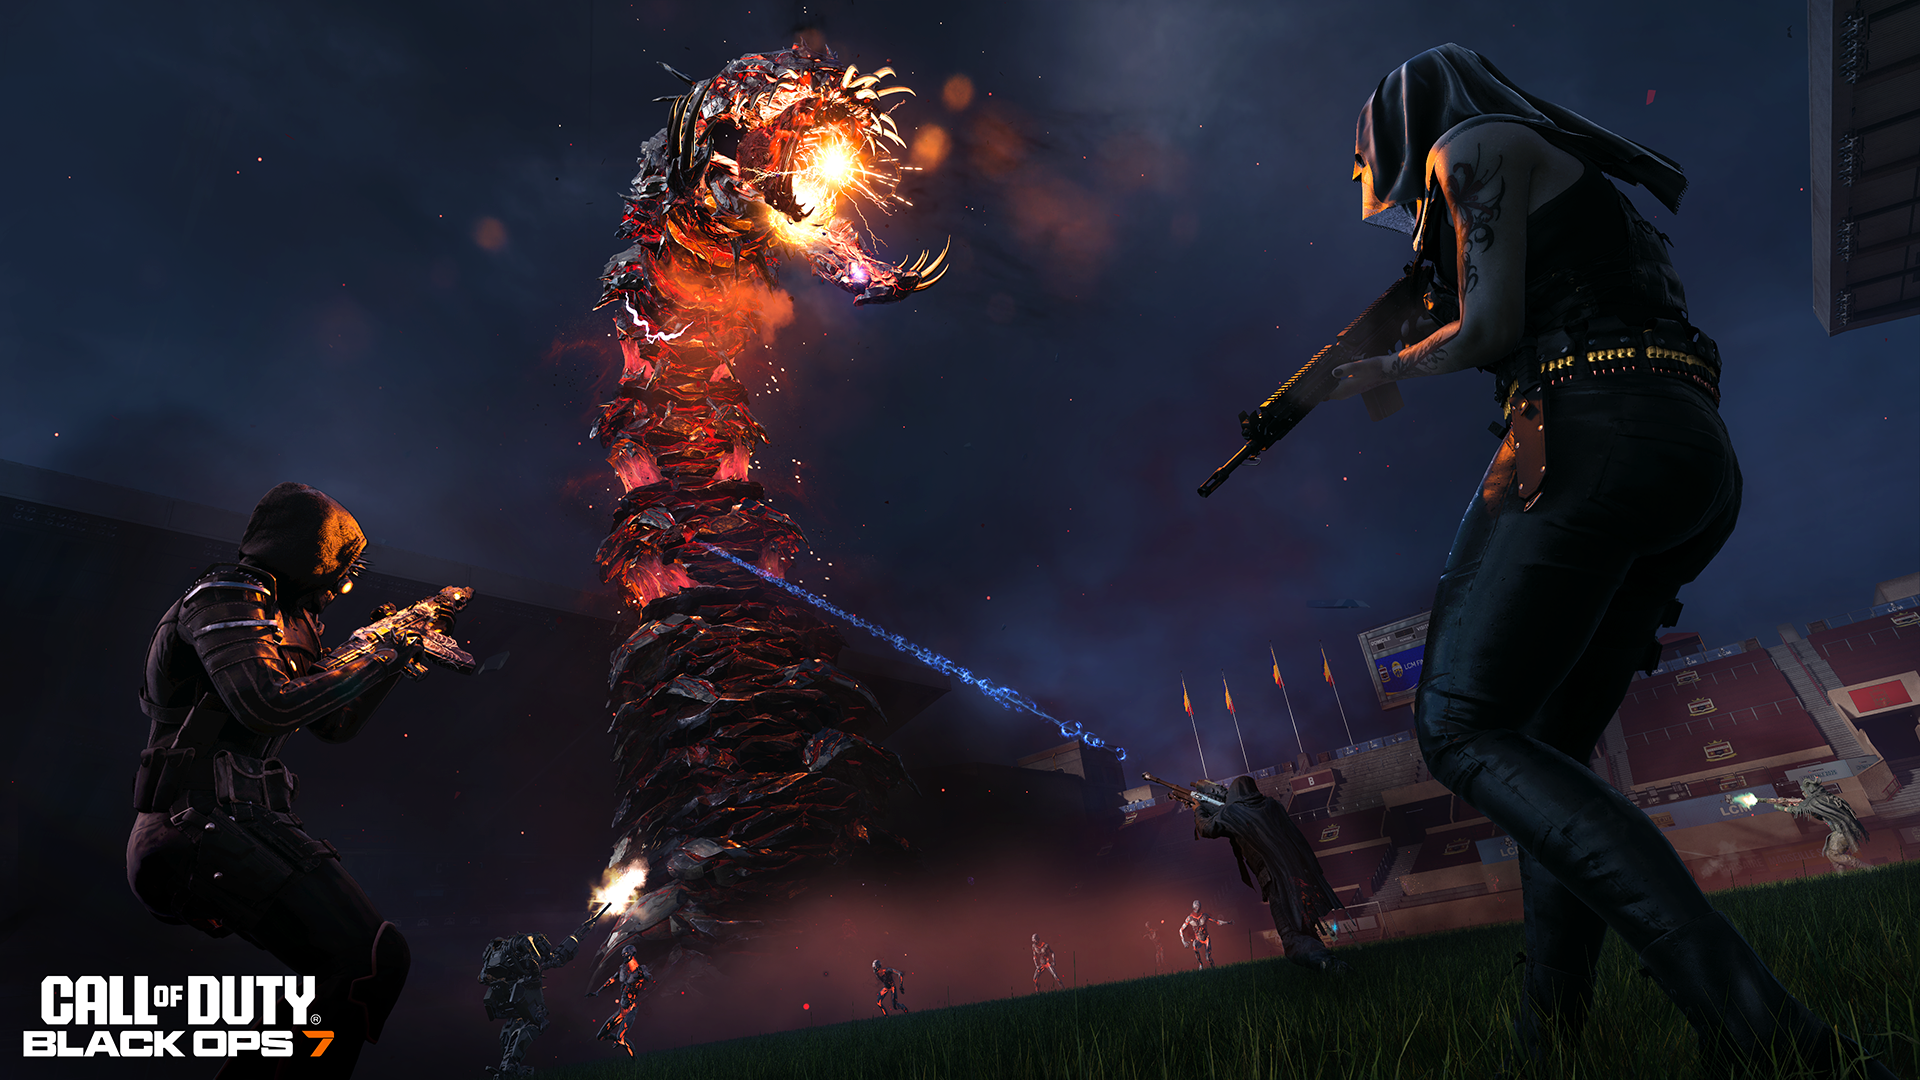
Black Ops 7 Greylorm is the Aether Worm boss at the end of the Season 6 Forbidden Summoning World Event. The fight only starts after all three Summoning Seals are broken on Avalon Night, with each seal requiring a Ritual Orb escort followed by 100 Exotic weapon eliminations. Once the third seal goes down, stop searching the wider map and move toward Trinity Stadium for the final encounter.
Black Ops 7 Greylorm is much easier when you arrive with ammunition, armour and a weapon you can control accurately under pressure. The boss exposes glowing weak points that should be your primary damage target. Dumping ammunition into the body when those vulnerable areas are available is inefficient, especially after a run that may already have consumed hundreds of rounds across the three seal rituals.
Black Ops 7 Greylorm weak points and damage windows
Focus Black Ops 7 Greylorm whenever its glowing weak points are exposed. The safest rhythm is to damage those areas during clear windows, then prioritise survival when the boss begins an attack. The encounter is not just a stationary damage check. Greylorm changes position, burrows and forces players to respond to projectiles and a sweeping beam while additional enemies keep the arena busy.
Do not tunnel vision on the health bar. Black Ops 7 Greylorm can spit floating damaging orbs, fire a laser across the arena, bite players who remain too close and burrow before resurfacing beneath a target. Those attacks punish players who stand still and keep firing. Break contact for a moment when necessary, then return to the weak points once the immediate threat is gone.
How to survive Greylorm attacks
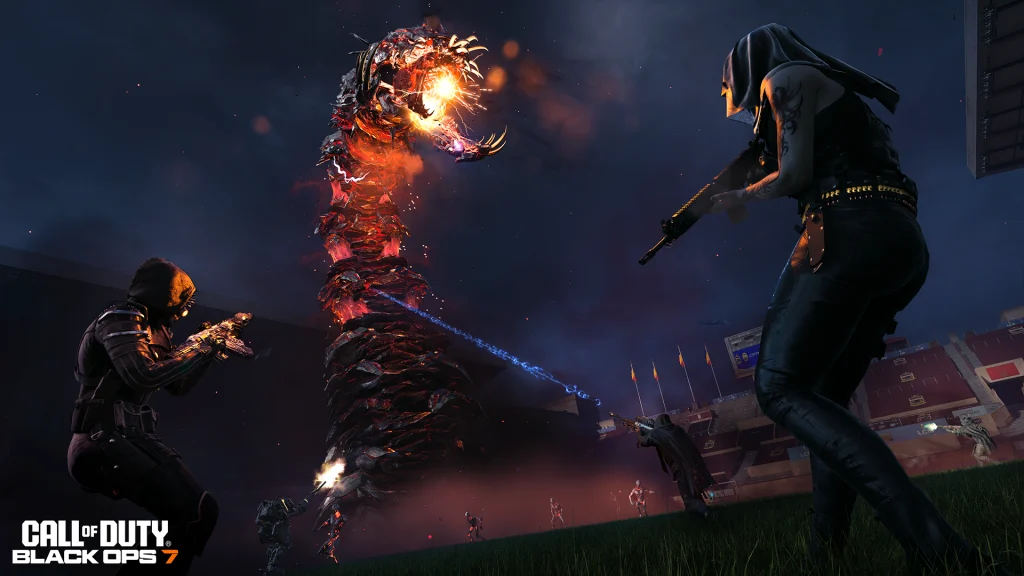
When Black Ops 7 Greylorm launches floating orbs, shoot the dangerous projectiles before they reach you if you have a clean angle. For the laser, move out of the beam path rather than trying to absorb it. Keep sensible distance to reduce bite pressure. When the worm disappears underground, move away from the likely resurfacing area and be ready to use the wingsuit if you are thrown into the air.
Trinity Stadium gives you room to reposition, so use it. Black Ops 7 Greylorm becomes harder when the whole squad crowds one patch of the arena and then gets forced to react to the same attack at once. Spread enough to preserve movement options while staying close enough to revive and support each other. Live runs also identify a Munitions Box on the east side of the Stadium, which can help during a long attempt.
Best preparation before the boss appears
Forbidden Summoning can drain resources before Black Ops 7 Greylorm ever spawns. If your lobby completed separate seals, use the travel window to reload, replace armour and regroup. If you personally handled multiple 100-kill rituals, do not rush straight into the Stadium with an empty reserve. The boss phase rewards sustained damage and controlled movement more than arriving a few seconds earlier.
An Exotic is mandatory for the seal kills, but the Black Ops 7 Greylorm fight should be approached as a boss encounter rather than another Exotic counter. Keep the weapon that gives you the best balance of damage, ammo and accuracy. The important boss mechanic is hitting exposed weak points while surviving the attack cycle, not continuing to farm another 100 eliminations.
Black Ops 7 Greylorm rewards
Defeating Black Ops 7 Greylorm completes the Forbidden Summoning World Event and produces the event reward path, including an Exotic Skill reward and the Heatsync AAROW 19 Exotic weapon. Heatsync is particularly useful because firing it at the ground can launch your Operator into the air, giving the weapon a mobility role as well as a combat role.
Collect your rewards and finish the run cleanly. Black Ops 7 Greylorm is the endpoint of a long shared event, so dying or abandoning the deployment after the boss wastes the chance to preserve useful Endgame gear as Field Acquisitions. Once the boss is down, shift from damage mode to securing what dropped and completing your extraction plan.
Official source: Call of Duty