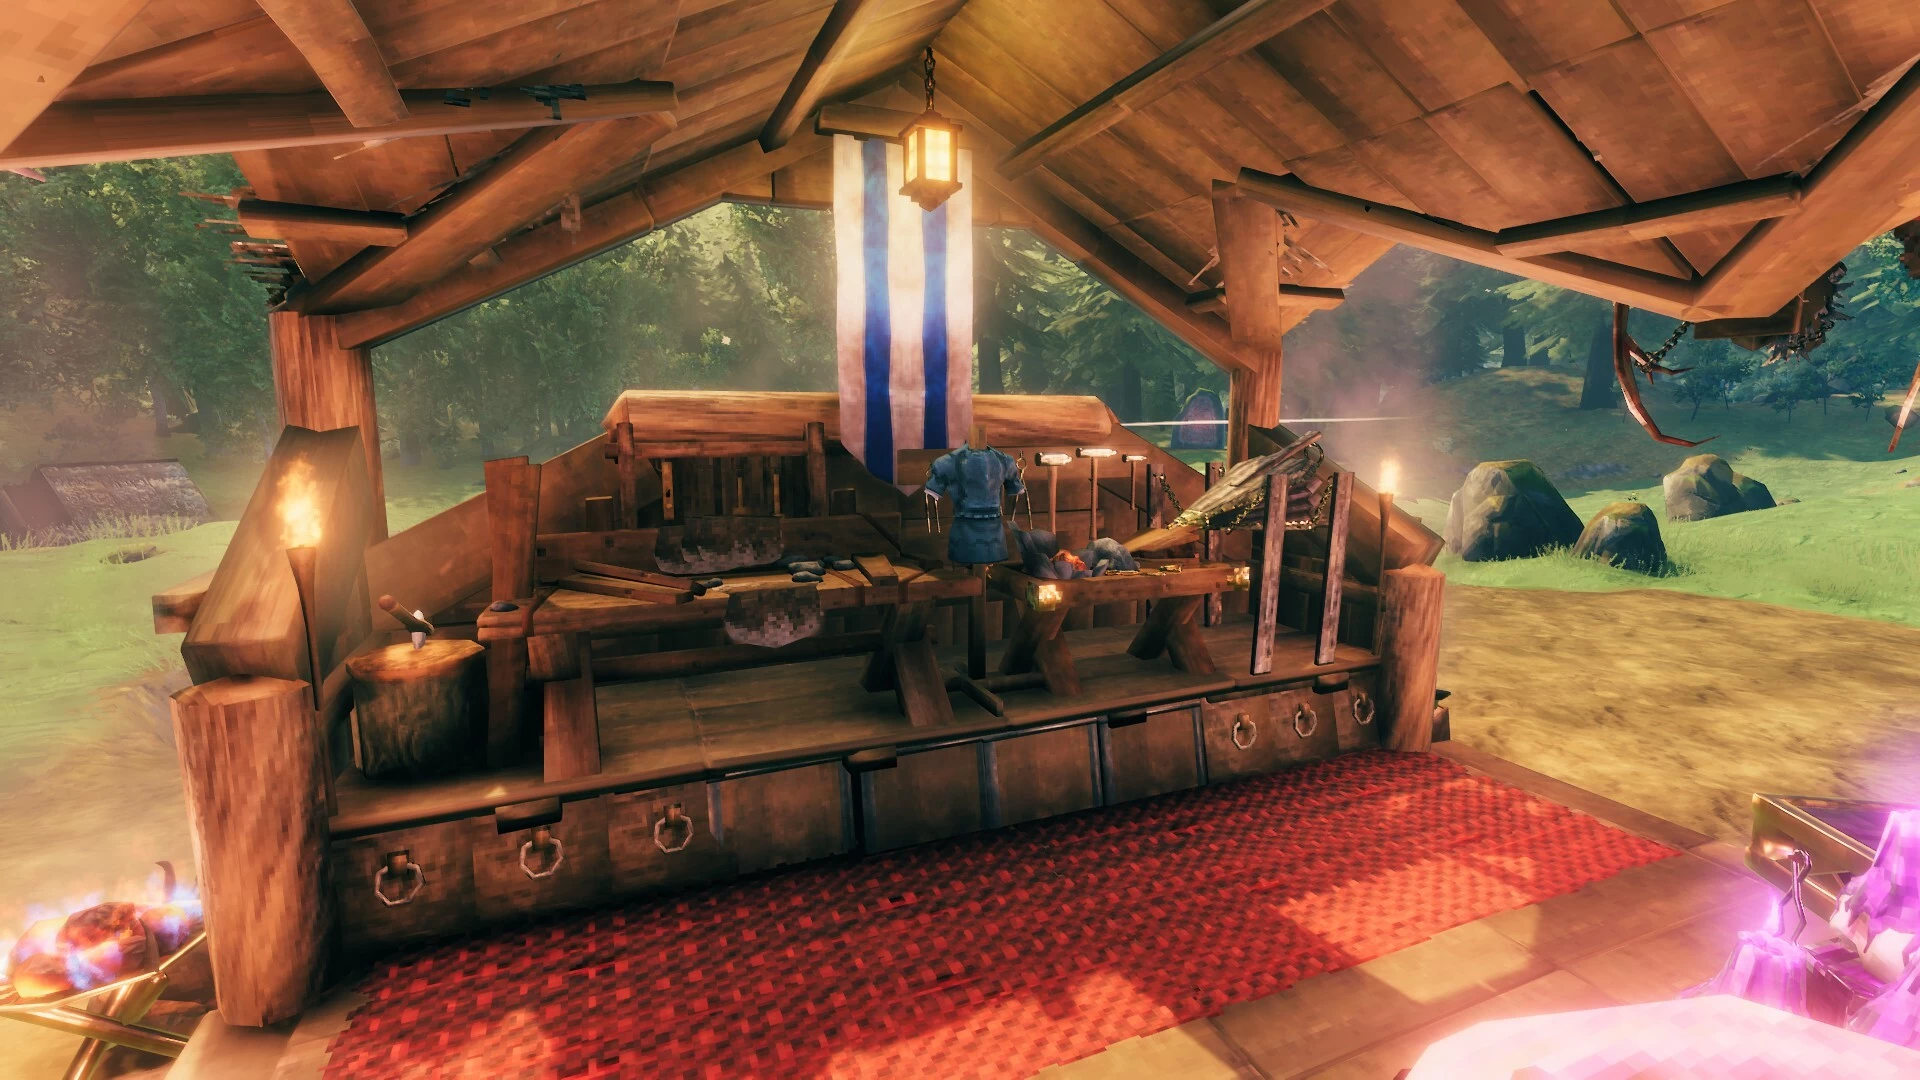
Valheim workbench upgrades are the Chopping Block, Tanning Rack, Adze and Tool Shelf. A basic Workbench starts at level 1, and each unique improvement placed close enough raises the station by one level, giving a maximum Workbench level of 5.
Workbench level 1
The Workbench costs 10 Wood and can be placed with the Hammer. Before worrying about Valheim workbench upgrades, give the station a proper roof and enough cover to use the crafting and repair interface.
The Workbench also creates a build radius and suppresses normal enemy spawning nearby even if it is not covered.
Chopping Block
The Chopping Block costs 10 Wood and 10 Flint.
This is usually the first of the Valheim workbench upgrades because Flint is available along Meadows shorelines from the start. Place it close to the Workbench until the glowing connection shows that it is recognised.
With one improvement active, the Workbench reaches level 2.
Tanning Rack
The Tanning Rack costs 10 Wood, 15 Flint, 20 Leather Scraps and 5 Deer Hide.
Leather Scraps come mainly from Boars, while Deer Hide comes from hunting Deer. Like every other improvement, you do not interact with the rack directly.
Adding it alongside the Chopping Block raises the station another level.
Adze
The Adze requires 10 Fine Wood and 3 Bronze.
Fine Wood normally means cutting Birch or Oak after making a Bronze Axe, while Bronze comes from Copper and Tin.
This makes the Adze the first of the Valheim workbench upgrades tied directly to Black Forest metal progression. Place it close enough to the station for its connection to register.
Tool Shelf
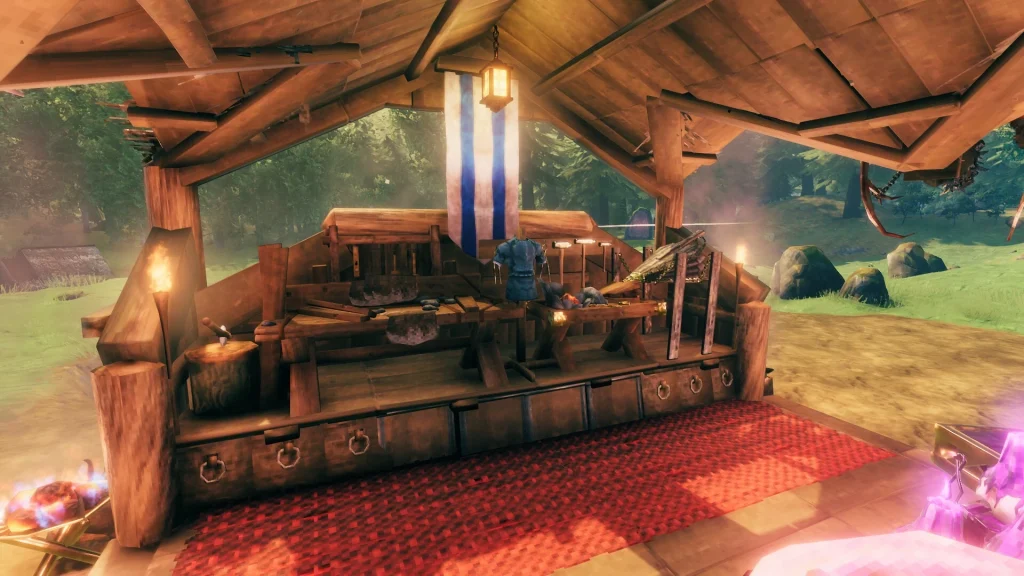
The Tool Shelf is the final Workbench improvement and requires 10 Fine Wood and 4 Iron.
Iron comes from Swamp progression, so maximum Workbench level is not meant to be available during the opening hours.
Mount the Tool Shelf close to the station. With all four unique improvements connected, the Workbench reaches level 5.
Upgrade order does not matter
Valheim workbench upgrades do not have to be built in a strict order. Each unique piece adds one level.
Normal biome progression simply makes the Chopping Block and Tanning Rack easier to build before the Adze and Tool Shelf.
Duplicates do not stack, so three Chopping Blocks still provide only one extra Workbench level.
Why an upgrade may not count
Distance is the usual problem.
Move the improvement closer until the glowing link confirms the Workbench recognises it. Walls do not necessarily block the connection, so upgrades can be hidden around or behind a workshop if they remain close enough.
A second Workbench across the room does not automatically inherit the Valheim workbench upgrades attached to the first.
Full Workbench upgrade material list
Building every Valheim workbench upgrades piece requires 30 Wood, 25 Flint, 20 Leather Scraps, 5 Deer Hide, 20 Fine Wood, 3 Bronze and 4 Iron in total, not counting the 10 Wood for the Workbench itself.
You do not need to collect everything at once. The intended progression is gradual, with early upgrades arriving in the Meadows and Black Forest before Iron finally completes the station during Swamp progression.
What higher levels do
Higher Workbench levels unlock additional crafting options and allow higher quality upgrades on Workbench-based items.
The build radius also grows as the station is improved, making an upgraded Workbench useful for larger building projects.
Repairing remains free at every level.
If an item says a higher station level is required, check the number shown in the Workbench interface and confirm every improvement still exists.
Workbench range also grows
Each improvement also increases the Workbench’s build radius. That gives Valheim workbench upgrades a construction benefit as well as a crafting benefit, especially around larger bases where the original level-one radius feels restrictive.
If a building piece suddenly says a Workbench is required near the edge of your base, completing more upgrades may extend an existing station far enough to cover the area without adding another Workbench.
Best permanent setup
Place the Workbench inside a compact covered room, then arrange the Chopping Block, Tanning Rack, Adze and Tool Shelf around the walls.
That keeps Valheim workbench upgrades close enough to count without filling the centre of the workshop.
Once the station shows level 5, the standard Workbench setup is complete and can fully support the equipment and recipes tied to it throughout the rest of the game.
Official site: Valheim