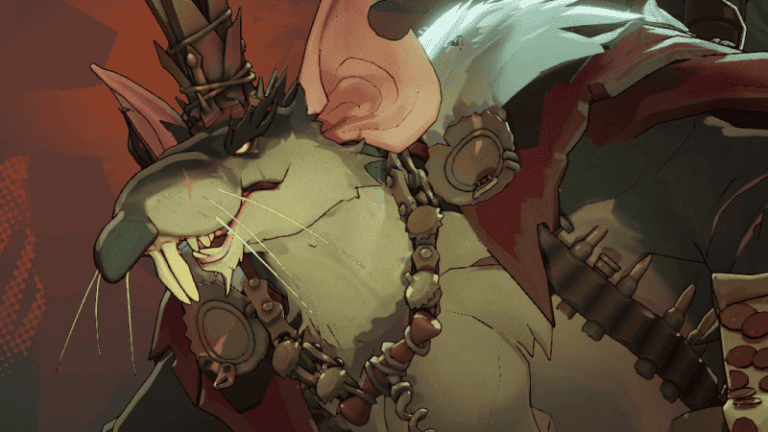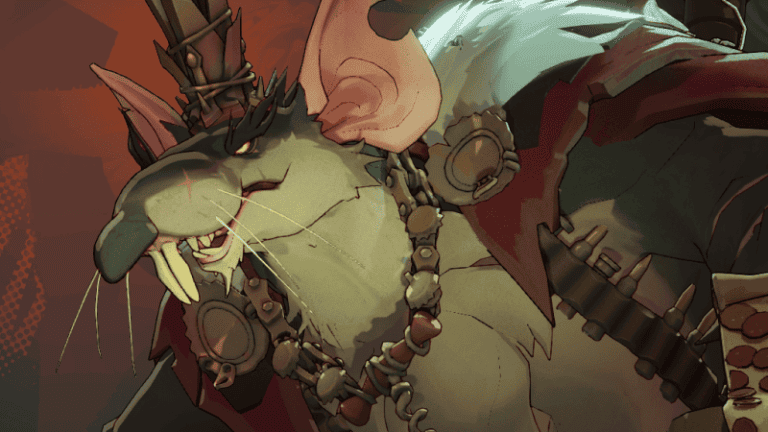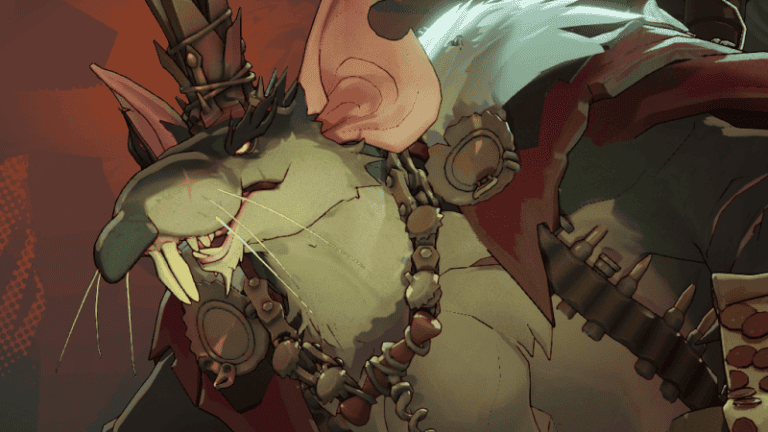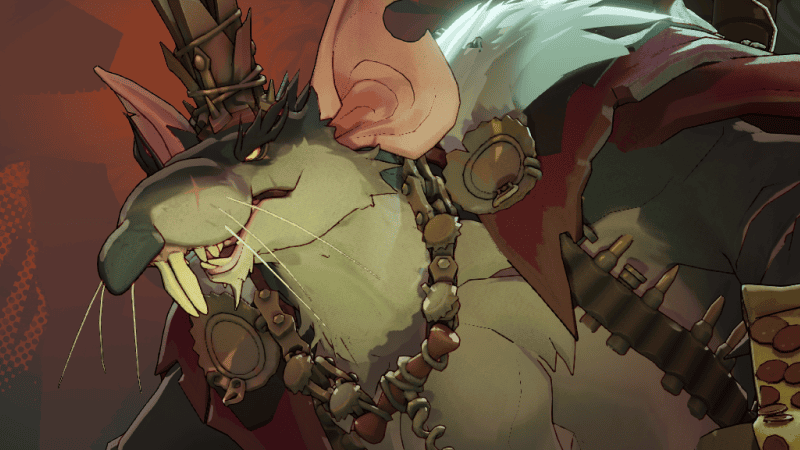
Deadlock Rat Swarm is Rat King’s second ability and one of the most important mechanics in his launch kit because the rats can stack on the same enemy, bite faster as more attach and eventually reduce Bullet Resist. The ability also has unusually clear counterplay: an enemy can perform a ground dash or air dash to shake off an attached rat early.
Understanding Deadlock Rat Swarm matters even if you are not playing Rat King. The ability changes when you should spend stamina, when Rat King should commit to gun damage, and why his ultimate becomes more dangerous than its banner buff alone suggests. Rule, Ratannia! can release rats from the sewers and apply Rat Swarm during the same teamfight.
Deadlock Rat Swarm base mechanics
| Mechanic | Live value |
|---|---|
| Damage per bite | 8 Spirit Damage before the final upgrade |
| Bite interval | 1 second per rat |
| Base debuff duration | 4 seconds |
| Stacking | Multiple rats can attach to one enemy |
| Early removal | Ground dash or air dash shakes off a rat |
| Final upgrade | +8 bite damage and -1% Bullet Resist per bite |
The most important Deadlock Rat Swarm rule is that more attached rats increase the bite frequency on the victim. That means the ability scales through pressure rather than behaving like a single fixed damage-over-time effect. A target with several rats has a much stronger reason to dash immediately.
How multiple rats work
Deadlock Rat Swarm allows several rats to remain on one enemy at once. Each rat has its own bite interval, so attaching more rats causes damage events to happen more often. The target is not merely refreshing one identical debuff timer. The number of rats actually changes how much pressure the ability produces.
This is why Rat King prefers targets that have already spent stamina or are fighting in cramped space. If an enemy can dash repeatedly, they can remove rats before the full pressure develops. If their stamina is low, they must choose between accepting more bites or spending the movement resource they may need to escape the rest of Rat King’s team.
How to remove Rat Swarm
The direct counter to Deadlock Rat Swarm is a ground dash or air dash. Performing a dash shakes off a rat early. Because multiple rats can attach, one defensive dash should not be treated as a guaranteed full cleanse when several rats are already on you.
That creates an important decision. Dashing immediately can reduce the damage and stop the later Bullet Resist pressure from building, but burning stamina at the wrong moment can leave you vulnerable to Scrap Grenade, enemy crowd control or a chase. When Rat King is nearby, try to keep at least one stamina option available rather than spending every dash on basic travel.
Rat Swarm upgrades
The first Deadlock Rat Swarm upgrade adds another charge, giving Rat King more opportunities to apply rats across a fight. The second upgrade increases swarm size and adds four seconds to the debuff duration. That duration increase is significant because it gives the rats more time to keep biting if the enemy cannot remove them.
The final upgrade adds 8 damage per bite and 1% Bullet Resist reduction per bite. This is the point where Deadlock Rat Swarm becomes especially valuable for a Weapon-heavy Rat King. The bites themselves remain Spirit Damage, but the victim becomes increasingly attractive as a gun target while the reduction accumulates.
Why Bullet Resist reduction matters
Rat King’s weapon pressure is the reason Deadlock Rat Swarm should not be judged only by the bite damage number. Once upgraded, each bite reduces Bullet Resist. Rat King can therefore use the ability to make his following gunfire more effective, particularly when several rats remain attached long enough to bite repeatedly.
This also explains why common early and mid game Rat King builds favour reliable Weapon items and magazine size. A large chunk of the hero’s payoff happens after the ability lands. If Rat King is forced to reload or loses the angle just as the target becomes easier to shoot, part of the swarm’s value is wasted.
How Rule, Ratannia! applies Rat Swarm
Deadlock Rat Swarm is not limited to pressing ability two. Rule, Ratannia! slams the banner into the ground, erupts the sewers, damages and knocks up enemies, then releases rats that apply Rat Swarm to enemies they hit. That lets the ultimate begin the same pressure cycle while Rat King’s team is fighting inside the banner aura.
The combination is nasty because the enemy is dealing with several problems at once. The banner gives nearby allies movement speed, slow immunity and damage reduction, while the enemy side can be knocked up, slowed and tagged with rats. A dash used to remove a rat is a dash that may not be available for leaving the banner zone.
Best way to use Rat Swarm as Rat King
The best Deadlock Rat Swarm targets are enemies who have just dashed, are trapped in a narrow route, are already slowed by Scrap Grenade, or are committed to fighting around an objective. Those situations reduce the chance that the target can immediately spend movement to remove the rats and disengage.
Do not throw every charge into different targets automatically. Spreading rats can create pressure across a team, but stacking several on one priority enemy increases bite frequency and can make the Bullet Resist reduction much more useful for focused gun damage. Choose between spread and focus based on what your team can actually shoot.
How to play against Rat Swarm
When you are facing Deadlock Rat Swarm, watch your stamina before committing. If Rat King still has rats available, entering a fight with no dash makes the debuff much harder to remove. Ground and air dashes are the specific early-removal tools described by the live ability.
Also respect Rat King’s follow-up bullets. The final swarm upgrade rewards him for shooting the same victim the rats are biting. Breaking line of sight after the application can deny some of that gun conversion even if you cannot remove every rat immediately. Staying exposed and stationary is the worst possible response.
Common Rat Swarm mistakes
Rat King players often waste Deadlock Rat Swarm by using it on a full-stamina enemy in open space and then failing to follow with gunfire. The opponent dashes, removes pressure and simply leaves. A stronger use is to wait until movement has been spent or to combine the rats with Scrap Grenade, a teammate’s control or the banner slam.
Enemies make the opposite mistake by panic-dashing before the rats actually become the main threat, then having no movement left for the follow-up. Check how many rats are attached, where Rat King is positioned and whether a grenade or ultimate is already cutting your escape route.
Deadlock Rat Swarm summary
Deadlock Rat Swarm deals repeated Spirit Damage, supports gun pressure and creates a stamina tax for the enemy. Multiple rats can attach to the same target, each rat bites on its own interval, and a ground or air dash can shake one off early. Upgrades add another charge, a larger swarm, more duration, more bite damage and Bullet Resist reduction.
The ability becomes much stronger when Rat King times it around movement. Save Deadlock Rat Swarm for enemies who cannot casually dash away, keep shooting once the rats connect, and remember that Rule, Ratannia! can apply another swarm during the biggest teamfights.
Related Guides
- Deadlock Rat King Abilities and how to play
- Best Rat King Build in Deadlock
- Deadlock City Never Sleeps heroes and release schedule
- Deadlock Hero Priority Tokens guide
- Deadlock City Never Sleeps map changes
- Deadlock Haunts locations and tiers
- Deadlock Corrupted Items guide
- Deadlock The Broker locations and spawn time
Rat King is playable now. See Valve’s official Rat King release announcement.