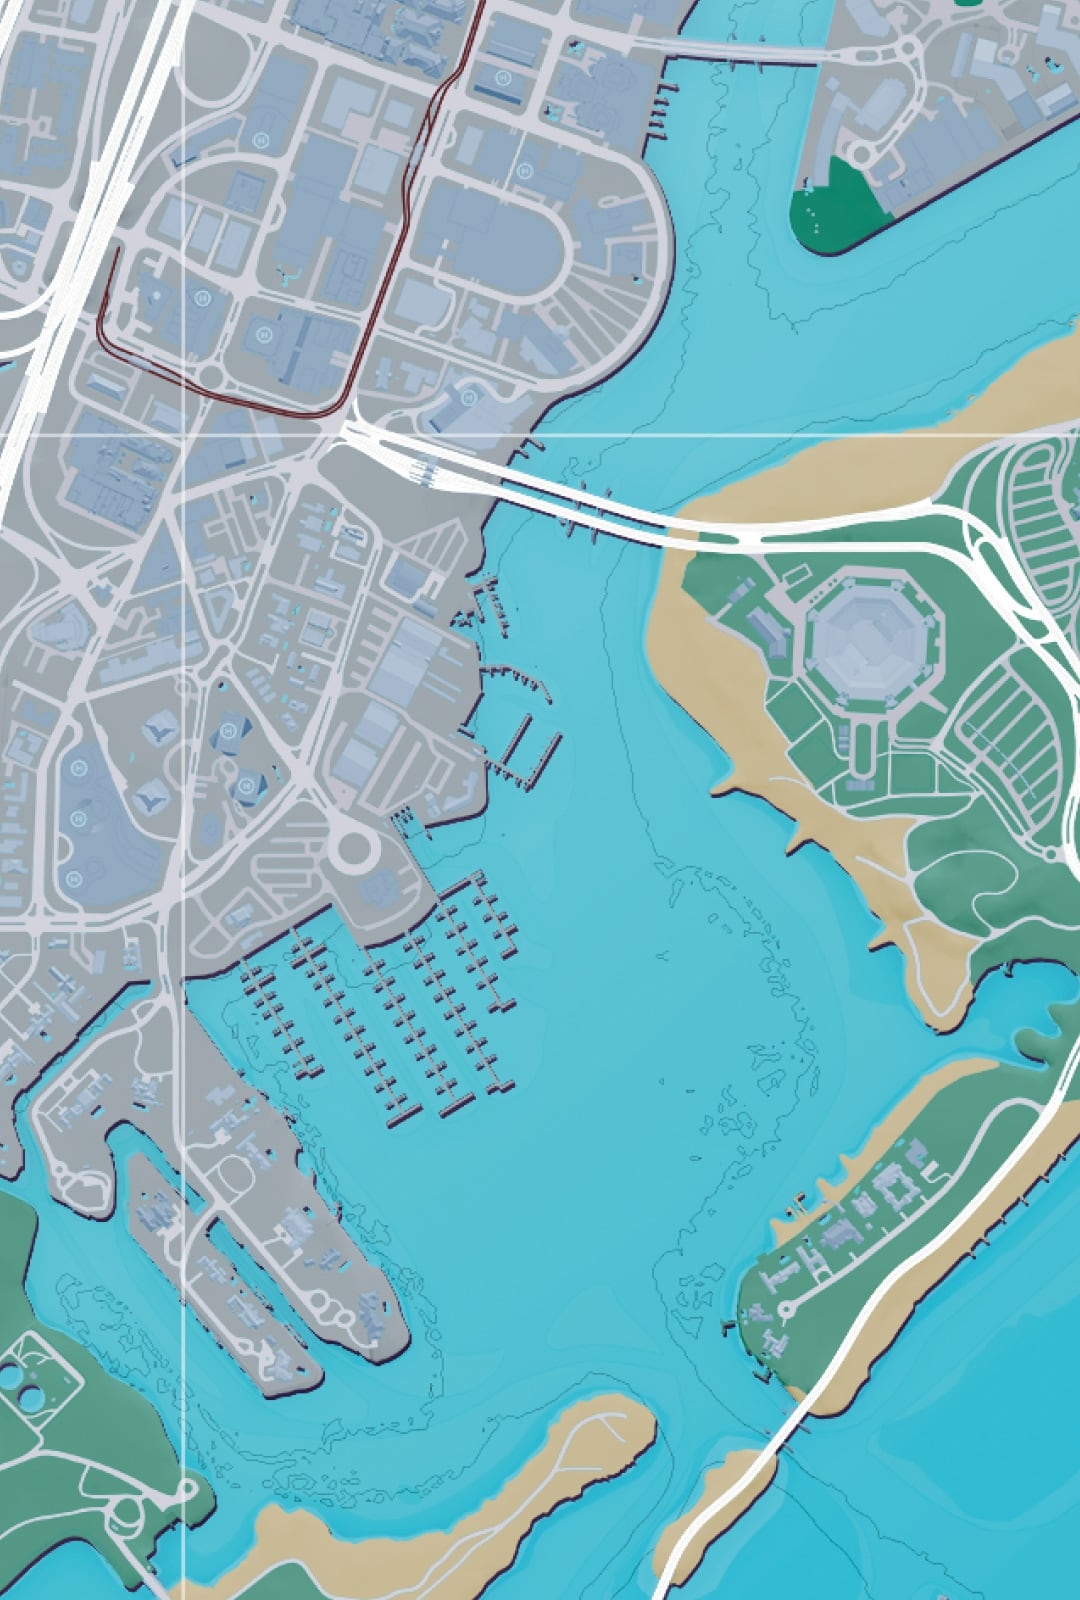
GTA 6 How to Set Waypoints begins with the world map. Mark a shop, mission or spot you want to visit, and the GPS will guide you there. Marking a location draws a GPS route on your minimap so you can drive without reopening the world map at every junction.
The process is similar on PlayStation 5 and Xbox Series X|S, although the buttons are different. You can set a destination in a part of Leonida you have already explored or drop a marker somewhere new. It also works with Auto Drive if you would rather enjoy the journey than steer the whole way.
GTA 6 How to Set Waypoints on the World Map
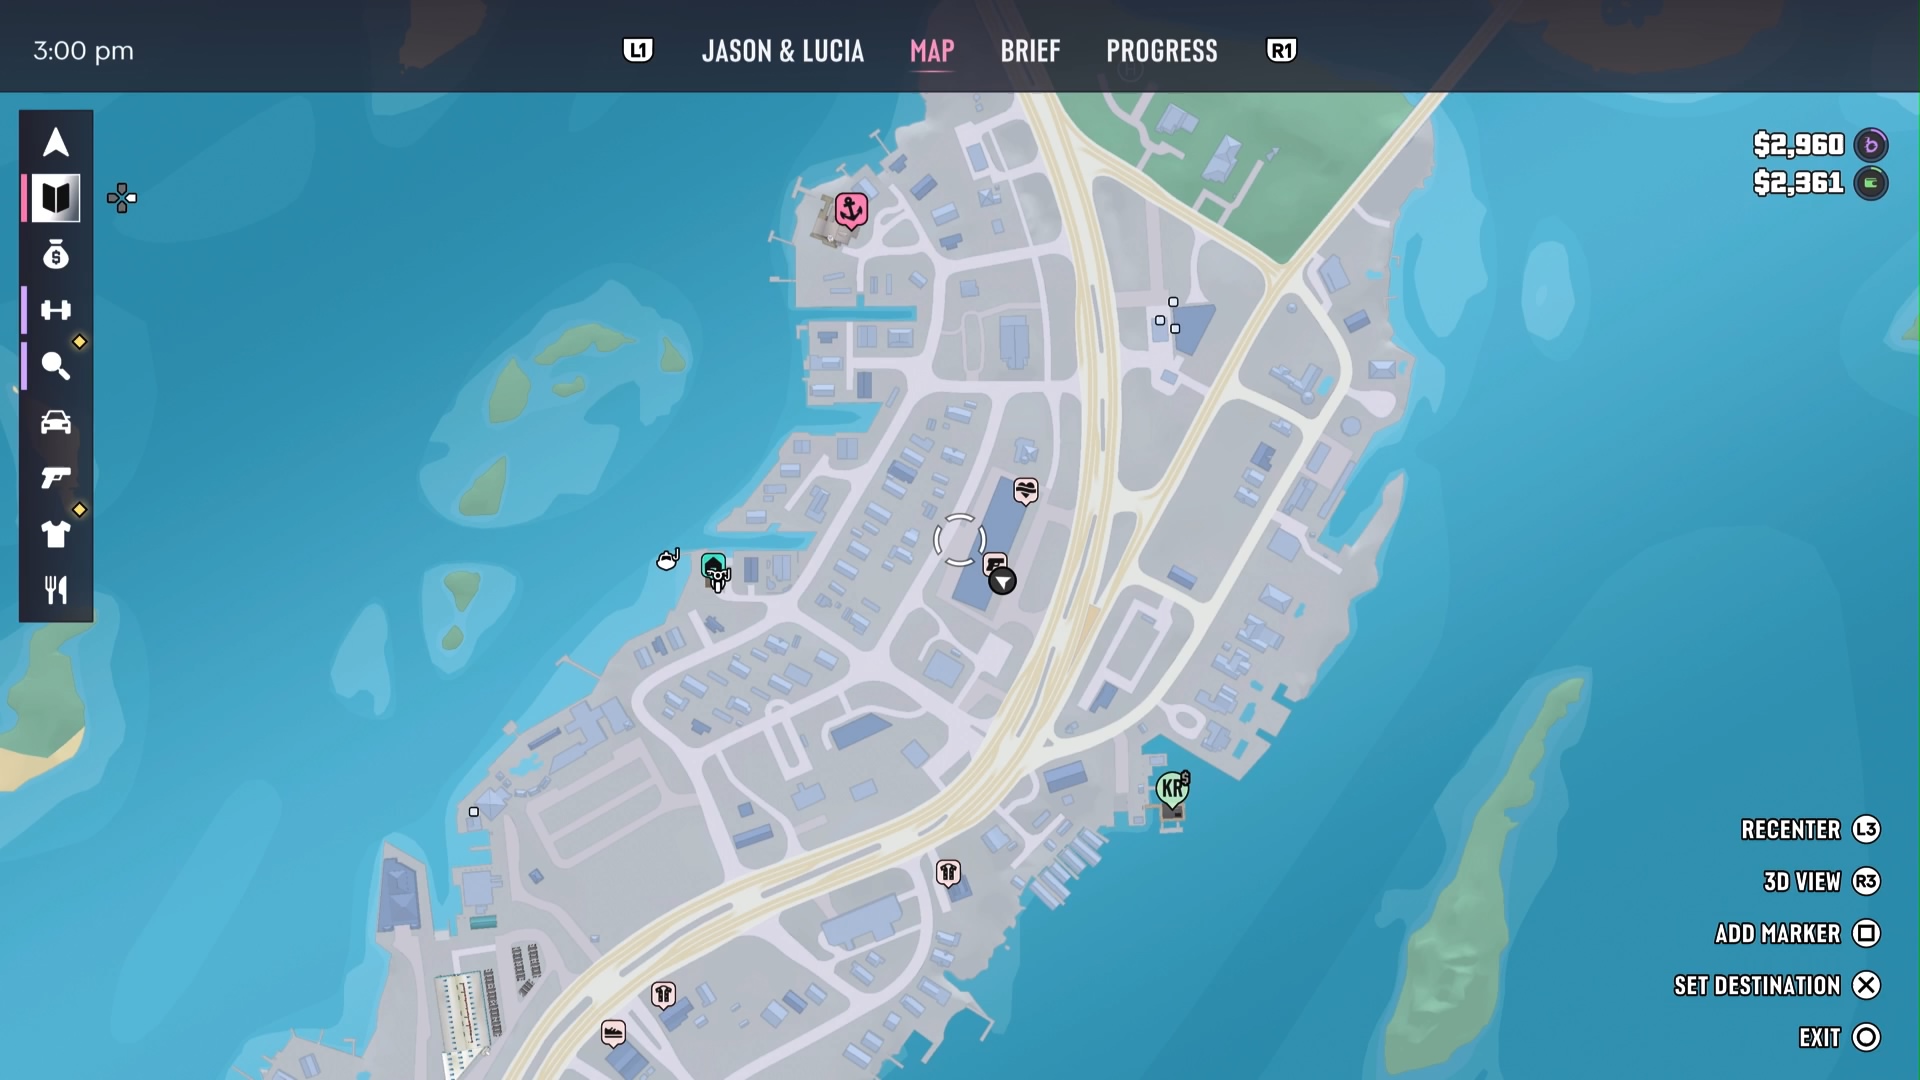
Open the world map with the touchpad on PS5 or View button on Xbox. Move the cursor to the business, activity or location you want. Select Set Destination with X on PS5 or A on Xbox. Close the map and look at the minimap to see your plotted route. On Xbox, View opens the map while Menu opens the pause screen. If you changed the controller layout, check the in-game control diagram first.
Aim for the entrance you want to use, not just the middle of the building. For a big beachfront, industrial site or hospital, placing a waypoint at the appropriate road entrance saves time compared with pinning the middle of the property. You can also choose a blank spot on the map rather than an already discovered icon.
GTA 6 How to Set Waypoints: How to follow the pink GPS line
Once GTA 6 How to Set Waypoints has put a destination on the map, the corner minimap shows a pink navigation line with the route through nearby streets. Watch for turns as you approach intersections. The route is a guide, not an instruction to drive straight through a building whenever the marker is on the far side.
If the line looks cluttered or keeps disappearing during quieter moments, visit Settings > UI > Navigation. You can leave the minimap On instead of Dynamic. That keeps the guide visible more consistently while you explore Vice City and the rest of the state.
Quick Navigation versus a manual waypoint
The Down button on the D-pad also opens navigation-related controls during play. Quick Navigation is useful when you want to choose a nearby category or destination without studying the full map. For a specific rooftop, back road or secluded spot, the world-map cursor gives you more precise placement.
Do not confuse that Quick Navigation overlay with Cinematic Mode. Auto Drive involves a separate prompt after you enter the cinematic view, and it uses your chosen destination to decide where to steer. The safe order is to set a proper waypoint first, then use the camera and Auto Drive controls.
GTA 6 How to Set Waypoints: Change or clear a destination
Open the map again and select a different location if your plans change. The new destination replaces the route you were following, so there is no need to keep driving towards the original pin. If you want to stop following a route, use the map’s destination controls and follow the on-screen option to clear it.
Some story missions automatically supply their own objective markers. If a mission is directing you to a place, you may not need a manual waypoint at all. GTA 6 How to Set Waypoints is most valuable during free exploration, when you are deciding what to do next.
Why your waypoint stops short of the entrance
Road navigation does not guarantee a route to a particular indoor entrance or the top of a building. A marker placed on an airport roof, small island or distant mountain can get you to the nearby road rather than the final few steps. Follow signs, paths and stairs once you are close.
The game also reveals some points of interest as you explore or progress through missions. GTA 6 How to Set Waypoints works with what the map currently offers, while Map Icons Explained helps identify the businesses and activities that become available later. If you simply need to know what a symbol represents, the Index is a better starting point.
Official source: Rockstar Games Support — Grand Theft Auto VI Settings.