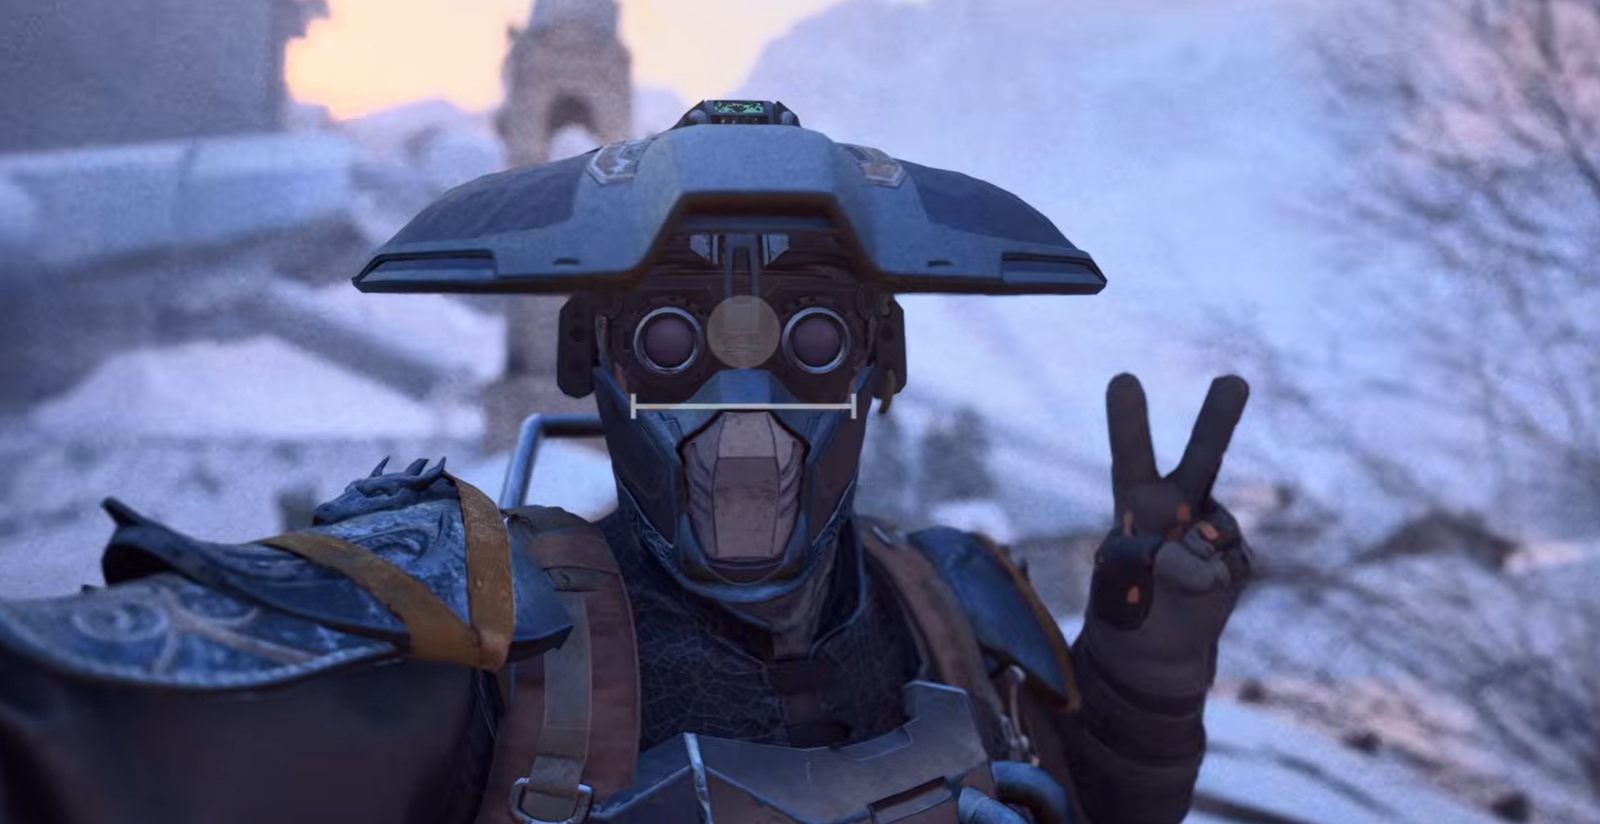
ARC Raiders Advanced Camera settings are easy to miss when you are carrying the Basic Camera. Both gadgets can take quest photos, but the Advanced model adds the aperture, focus and filter controls that let you do more than just point and shoot.
If you have been trying to blur the background, change the look of a picture or find a photo after a raid, the important bit is knowing which camera you have equipped and where its options appear. Here is how the Advanced Camera works, what the controls do and where your pictures end up.
How to use ARC Raiders Advanced Camera settings
First, equip an Advanced Camera in a Quick Use slot before heading Topside. It is a physical gadget, not a permanent photo-mode toggle in the main settings menu. If your inventory says Basic Camera, you will not see the same range of adjustments.
To open ARC Raiders Advanced Camera settings on PC, hold Q to bring up the item wheel, select the camera and aim with the right mouse button. The camera viewfinder shows the controls available for the shot. Use the displayed shutter input to take the picture; the usual PC input is left mouse button. Keybinds can be changed, so follow what your own screen shows.
ARC Raiders Advanced Camera settings appear around the viewfinder. Cycle through the options while looking through it; PC players report using Q and E to move between adjustments. That shortcut is based on player testing, rather than an official Embark key chart. If it does not work, use the prompts in your viewfinder instead of assuming the camera is broken.
ARC Raiders Advanced Camera settings: focus and background blur
The Advanced model gives you more control over the finished shot. The Advanced Camera supports aperture changes and manual or automatic focus. Use automatic focus when you need a quick, clear picture. Switch to manual focus when the game is sharpening the wrong subject or you want a particular person or object to stand out.
Aperture affects depth of field, which is how much of the scene stays sharp. A lower f-number generally means more background blur; a higher one keeps more of the scene in focus. If you want a portrait with a soft background, try focusing on a nearby Raider while keeping the scenery farther away. If you are photographing a landscape, try a narrower aperture so more of it remains clear.
Look through the viewfinder to judge the effect before taking the photo. If aperture and manual focus are not in your available options at all, check the gadget name. Basic Camera can still take pictures and selfies, but it does not provide the same manual adjustments.
ARC Raiders Advanced Camera settings: how to change filters
Embark added Color Push and Black & White filters to the Advanced Camera in the 27 October 2026 update. It also adjusted the grain on the existing Classic Film filter. Those are actual changes to the photo gadget, not general graphics presets. Choose the filter from the camera viewfinder, not the game’s video settings.
Aim with the Advanced Camera and look for the filter prompt. PC players have reported that holding T changes the filter, while tapping it operates the flash. Treat that as a reported default, not a guaranteed shortcut for every key layout. Change to Black & White and compare the same scene if you are unsure whether a filter has taken effect.
The same patch reduced the Basic Camera’s automatic depth-of-field blur to make selfies clearer. That change does not give the Basic Camera the Advanced model’s manual controls.
How to unlock the Advanced Camera and craft it
The Advanced Camera Blueprint is a reward for Research Topside Living Conditions, the first stage of the Sheltered Retreat Outpost project. That stage sends you to photograph a farmland house around Ruined Homestead on The Blue Gate. Bring a camera and make sure the photo objective registers. You can use the Basic Camera for that shot; you do not need the Advanced model to earn its blueprint.
Once you have the blueprint, learn it and use Utility Station Level 1 to craft the Advanced Camera with one Camera Lens, one Calculator and one Electrical Components. ARC Raiders Advanced Camera settings also work with the ready-made gadget sold by Shani for 3,000 Coins when it is in stock. Buying one lets you use it straight away, but does not teach you the crafting recipe.
For the Basic Camera recipe and the full Outpost photo objective, see our ARC Raiders Basic and Advanced Cameras guide. That walkthrough covers the buying and crafting details in more depth.
Where to find photos taken with ARC Raiders Advanced Camera settings
Photos taken using ARC Raiders Advanced Camera settings are kept in the game’s Codex. Back in Speranza, open the Raider section of the Codex and look for Camera. You can review the pictures there whether you took them using the Basic or Advanced gadget. Embark also updated both camera tooltips in patch 2.3.0 to make this location clearer.
If you are on Windows and want the image files themselves, players have found them under %LOCALAPPDATA%\PioneerGame\Saved\PersistentDownloadDir\Photos. Paste that path into File Explorer’s address bar. This is a community-reported file location, not a path published by Embark, and you may need to look inside a further subfolder for your pictures.
On PlayStation, the in-game place to find your pictures is still the Codex. For a copy in the console gallery, open the photo and use PlayStation’s screenshot feature. There is no verified dedicated in-game export method to recommend.
How to use ARC Raiders Advanced Camera settings for selfies
Both cameras offer a selfie mode, and Embark says it supports custom emotes. When you have the gadget equipped, switch to selfie mode using the prompt in the viewfinder. PC guides commonly list R as the default selfie button; if yours differs, use the on-screen control instead.
On PS5 or Xbox, use the button prompts shown in the viewfinder to adjust focus or change filters. Frozen Trail updated the default gamepad mapping, and a universal camera-specific button combination has not been verified. Follow the inputs on your own screen rather than a guessed controller shortcut.
ARC Raiders Advanced Camera settings not showing?
Start with the simple check: is the item named Advanced Camera? The Basic version is enough for quest photographs, but the extra focus and filter settings belong to the Advanced gadget. If you do have the correct camera, aim through it and check whether the setting prompts appear around the viewfinder.
If ARC Raiders Advanced Camera settings show the filter but your picture looks unchanged, switch to Black & White as a clear test and take another photo. If you are struggling with blur, try a nearby subject against a distant background and adjust the aperture rather than changing unrelated display settings. And if you cannot find the pictures afterwards, check Codex > Raider > Camera first, not the Steam screenshot gallery.
Related Guides
Official developer source: ARC Raiders Live Update 2.3.0.