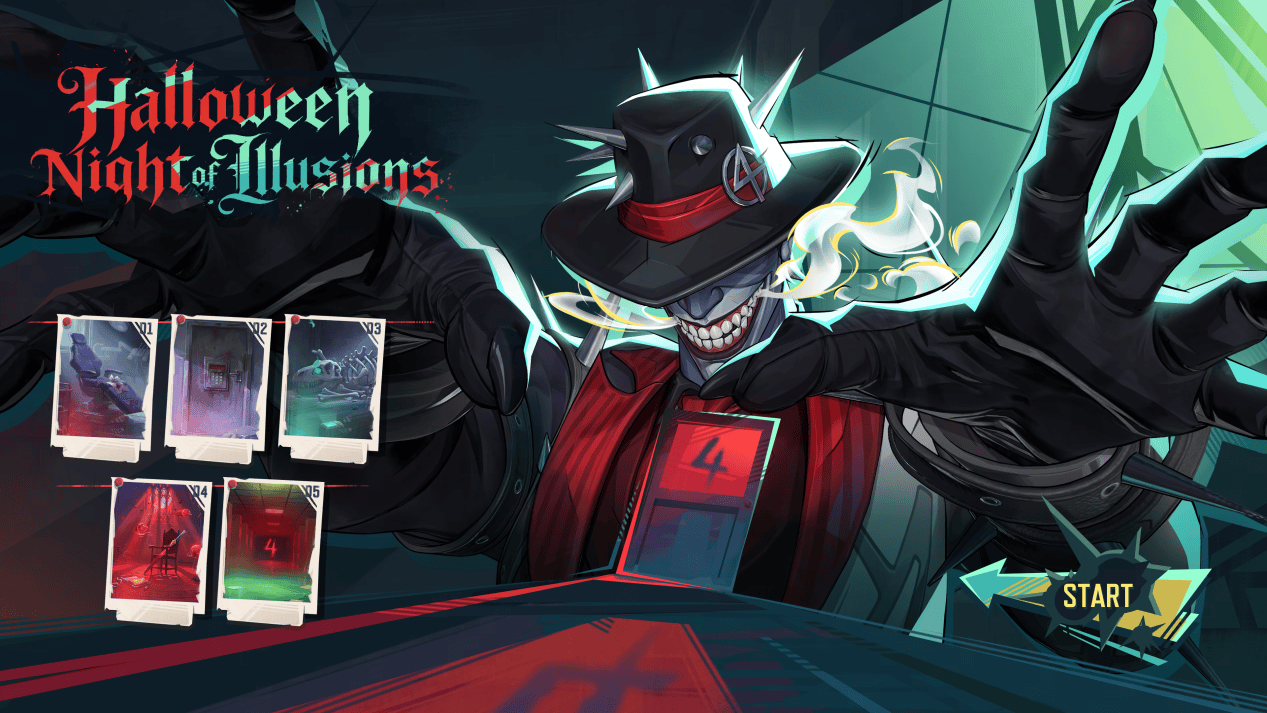
Night of Illusions Room 3 takes you into the Abandoned House in Marvel Rivals, where the remains of Devil Dinosaur are scattered across the floor. To finish this chapter, collect 19 clues, use the Bone Pins to open a latched shield, recover the missing blueprints and put the dinosaur skeleton back together.
Two blueprints take extra work to collect. Open the shield with Bone Pins for the Rib Blueprint, and capture four blue wisps with the Soul-Lantern for the Spine Blueprint. You’ll need both before you can rebuild the skeleton.
Night of Illusions Room 3 Abandoned House Walkthrough
The Abandoned House unlocks once the Scrapyard is complete. Start at the pile of dinosaur bones in the middle, then check the walls and floor for the sparkling clues.
The dinosaur’s skeletal form is called Skele-Saurus. The bone pile has several inspection points of its own, so return to it after looking at the blueprints.
Where to Find the Abandoned House Clues
Left wall, blueprints and lantern
- Floating Candelabra: suspended near the upper-left of the screen. You’ll need this again in Room 4.
- Skull Blueprint: hanging on the wall a little to the right of the candelabra.
- Bone Bullet: on the floor below the Skull Blueprint, close to the central pile of bones. Keep it for the final room.
- Tail Blueprint: on the floor towards the bottom-left corner.
- Pager: underneath the bones in the middle of the house.
- Glowing Eye Socket: on the dinosaur skull.
- Extinguished Soul-Lantern: hanging from the central bones. This opens the next clue puzzle.
The Extinguished Soul-Lantern is more than another item to collect. Activate it and look for four blue wisps: one on the wall between the candelabra and skull blueprint, one above the dinosaur’s head, one above its torso and one on the right-hand wall. Collect them and interact with the lantern again to reveal the Spine Blueprint.
The skeleton and right wall
- Upper-right part of the torso: examine the central bone pile from its right-hand side.
- Lower-right bones: a second interactive area near the bottom-right part of the dismantled skeleton.
- Hole beside the dinosaur’s eye: this appears after you’ve inspected the other bone sections.
- Joint Tendons: near the lower-right corner of the room.
- Leg Blueprint: on the ground just above the Joint Tendons.
- Bone Pins: stuck into the wall on the right.
- Shield and latch: to the left of the Leg Blueprint. This hides another blueprint.
Night of Illusions Room 3 has 19 clues in total, although individual clues can need several interactions before the counter advances. Check the skeleton again after the eye and torso observations; the small hole beside the eye is one of the spots that appears later.
How to Open the Bone Pins Latch
Select the shield on the lower-right side and you’ll be asked for an object that can pry the latch open. Choose Bone Pins from the items you found on the nearby wall. The shield opens to reveal the Rib Blueprint.
The pins work directly on the shield’s latch. Once it’s open, inspect the Rib Blueprint inside before continuing.
The Skull, Tail, Spine, Leg and Rib Blueprints make up the dinosaur’s outline. With those recovered, you can start the last puzzle in Night of Illusions Room 3.
Night of Illusions Room 3 Dinosaur Tile Puzzle
When you’ve gathered the blueprints, click the central pile of bones. The final task is a sliding-tile image puzzle: move the blocks around the available space until the picture forms one complete dinosaur skeleton. Use the finished blueprint artwork as your visual target rather than trying to place the separate objects on the bones yourself.
Slide the blocks into the empty space one at a time until the skull, backbone, ribs, legs and tail form a single continuous skeleton. Match the outlines across tile edges; pieces that look close but leave a break in the spine or ribs still need moving.
There isn’t an item to submit at the tile screen. It completes when the Skele-Saurus picture is correctly assembled. When the animation finishes, Devil Dinosaur returns and the Abandoned House chapter ends.
Night of Illusions Room 3 Reward and What Comes Next

Completing Night of Illusions Room 3 rewards the Any-fin for Candy Spray and unlocks the Hall of Eternal Night. That next investigation follows Blade and uses the Floating Candelabra you’ve just found, along with three more ritual artifacts.
Continue with the Room 4 ritual and clock walkthrough when you’re ready. Our full Night of Illusions guide covers all five rewards and the December 31 event deadline.
Keep track of the Bone Bullet and Floating Candelabra you’ve found here. The Floating Candelabra is used in Blade’s ritual in Room 4, while the Bone Bullet goes into the rifle in Room 5.
- Marvel Rivals Night of Illusions: All Five Rooms
- Night of Illusions Room 1: Infirmary
- Night of Illusions Room 2: Scrapyard Code
- Night of Illusions Room 4: Ritual and Clock
- Night of Illusions Room 5: Unknown Space
- Marvel Rivals October 29 Patch Notes
- Marvel Rivals All Hallows’ Glow Rewards
- Marvel Rivals Trash King Skin
Official source: Marvel Rivals Version 20261029 Patch Notes.