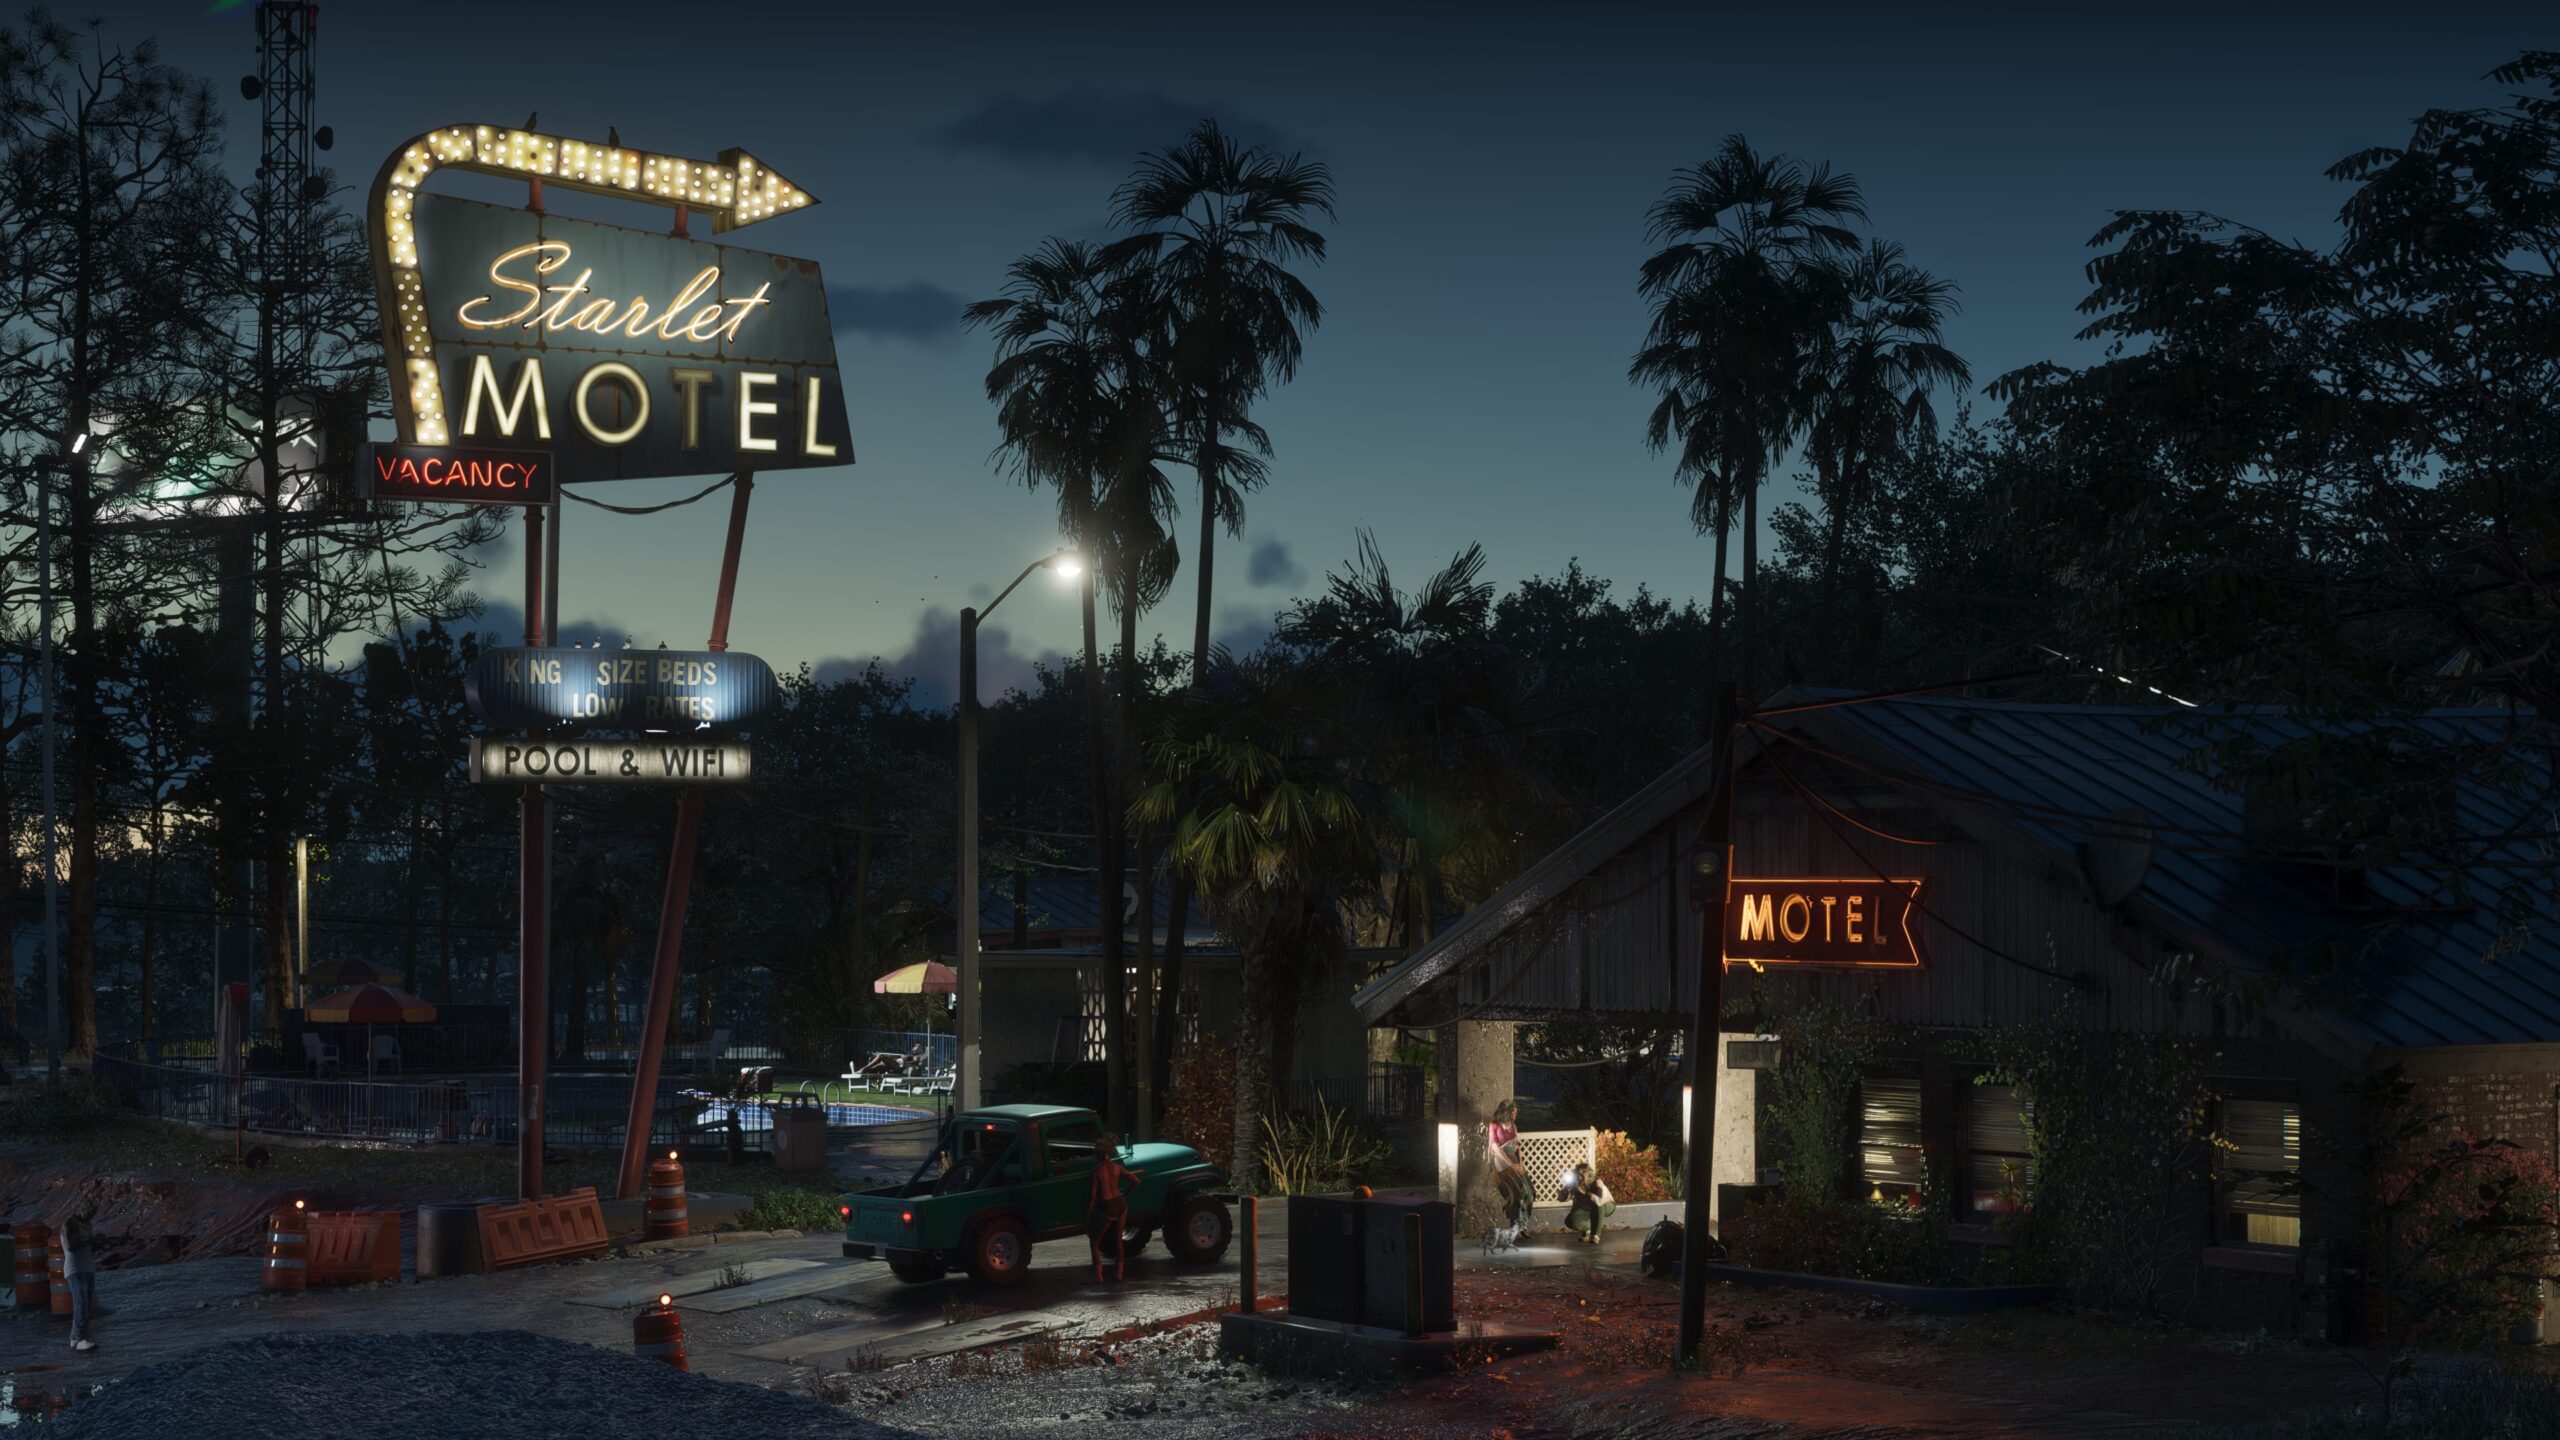
GTA 6 Behind on Payments Walkthrough begins with an overdue bill at the Starlet Motel. Linda wants $900 in cash for the room in the standard Chapter 2 route, and she won’t accept money that’s still in BuckMe. Luckily, the reception building has an ATM where Lucia can withdraw the amount before talking to her.
The debt follows Overnight Charges. Linda may be holding the necklace Jason bought Lucia in Chapter 1 as collateral. You can earn the money through other Port Gellhorn jobs before returning to her desk; the repayment doesn’t have to happen immediately.
GTA 6 Behind on Payments Walkthrough: Earn $900
Open Map > Story and look for the repayment task after completing Overnight Charges. The standard objective is to pay Linda $900. Some documented playthroughs show the character reaching that amount naturally while working through the early Chapter 2 jobs, so clearing your available missions is a good first option.
The Moses mission also unlocks a practical way to make money: selling eligible untracked stolen cars. Scan the vehicle with WAiNK before driving it into his Port Gellhorn garage. Moses can refuse cars with trackers or ones stolen too close to his workshop. The payout varies with the car, so don’t assume every sale pays the full bill.
If you need a smaller amount to reach $900, other available jobs and robberies can help, although crimes may attract police attention. Lucia can keep money in BuckMe until she is ready to pay, rather than carrying a large amount of pocket cash on the way to the motel.
GTA 6 Behind on Payments Walkthrough: Use the Starlet Motel ATM
The Starlet Motel is in Kelly County. Enter the reception building and you’ll find Linda behind the counter under a No Checks sign. The ATM is inside the same office, tucked into a corner near the side door and missing-person posters. You don’t need to drive to a separate bank.
Choose Withdraw at the BuckMe machine and take out the amount shown on your Story objective. In the standard recorded route that is $900. The money moves from Lucia’s bank account into her pocket. Her cash counter, rather than her BuckMe balance, is what Linda checks for the transaction.
GTA 6 Behind on Payments Walkthrough: Pay Linda

Walk back to Linda’s desk with enough cash. The standard interaction menu offers Pay Rent ($900), activated with Triangle on PS5 or Y on Xbox. Lucia hands Linda an envelope with the money, and the task finishes. If Pay Rent is unavailable, check whether the cash was actually withdrawn or whether Overnight Charges is still unfinished.
What Happens to Lucia’s Necklace?
In the fully documented route where Jason bought the necklace during Chapter 1, Linda retrieves it from the shelves behind reception and gives it back once Lucia pays. The job has no cash payout or special trophy: settling the bill and recovering the collateral are the results.
The same dialogue has not yet been verified for a save in which Jason never purchased the necklace, so I wouldn’t promise an identical exchange in every playthrough. The task is still a rent-payment objective regardless of whether that earlier gift is present.
Can the Rent Be More Than $900?
The standard $900 repayment is shown in a complete recorded playthrough. An earlier version of Overnight Charges can involve a different rent demand, but the corresponding later payment isn’t independently documented in the sources I checked. If your Story card displays another amount, withdraw what the game asks for rather than assuming the standard $900 route applies.
Once Linda has accepted the money, you can get back to Lucia’s other Chapter 2 jobs, including the search for painkillers. The GTA 6 Behind on Payments Walkthrough ends with the cash exchange at reception; there is no return trip afterwards.
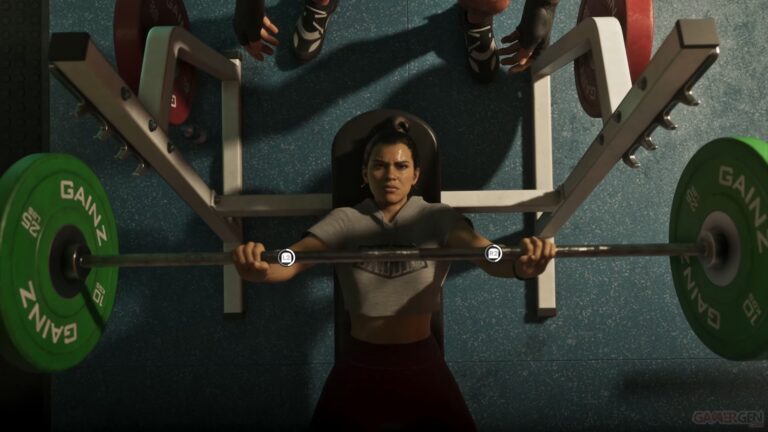
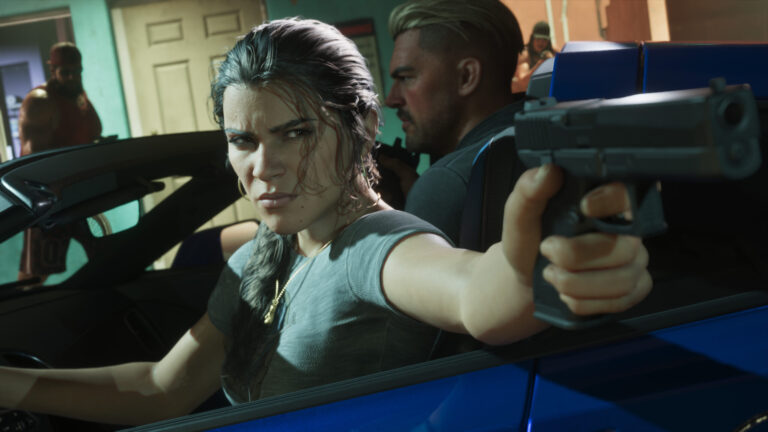
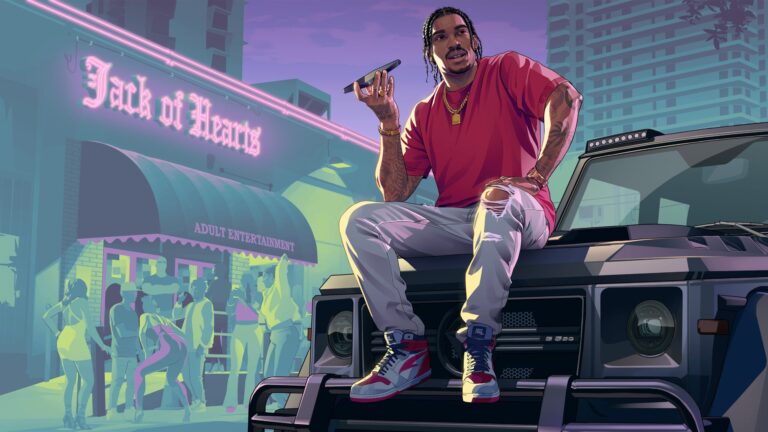
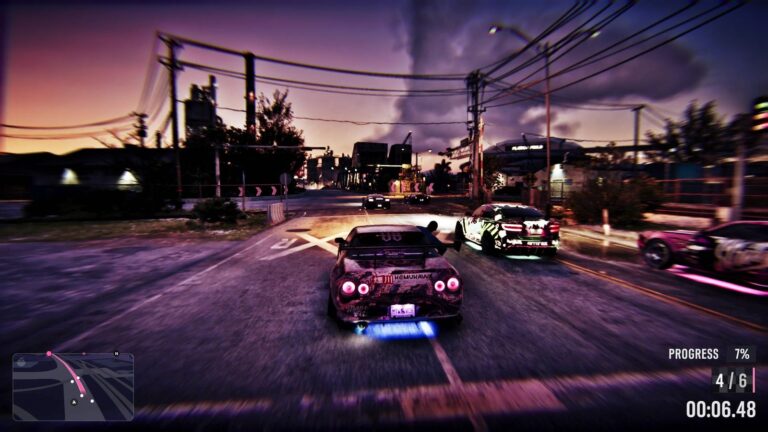
Official imagery: Rockstar Games, Grand Theft Auto VI. These images show the wider setting and characters, not the mission-specific controls.