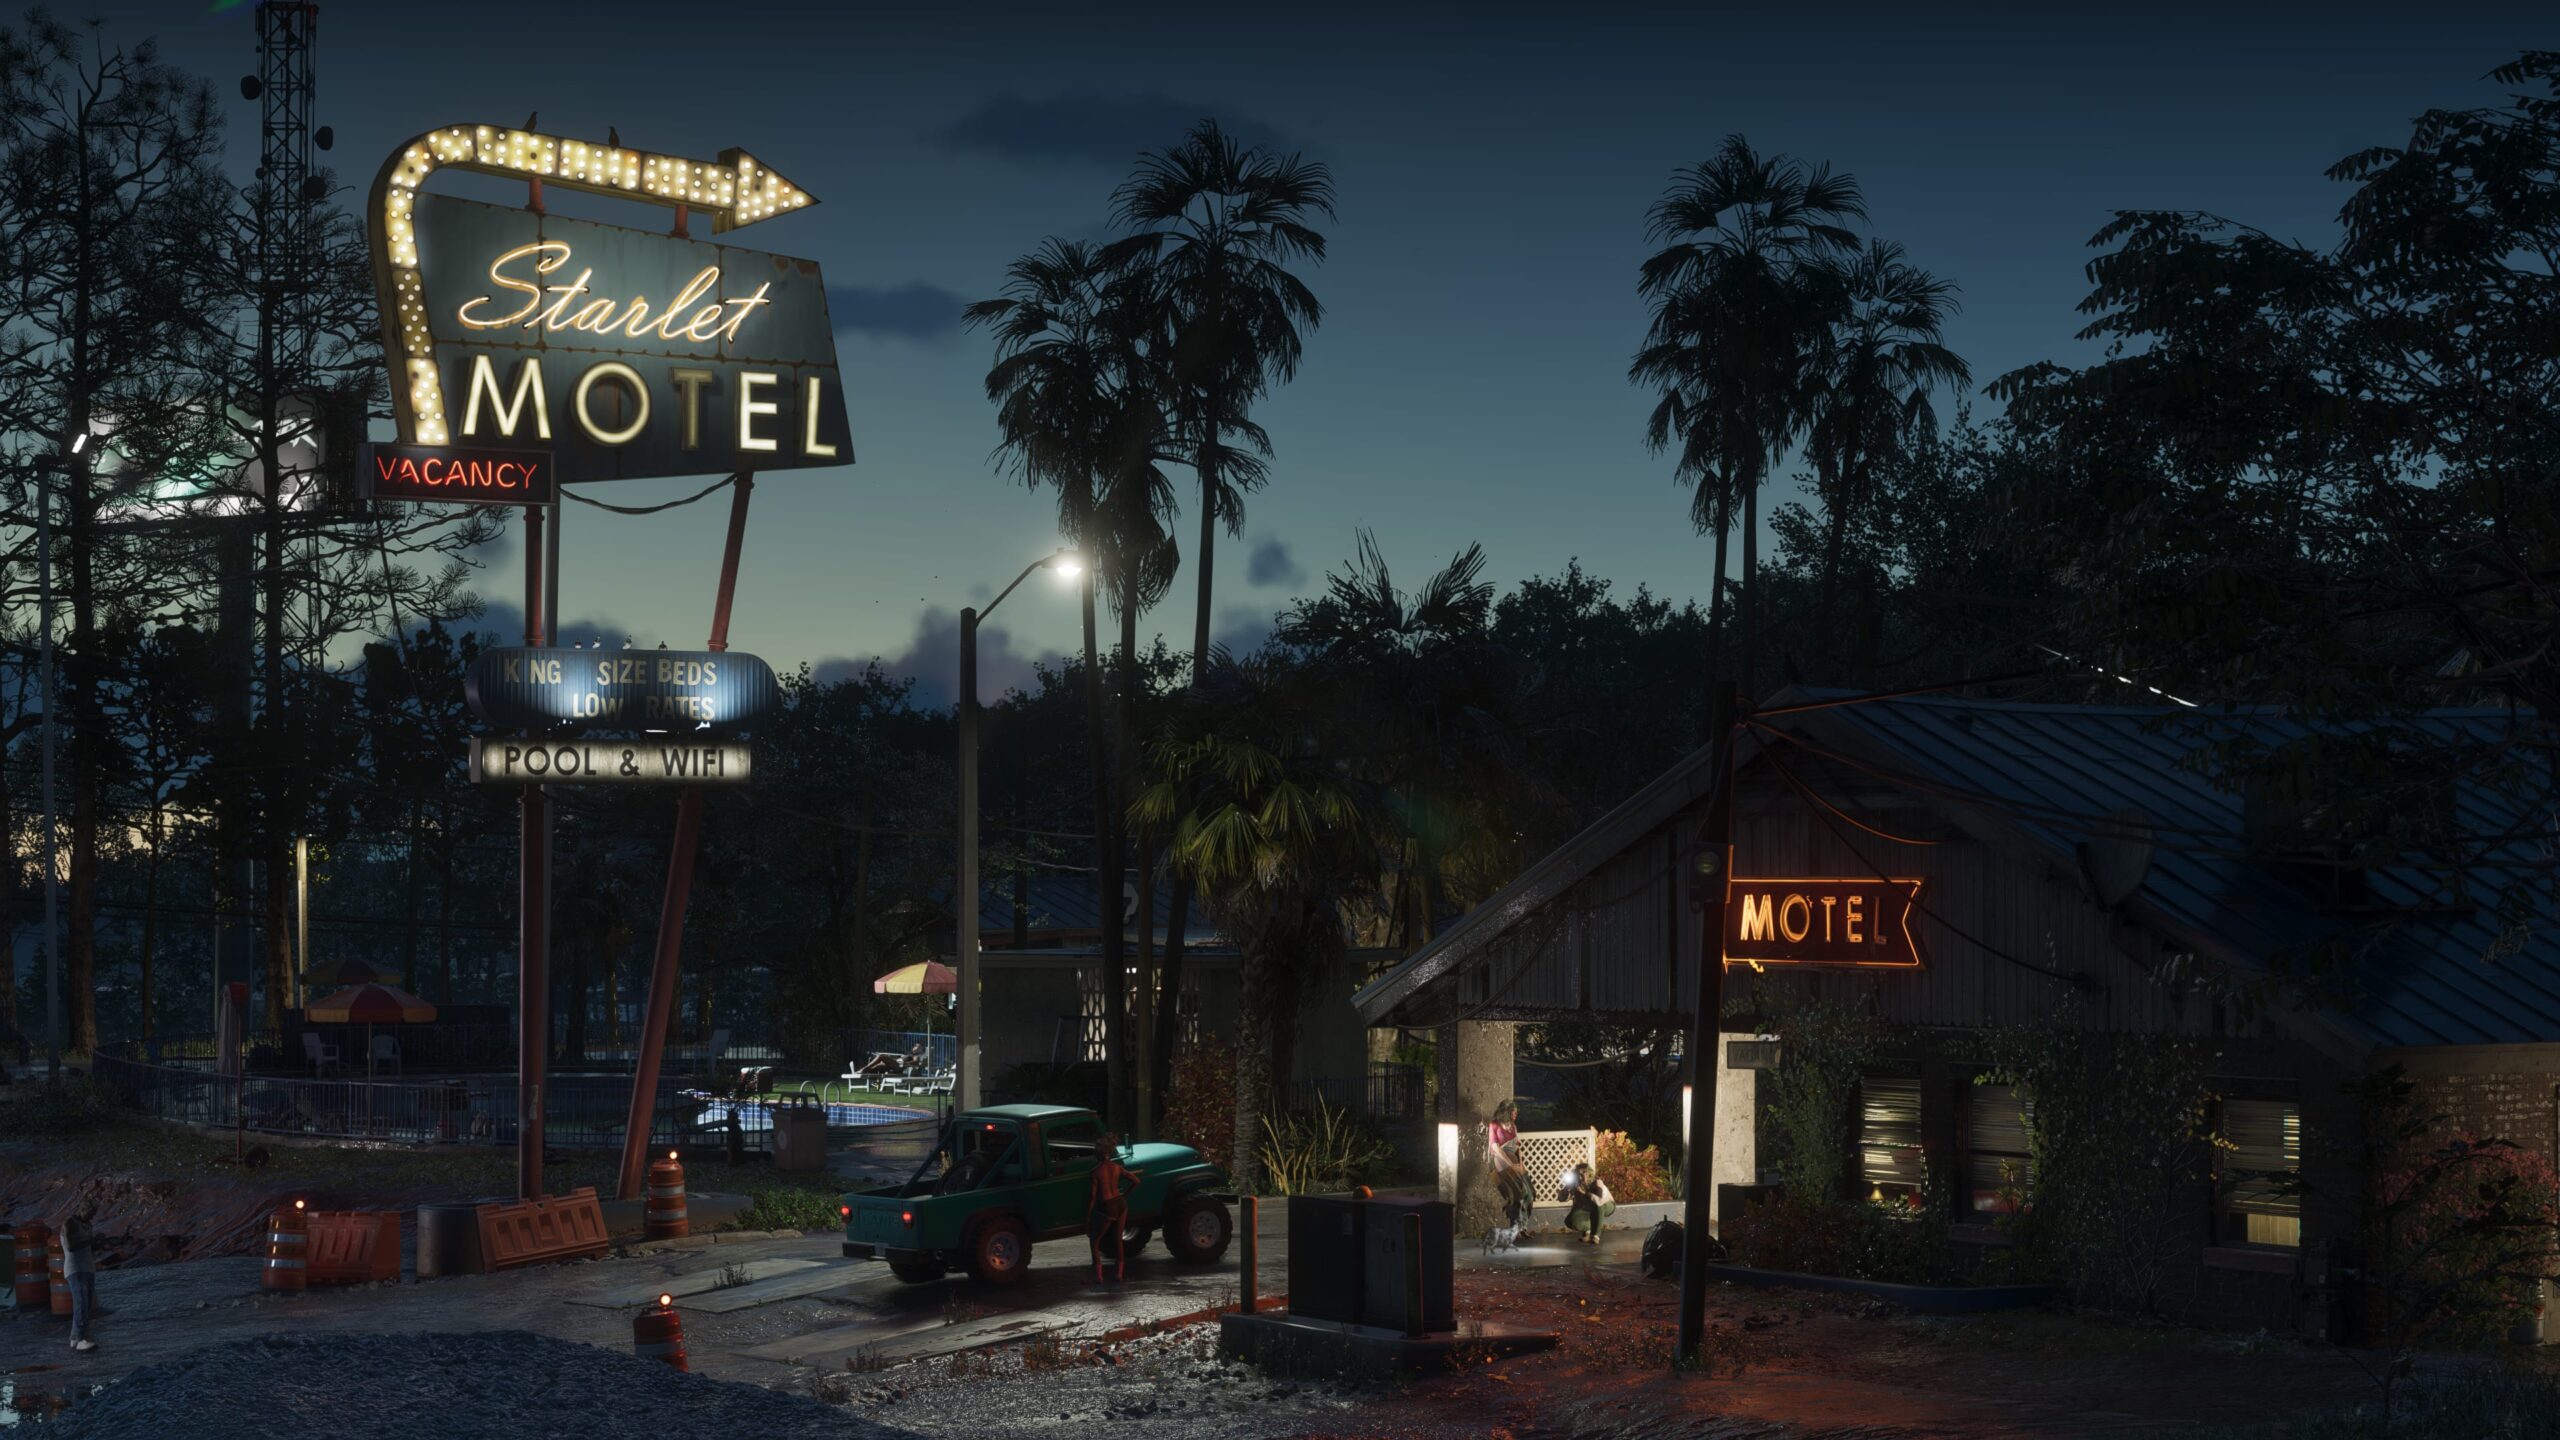
GTA 6 Prepare for Vice City asks Jason and Lucia to earn at least $15,000 before their move to Vice City. It appears after Coffee Break in Chapter 2, while Dre’Quan works on somewhere for them to stay. There’s no special heist or secret location tied to the money goal. Keep doing paid jobs and cashing in stolen goods until you reach the target.
Having the money doesn’t automatically start the move. Checking Out, the final Chapter 2 mission, also requires you to clear the other available main-story jobs. If you’ve already reached $15,000 and the motel isn’t marked, check your Story list before assuming something is wrong.
GTA 6 Prepare for Vice City: The $15,000 Requirement
Open Map → Story and look for the mission’s money objective. The GTA 6 Prepare for Vice City goal is to earn at least $15,000 before Jason and Lucia can move on. It’s a chapter-wide task rather than a job with its own driving waypoint.
Continue playing the jobs already on your Story list. Some pay cash directly, while robberies give you bags of valuables that need to be sold. Having jewellery in your possession isn’t quite the same as being paid for it, so visit an eligible fence when you’ve got a haul worth cashing in.
The mission also recommends depositing your cash in BuckMe to keep it safe. That’s useful before any risky robbery or police chase, particularly when you’re close to the $15,000 goal. Check your money after selling a bag of valuables rather than treating the bag itself as an immediate cash payout.
How to Make Money for GTA 6 Prepare for Vice City
| Opportunity | Why it’s worth doing |
|---|---|
| Hit Avery Pawn | Steal jewellery in Port Gellhorn and sell it to Dunk |
| Thrillbillies | One of the available Chapter 2 activities |
| Twist Wrist, Smash, Grab | Another robbery opportunity around the chapter |
| Other Story missions | Progresses remaining objectives while you earn |
| Eligible stolen cars | Sell untracked vehicles to Moses after his unlock |
Start with the jobs already marked in your Story list. Hit Avery Pawn is a worthwhile robbery: the display cases contain jewellery, staff can reveal a back-room safe code, and Dunk’s trailer in Port Gellhorn accepts the stolen bag. Your payment depends on how much you get away with.
Thrillbillies, Twist Wrist, Smash, Grab and Afternoon Delight are among the jobs around this stage. You don’t have to tackle them in the same order as someone else’s walkthrough. Follow the available objectives and take the opportunities to earn along the way.
If you’d rather make additional money between jobs, Moses’s vehicle services are available after his Chapter 2 introduction. He buys suitable stolen cars without trackers. Our GTA 6 stolen-car selling guide explains which vehicles are worth taking to his garage.
There’s no single prescribed money-making method for GTA 6 Prepare for Vice City. If a robbery goes badly, move on to another available job rather than retrying it indefinitely. The point is to earn enough while working through the chapter, not to find one perfect cash exploit.
Why Is GTA 6 Prepare for Vice City Not Completing?

If you’ve passed the cash target but the story seems stuck, look again under Map → Story. The GTA 6 Prepare for Vice City requirement works alongside the other main Chapter 2 missions. Clearing the money goal on its own isn’t enough to unlock the final move.
Some missions appear after a phone conversation or a short period of free-roam play. Finish the current pink story markers, then continue until the next call or motel objective comes through. If you’ve just sold stolen goods, make sure the payment has actually arrived.
Don’t waste time searching Port Gellhorn for a separate Prepare for Vice City mission giver. The objective is handled in the background as you earn money. If the Story list still shows other jobs, those are a much better use of your time than repeatedly returning to an unmarked motel room.
When Does Checking Out Unlock After GTA 6 Prepare for Vice City?
Once the $15,000 goal and other Chapter 2 main missions are done, the story advances toward Checking Out. A follow-up involving an article from Cal leads you back to the Starlet Motel. Your room is marked as the starting point once the sequence is ready.
Return to the motel and follow the indicated interaction. Checking Out begins a more involved finale with fighting and a vehicle escape, then leads into Welcome to Vice City at the start of Chapter 3. It’s not just a menu option to change your current safehouse.
One important warning: beginning Checking Out ends Chapter 2 and Starlet Motel stops being your home permanently. The region remains part of the world, but the couple’s original motel arrangement doesn’t return. Make a separate manual save before you begin if you’ve still got chapter activities to finish.
Does GTA 6 Prepare for Vice City End Chapter 2?
Not immediately. You can reach the GTA 6 Prepare for Vice City money target and continue exploring while other jobs are unfinished. The actual story cutoff is starting Checking Out, after the final mission becomes available.
If you’re still gathering money, our fence locations guide explains where to sell the different kinds of stolen goods. Our deposit cash guide covers getting money into BuckMe so you aren’t carrying it all during a police chase.
Once you’ve earned $15,000 and cleared the main missions, continue until the motel follow-up arrives. You can then return to Starlet Motel to start Checking Out. Keep a manual save before that finale: it closes Chapter 2 and permanently changes your home base.
Official source: Rockstar Games, Grand Theft Auto VI.