Fallout 76 Human Condition walkthrough has a straightforward answer: Speak to Mayor Tim in the flooded city center, clear the Overgrown, complete the city objectives and defeat the Sporemaster. The difference between a clean run and a frustrating one is understanding which objectives are mandatory, which rewards are timed and which mechanics change from run to run.
An optional Buttercup objective sends you to recover five lost dossiers in the Community Center. Completing optional expedition tasks improves the final result. This guide is built around the live objective structure rather than treating the activity like a normal open-world event, so you can spend less time fighting enemies that do not advance the mission.
Fallout 76 Human Condition walkthrough
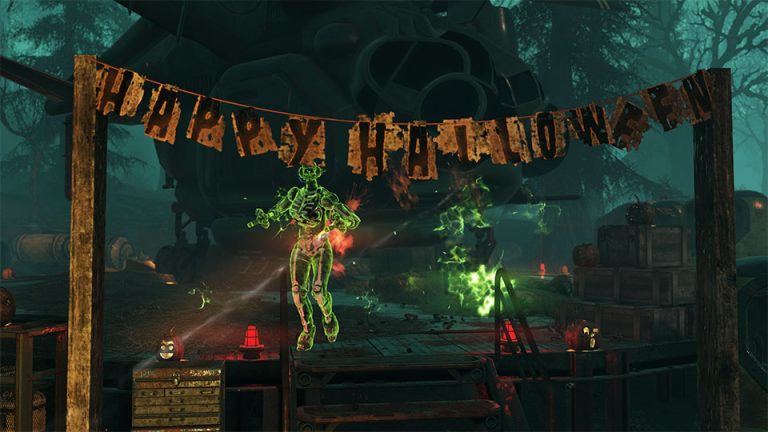
Fallout 76 Human Condition walkthrough Image Bethesda Game Studios.
| Direct answer | Speak to Mayor Tim in the flooded city center, clear the Overgrown, complete the city objectives and defeat the Sporemaster. |
| Key mechanic | An optional Buttercup objective sends you to recover five lost dossiers in the Community Center. Completing optional expedition tasks improves the final result. |
| Best preparation | Repair gear, carry enough ammo and check the activity card before entering so the current location and modifiers are known. |
For Fallout 76 Human Condition walkthrough, start the Expedition from the Expeditions interface and follow the mission contact when you land. Expeditions use modular objectives, so the exact task can change between runs even though the mission location and overall structure stay recognizable.
How to complete the Expedition cleanly
- Speak to the mission contact immediately after landing so the first objective is assigned.
- Speak to Mayor Tim in the flooded city center, clear the Overgrown, complete the city objectives and defeat the Sporemaster.
- Complete optional objectives before leaving their current zone whenever possible. Optional work improves the final reward result.
- Use interior map markers carefully because several Expedition areas are multi-level and the shortest route is not always visible from the compass.
- Speak with the mission contact at the end and return to Appalachia only after every optional hand-in you want is registered.
Expedition rewards that matter
Fallout 76 Human Condition walkthrough can award XP, legendary items, Legendary Modules, currencies and Stamps. Stamps are spent with Giuseppe in the Whitespring Refuge on Expedition reward plans. Bethesda also maintains a weekly plan reward for qualifying Expedition completions with all side objectives finished.
There is no need to save Expeditions for a single weekly attempt. The missions are repeatable, so they remain useful for Stamps, XP and legendary loot after the weekly plan opportunity has been handled.
Common mistakes
The biggest mistake with Fallout 76 Human Condition walkthrough is treating every hostile as mandatory. Read the objective text, follow marked carriers or interactables, and only stop for enemies that block the route or contribute directly to progress. Repair before the run rather than spending the timer at a workbench.
In practical terms, Fallout 76 Human Condition walkthrough is easiest to use when you follow the specific source, objective or limit shown above instead of relying on a generic Fallout 76 route.
Quick reference
- Objective: Speak to Mayor Tim in the flooded city center, clear the Overgrown, complete the city objectives and defeat the Sporemaster.
- Key mechanic: An optional Buttercup objective sends you to recover five lost dossiers in the Community Center. Completing optional expedition tasks improves the final result.
- Preparation: Repair gear, carry enough ammo and check the activity card before entering so the current location and modifiers are known.
For Fallout 76 Human Condition walkthrough, this quick reference is useful because the activity can punish wasted movement more than low damage. Check the objective first, then use the shortest route that keeps the required progress moving. Only stop for optional fights or loot when they will not cost the completion condition you are chasing.
Related Fallout 76 activity guides
For more activity progression, Fallout 76 Cap Limit: How Many Caps Can You Carry? and Fallout 76 Stash Limit: How Much Can the Stash Box Hold? cover nearby objectives. How to Start Daily Ops in Fallout 76 is also useful if you need to unlock the activity itself first.
Once you understand the objective order, Fallout 76 Human Condition walkthrough becomes a repeatable farming route rather than a navigation problem. The activity card and mission text are the source of truth for that particular run because the randomized faction, mutation or mission task can be different from the previous day.
Fallout 76 Human Condition walkthrough can roll different objective combinations between runs. Follow the current mission markers, complete optional objectives before leaving their area, and speak to the expedition contact before departing if an optional hand-in is still open.
The core route for Fallout 76 Human Condition walkthrough is Speak to Mayor Tim in the flooded city center, clear the Overgrown, complete the city objectives and defeat the Sporemaster. Expeditions can vary between runs, so treat the assigned objectives on the current mission as the authority rather than expecting every visit to use exactly the same sequence.
The reward mechanic worth remembering in Fallout 76 Human Condition walkthrough is An optional Buttercup objective sends you to recover five lost dossiers in the Community Center. Completing optional expedition tasks improves the final result. Optional work is easiest to finish while you are already in the relevant zone, because backtracking through multi-level Expedition interiors can cost more time than completing it on the first pass.
Official Fallout 76 information
For official changes to Daily Ops, Expeditions and reward pools after using this guide, check the official Fallout 76 website.