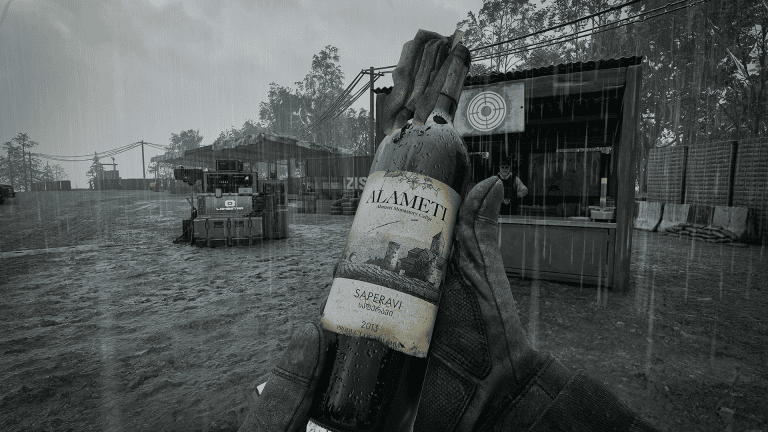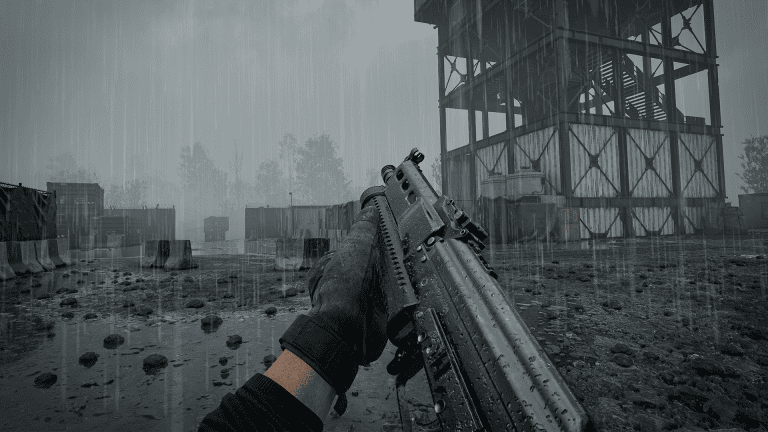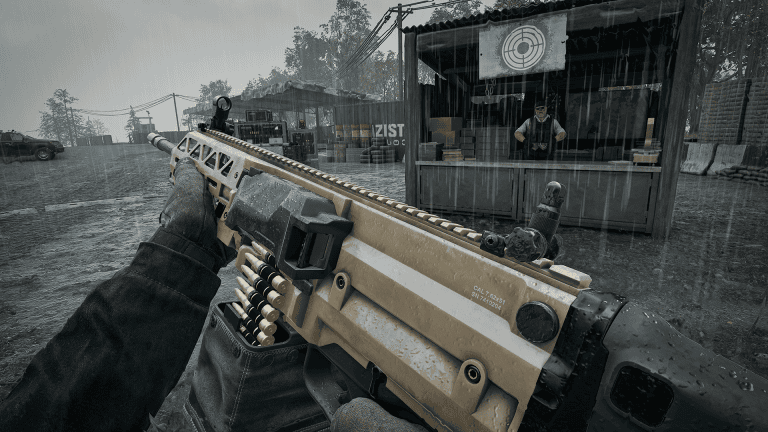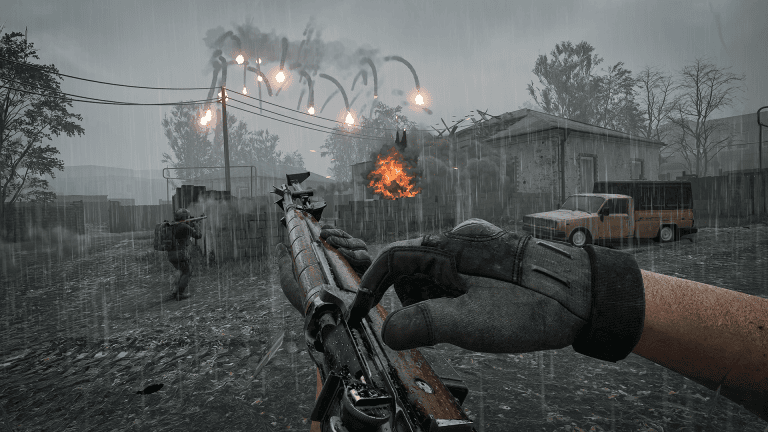
The WARDOGS Control Zone is the centre of every match. Up to 100 players are split across three factions and fight over a randomized 2×2 km objective inside the much larger battlefield. At each scoring check, the faction with the strongest counted presence earns the point, and the first team to 100 points wins. Kills matter because they change who is alive inside the zone, but kills alone do not score the match.
How the WARDOGS Control Zone scores
The basic WARDOGS Control Zone rule is numerical control. You want more effective friendly bodies inside the objective than either rival faction when the scoring tick occurs. That means a player hiding safely outside the boundary may be alive but is not helping the count. It also explains why revives, transport and defensible spawn infrastructure are so important: they keep your side’s numbers present at the moment that matters.
What is the Hot Zone?
Inside the larger WARDOGS Control Zone, a smaller Hot Zone can become the most valuable patch of ground. Players there count more heavily toward control and teamplay actions can pay extra, so it becomes an obvious magnet for all three factions. Do not sprint into it alone simply because the rewards are better. Enter with enough friendly bodies, cover and medical support to survive the inevitable focus.
You win by reinforcing faster than the other teams
A strong WARDOGS Control Zone strategy is really a logistics strategy. If your faction can move players from deployment to the objective faster, revive casualties more consistently and maintain useful FOB positions, it can keep a majority even without dominating the kill feed. Drivers and pilots therefore matter enormously. Five extra teammates delivered before the scoring tick can be worth more than one spectacular sniper streak.
Where should you fight inside the zone?
The WARDOGS Control Zone is too large to defend every metre equally. Look for compounds, hills, roads and structures controlling the routes rival teams are using to enter. A position is valuable when it helps you survive inside the objective while disrupting reinforcement. A distant ridge may offer great kills but still be strategically weak if every enemy you shoot is replaced before the next scoring cycle.
Build and defend useful FOBs
FOB placement can transform the WARDOGS Control Zone by shortening the trip back to meaningful ground. Build where the faction can reinforce safely and where the structure supports the current objective rather than last match’s favourite hill. Support players should think about sightlines, vehicle routes and cover. The closer a useful spawn is to the fight, the less time friendly players spend contributing absolutely nothing while travelling.
Why revives are effectively objective play
Reviving inside the WARDOGS Control Zone does more than save a teammate’s wallet. It restores a counted body without forcing that player through another long deployment and transport cycle. Medics who work behind the front line can therefore swing objective numbers repeatedly. The same logic applies to smoke, suppression and repairs: anything that keeps friendly presence alive until the scoring tick is objective work.
Simple Control Zone win checklist
- Get into the objective before worrying about padding kills.
- Watch where your faction is entering and where enemies are reinforcing.
- Use vehicles to keep fresh players arriving.
- Prioritise revives when the casualty can be recovered safely.
- Contest the Hot Zone as a group, not as isolated players.
- Build logistics that shorten the route back into scoring ground.
The easiest way to understand the WARDOGS Control Zone is to ask one question: what keeps more friendly bodies alive and present for the next tick? Sometimes the answer is shooting. Sometimes it is a revive, a helicopter lift, a FOB or simply not abandoning the boundary to chase one retreating enemy. WARDOGS rewards the team that controls space consistently, not the team that looks busiest on the kill feed.
The randomized zone is why memorising one perfect base location is not enough. Read the terrain each match, identify where roads, hills and compounds intersect the objective, and build your plan around that version of the battlefield. The best route last round may be irrelevant now.
For official game information, Early Access updates and support details, visit the WARDOGS website.