This Star Wars Zero Company beginner guide covers the most important things to understand before you start making expensive mistakes across the Clone Wars. Star Wars Zero Company is a single-player turn-based tactics game built around positioning, Action Points, cover, squad Bonds, injuries, Operations and long-term decisions that can permanently change your campaign.
You play as Hawks, a former Republic officer leading Zero Company against the Separatist-aligned Infinite Coil around 20 BBY, near the end of the Clone Wars. The campaign combines tactical missions with exploration, recruitment, base management and choices that can affect which opportunities remain available later.
If you’re just starting out, these Star Wars Zero Company beginner tips will help you understand what actually matters.
| Beginner mechanic | What to know |
|---|---|
| Combat | Turn-based tactical battles |
| Action Points | Used for movement, attacks and abilities |
| Cover | Partial and full cover reduce enemy hit chances |
| Overwatch | Creates a reaction zone against moving enemies |
| Injuries | Downed Operators can suffer lasting penalties |
| Permadeath | Optional; three Injuries can result in death on standard settings |
| Bonds | Improve through missions, assists and choices |
| The Den | Your main base of operations |
| Operations | Non-combat assignments for resources and information |
| Tactical Missions | Full combat encounters |
| Influence | Regional progression unlocks rewards |
| Campaign time | Selecting missions advances the story |
1. Understand Action Points First
The most important part of any Star Wars Zero Company beginner guide is Action Points, usually shortened to AP.
Every Operator uses AP to perform actions during their turn. Movement, firing weapons and using character-specific talents all consume Action Points.
That means every turn is essentially a small budgeting exercise.
Moving into the perfect position is useless if you spend so much AP getting there that you can no longer attack. Likewise, standing still to preserve AP doesn’t help much if your Operator is staring directly at a wall while several Battle Droids are introducing them to concentrated blaster fire.
Before committing to an action, check how much AP it costs and what you’ll have left afterwards.
2. Use Cover Whenever Possible
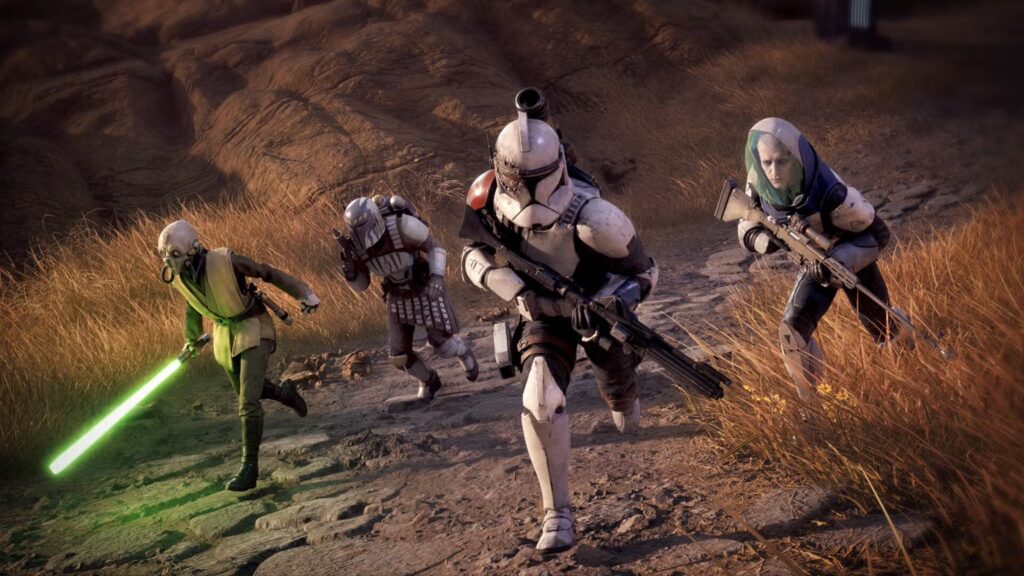
Cover is fundamental to staying alive.
Star Wars Zero Company uses both partial and full cover. Units protected by cover are more difficult for enemies to hit, with full cover offering stronger protection.
You should therefore avoid leaving Operators exposed unless the tactical benefit genuinely outweighs the risk.
Cover is not permanent, either.
Some scenery can be destroyed by incoming attacks, meaning a safe position can suddenly become considerably less safe halfway through a fight.
| Position | General effect |
|---|---|
| Open ground | Most exposed |
| Partial cover | Reduces enemy hit chance |
| Full cover | Stronger protection |
| High ground | Can improve your attack opportunities |
| Flanking position | Can improve Chance-to-Hit |
Treat the battlefield as something that changes rather than a static collection of safe squares.
3. Flank Enemies Instead of Taking Bad Shots
If your Chance-to-Hit looks terrible, don’t automatically fire anyway.
Movement can often create a much better opportunity.
Flanking an enemy or attacking from higher ground can increase your chances of landing the shot. That makes positioning one of the most important skills new players can develop.
A low-percentage shot may sometimes be worth the gamble, but consistently relying on awful odds is less tactical brilliance and more asking the Force to personally fix your planning.
Use AP to reposition when it creates a substantially better attack.
4. Don’t Ignore Overwatch
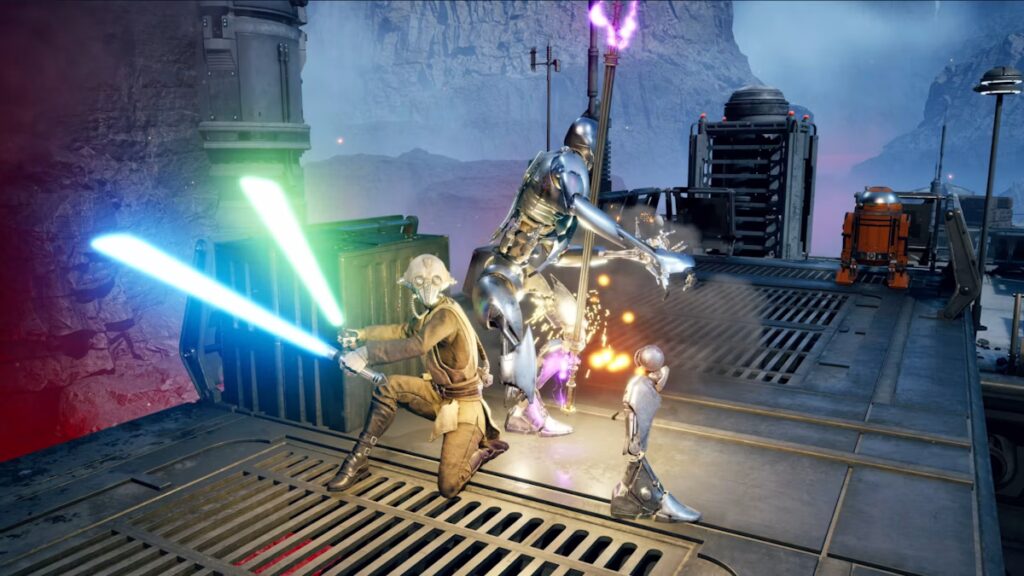
Overwatch allows an Operator to watch a designated area and automatically retaliate when an enemy moves into it.
This can be extremely useful when you know enemies are likely to advance.
Rather than chasing an opponent, you can prepare a firing zone and force them to move into your attack.
Overwatch is especially helpful when:
- Defending a position
- Waiting for enemies to approach
- Covering exposed routes
- Protecting another Operator
- Setting up an ambush
It also gives you something productive to do when taking an immediate shot isn’t worthwhile.
5. Downed Operators Are Not Immediately Dead
Losing all Health does not automatically kill an Operator.
A character who reaches zero Health becomes Downed and suffers an Injury. A teammate can Rally the Operator to bring them back into the fight.
This distinction is important because recovering a Downed squad member may be worth prioritising over chasing another kill.
However, Injuries have longer-term consequences.
They negatively affect combat statistics and need to be managed between missions.
6. Understand Injuries and Permadeath
Injuries are one of the systems that can turn one bad tactical decision into a campaign problem.
On standard settings, an Operator who accumulates three Injuries can die permanently when the optional permadeath system is active.
| Condition | Result |
|---|---|
| Health reaches zero | Operator becomes Downed |
| Downed | Suffers an Injury |
| Rally used | Operator can return to battle |
| Injury | Negative combat effects |
| Three Injuries | Can result in permanent death on standard settings |
Permadeath is optional, so players who don’t want to lose squad members permanently can choose settings accordingly.
If you do enable it, though, treat injured Operators carefully. A favourite character who keeps returning from missions looking increasingly like they’ve been repeatedly hit by a speeder eventually runs out of luck.
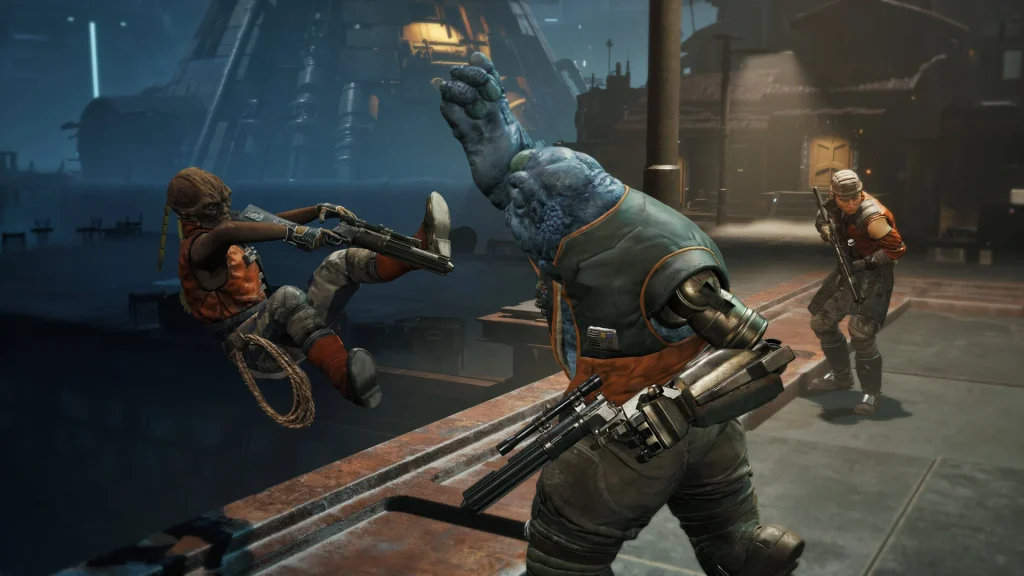
7. Build Bonds Between Operators
Bonds are a major part of Star Wars Zero Company.
Operators improve their relationships by spending time together and through the decisions you make during the campaign.
Bonds can increase when Operators:
- Complete missions together
- Perform assists together in combat
- Take part in character-specific quests
- Agree with your choices during Dilemmas
Strong Bonds award Focus points, improve skills and can unlock passive abilities and unique combat synergies.
That means squad composition is about more than putting your strongest individual characters into four slots.
Characters who work well together can become more useful as their relationship develops.
8. Pay Attention to Dilemmas
Dilemmas are narrative decisions where your Operators have their own opinions.
Your choice can improve or harm Bonds depending on which characters agree with the decision.
There isn’t always one universally correct response.
A decision that pleases one Operator may annoy another, and the impact can extend beyond a simple line of dialogue.
The important beginner lesson is to actually read what your squad thinks before choosing.
If you’re deliberately trying to develop a particular Bond, consistently siding against both people involved is not the fastest route to friendship.
9. Visit The Den Regularly
The Den is Zero Company’s main base on the Ring of Kafrene.
Between missions, you can use it to manage almost every long-term part of the campaign.
The Den allows you to:
- Speak with Operators
- Recruit new squad members
- Change equipment
- Customize appearances
- Purchase weapon mods
- Treat Injuries
- Upgrade facilities
- Choose missions through the Holotable
You can also explore the base in third person rather than using the battlefield’s normal isometric perspective.
Don’t rush immediately from one mission to another without checking The Den. Conversations, upgrades and preparation can influence what happens next.
10. Learn the Difference Between Operations and Tactical Missions
Not every assignment involves full turn-based combat.
Tactical Missions are the traditional battlefield encounters where your squad deploys and completes objectives.
Operations are shorter non-combat assignments that can provide information, resources or narrative choices.
| Activity | Combat? | Possible rewards |
|---|---|---|
| Tactical Mission | Yes | Story progress, Intel, resources |
| Operation | No | Credits, Weapon Mods, Utilities, information |
Operations cost Intel to complete, while Intel is earned through Tactical Missions.
Some Operations also contain decisions that can affect Bonds or even how enemy forces develop.
That means they are not simply background timers you should click through without reading.
11. Don’t Assume You Can Complete Every Mission
One of the most important pieces of advice in this Star Wars Zero Company beginner guide is that campaign time progresses.
Every time you choose a mission, the story moves forward.
You therefore cannot simply clear every available activity before continuing the main story.
Some opportunities can disappear.
That forces you to prioritise between:
- Main campaign missions
- Character-specific quests
- Tactical Missions
- Operations
- Resource opportunities
Some character missions may also become unavailable if you never recruit the relevant Operator or if that character dies when permadeath is enabled.
The lesson is simple: if something looks important, don’t automatically assume it will patiently sit on the Holotable forever.
12. Watch Influence on the Galaxy Map
Your actions can affect Influence across different regions of the Galaxy Map.
Increasing authority in a zone unlocks additional rewards.
The campaign contains an ever-changing map with more than 150 planets where Operations can occur, giving playthroughs considerably more variation than a fixed sequence of identical assignments.
Tactical Missions use a smaller set of dedicated planets, but Operations can appear across the wider galaxy.
Check regional Influence when deciding which assignments to prioritise rather than looking only at the immediate reward.
Astromechs Are More Useful Than They Look
Astromech Operators aren’t designed to absorb punishment like more robust humanoid squad members, but they can provide extremely useful support.
One of their abilities can grant additional AP to allies, allowing another Operator to perform more actions during the same turn.
That can completely change a tactical situation.
An extra Action Point might mean:
- Reaching cover after attacking
- Firing another weapon
- Using an important ability
- Moving far enough to flank
- Saving another squad member
So don’t dismiss an Astromech because it doesn’t look like the obvious choice for a firefight.
Also, yes, you can customize its personality, including how much sass it communicates through enthusiastic beeping.
Don’t Forget to Speak to Your Squad
Characters in The Den have dialogue that changes as events unfold.
Speaking to them gives you more information about their personality, the story and their views on current events.
This also matters because Star Wars Zero Company places significant emphasis on its authored Operators rather than treating them as disposable collections of numbers.
If you’re interested in character missions and Bonds, returning to The Den and checking in with people is worth the extra minute.
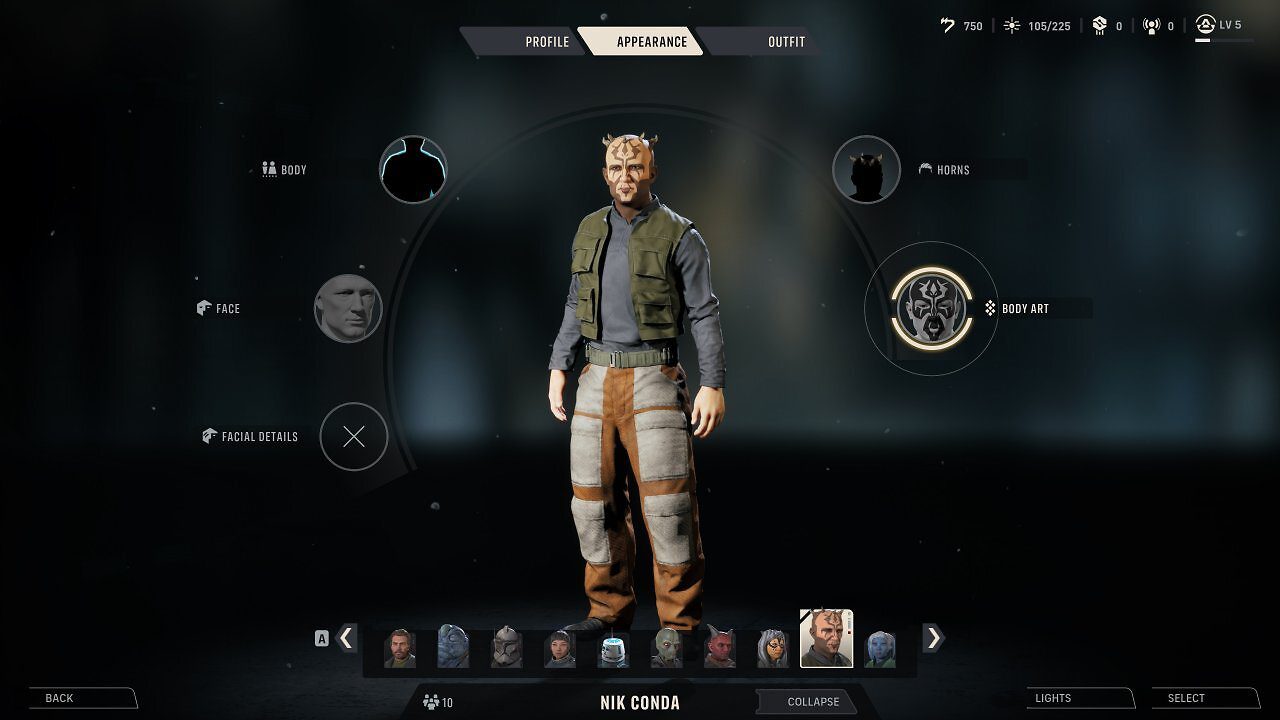
Customize Hawks Around Your Playstyle
Hawks is not a completely fixed protagonist.
You can customize Hawks’ appearance and combat specialization, allowing the character to fit the way you prefer to approach tactical battles.
Hawks can also be one of several playable species:
- Human
- Devaronian
- Mirialan
- Togruta
- Twi’lek
- Zabrak
Custom Operators provide even more species options later.
That means your first campaign does not need to use exactly the same version of Hawks as everybody else.
Star Wars Zero Company Beginner Guide FAQ
Is Star Wars Zero Company difficult?
Difficulty depends on the selected settings, your tactical decisions and whether systems such as permadeath are enabled. The game gives players options to customize the challenge.
Is there permadeath?
Yes, but permadeath is optional. When active on standard settings, accumulating three Injuries can permanently kill an Operator.
What are Action Points?
Action Points are the resource Operators spend on movement, attacks and abilities during their turn.
How do you heal injured Operators?
Injuries can be treated through facilities at The Den between missions.
What are Bonds?
Bonds represent relationships between Operators. Stronger Bonds can provide Focus points, passive abilities and unique combat synergies.
Can you complete every mission?
Not necessarily. Selecting missions progresses campaign time, so some opportunities can expire before you complete them.
What is The Den?
The Den is Zero Company’s main base of operations, where players recruit Operators, manage equipment, heal injuries, upgrade facilities and choose assignments.
Star Wars Zero Company Beginner Guide: What to Remember
The most important thing to take from this Star Wars Zero Company beginner guide is that the game rewards planning beyond the immediate firefight.
Use cover, manage Action Points carefully and reposition when your hit chance is poor, but don’t ignore what happens between missions. Bonds, Injuries, recruitment, Operations, Influence and upgrades at The Den can be just as important as landing one particularly satisfying blaster shot.
Most importantly, remember that campaign time moves forward when you choose assignments. You won’t necessarily see everything in one playthrough, so make decisions based on what matters to your version of Zero Company rather than desperately trying to hoover every icon off the Galaxy Map.