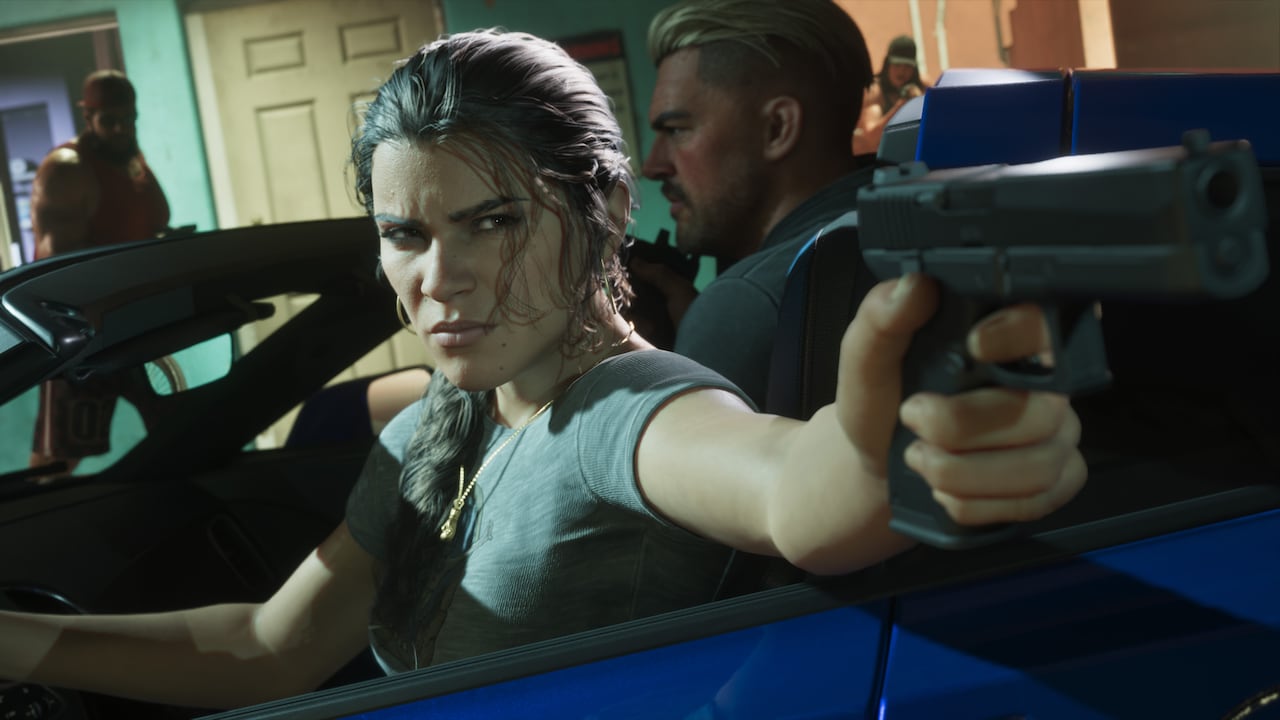
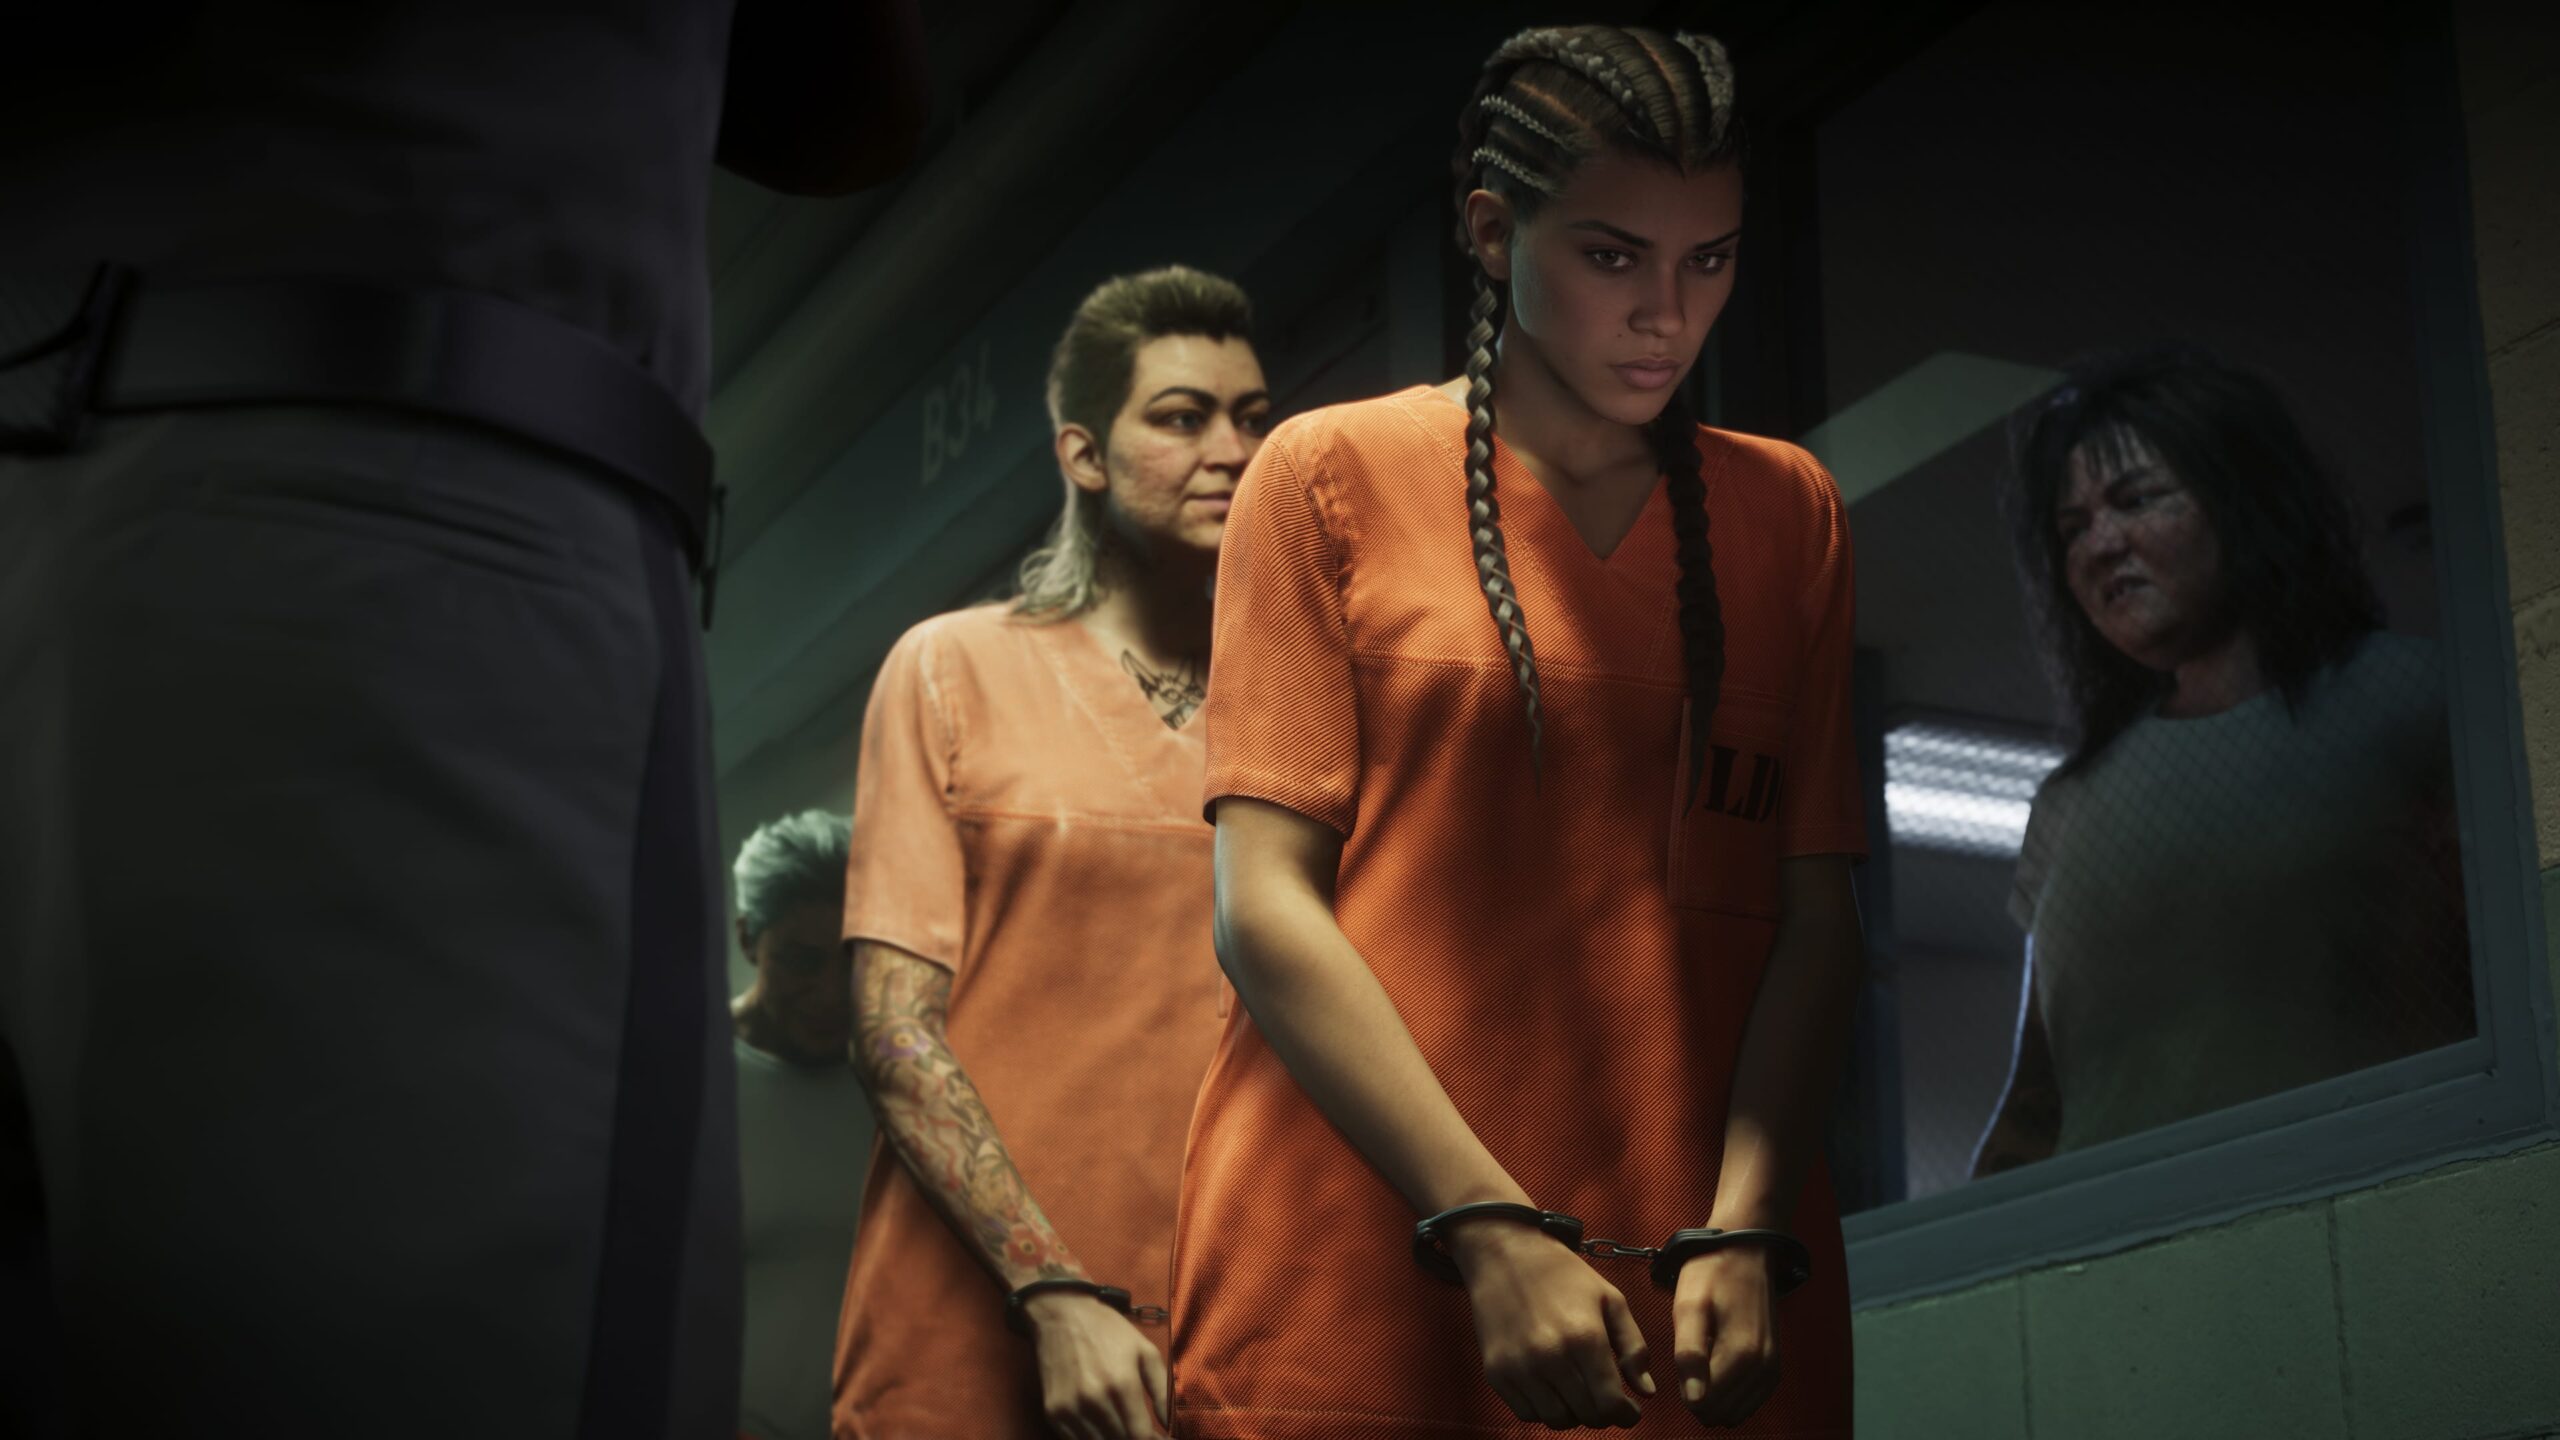
The GTA 6 Prologue Walkthrough begins with Lucia in a cell at Hamlet Correctional Facility. A conversation with a counsellor sends the story into a playable flashback, where a payday-loan robbery turns into a police chase.
You can talk to people in the prison and take different routes during the escape, but Lucia’s arrest is part of the story. Here’s how to get through the opening without spending ages trying to beat a chase the game won’t let you win.
GTA 6 Prologue Walkthrough: talk to the cellmates
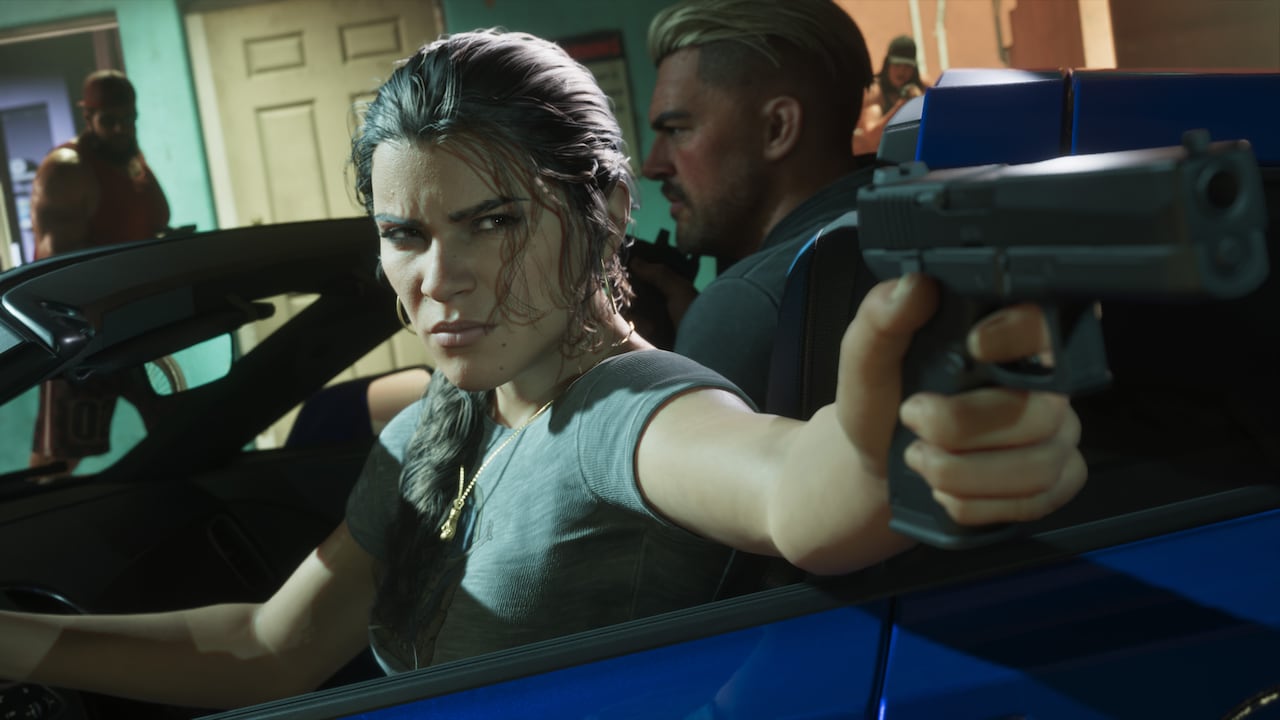
Turn away from the window and face the other prisoners in Lucia’s cell. Hold L2 on PlayStation or LT on Xbox to bring up the interaction choices, then speak to a cellmate. Other conversations here are optional.
Officer Wilson will open the cell and escort Lucia to the counsellor. Follow him through the communal area. He stops to make a phone call, so let him finish before following him down the next corridor and into the office.
If the guard seems to have stopped moving, he is waiting for his phone call to finish. Stay nearby and follow the corridor he takes afterwards. You don’t need to persuade the other inmates or complete any optional prison conversation to reach the flashback.
Rob the payday-loan shop
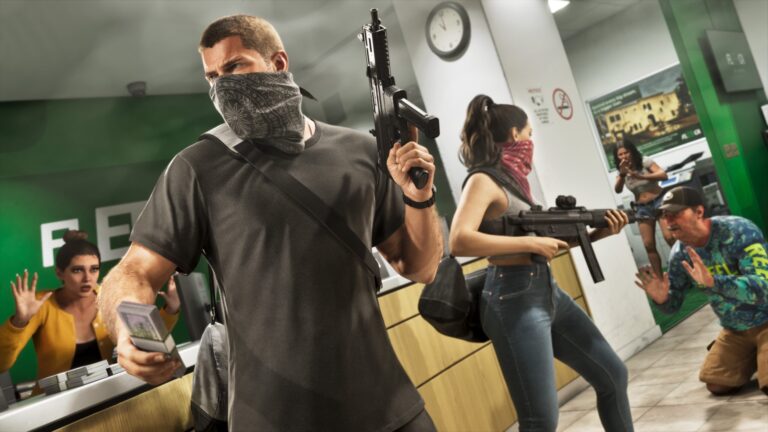
The flashback starts inside a payday-loan shop, after Lucia has left a coffee shop. Aim your gun at the teller, then use the threaten prompt (Square on PS5, X on Xbox). He puts money from the register on the counter. Pick it up when the interaction appears.
A bystander grabs Lucia during the robbery. Press the displayed struggle button to break free and get out. Shooting the teller isn’t part of the objective; the robbery progresses by threatening him and collecting the cash.
GTA 6 Prologue Walkthrough: police chase and coffee shop
Follow the escape route over the rooftops and through the garage area. Cross on PS5 or A on Xbox handles the jumps and climbs. The flashing red-and-blue area on the minimap shows where police are searching.
The chase has a fixed story outcome, but walkthroughs describe slightly different routes through it. You may see a return-to-coffee-shop objective after evading the first officers, while getting caught can advance the sequence through cutscenes. Either way, there’s no permanent escape to unlock.
If the return objective appears, head towards the coffee shop marker. Dye packs can burst during that route, but Lucia’s arrest is unavoidable. You haven’t failed the mission by being caught, and you don’t need to restart to hunt for a different outcome.
GTA 6 Prologue Walkthrough: can the ending change?
No. The route you take may change how much of the chase you play, but the story still brings Lucia back to the present-day prison setting. The first mission after the Prologue is Gone Fishing, where control shifts to Jason.
If the wanted area looks impossible to escape, that’s intentional. Follow the visible route until the scene transitions, or make your way to the coffee shop if the game gives you that objective.
The GTA 6 Prologue Walkthrough finishes when Lucia’s flashback ends and the story moves on to Jason. There are no optional prizes tied to escaping the police.
Official media and game information: Rockstar Games, Grand Theft Auto VI.