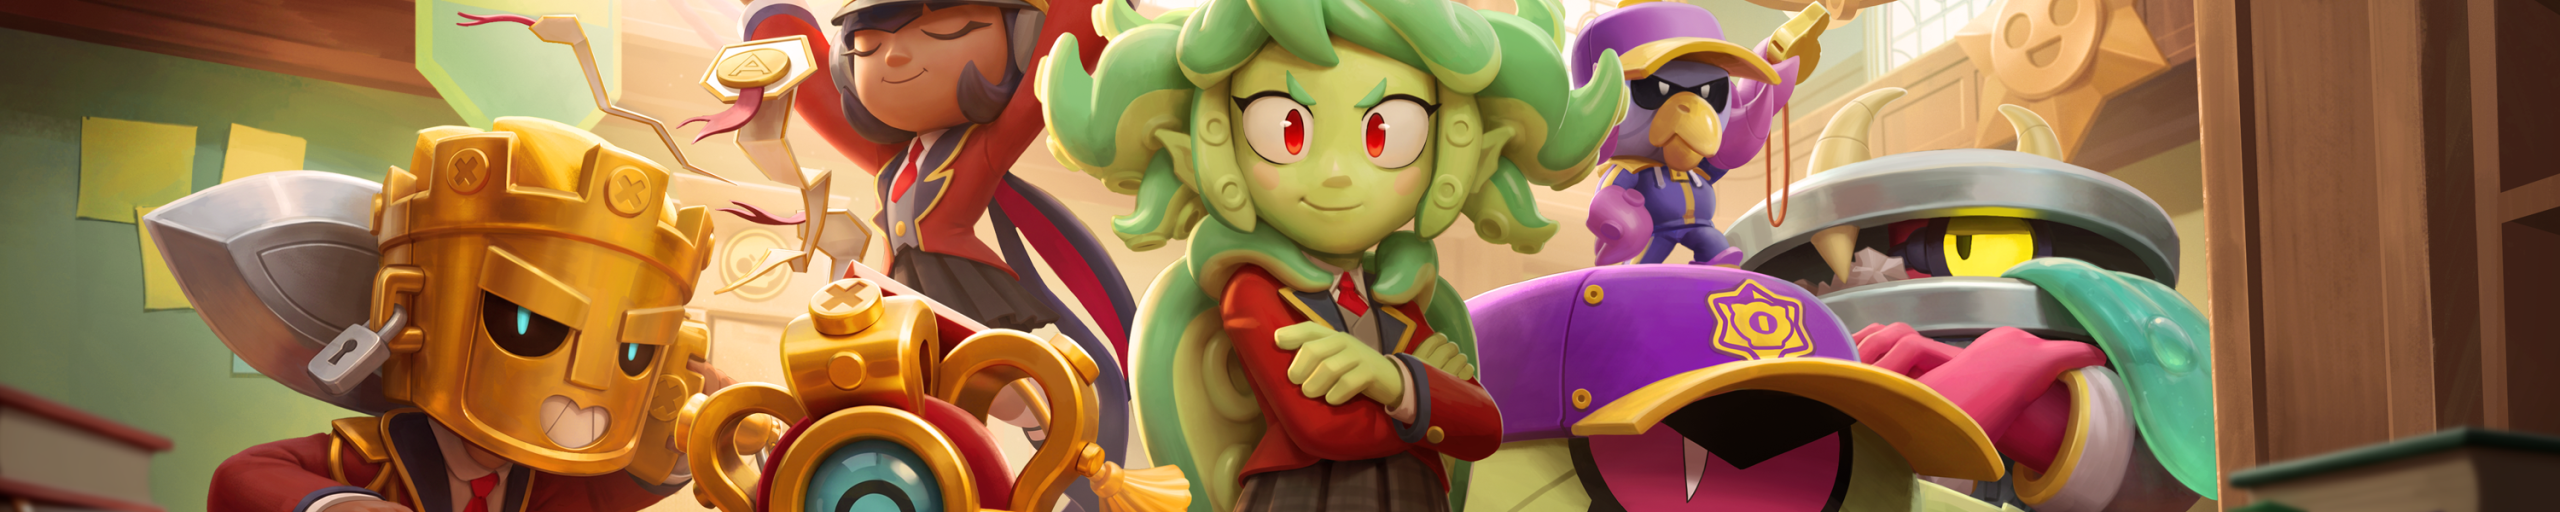
Brawl Stars Lola Best Build starts with a simple rule: choose the setup that fixes the repeated problem on the current map. Lola is a Damage Dealer with 4,000 health and 750 movement speed, while Diamond Eyes fires six jewels for 280 damage each. For Lola, those numbers matter more than copying somebody else’s loadout because they define the range, tempo and risk the setup has to support.
The default recommendation in Brawl Stars Lola Best Build is Freeze Frame + Improvise + Reload and Vision/Shield. It is a starting point, not a law. The current all-map snapshot is 69.1% win rate, 0.30% use rate and about 510,000 recorded picks. That is useful context, but Lola still has to fit the map, objective and enemy draft before any percentage becomes relevant.
Brawl Stars Lola Best Build: recommended setup and current numbers
| Fact | Current value | Why it matters |
|---|---|---|
| Class / health | Damage Dealer / 4,000 | Defines how much risk Lola can take before a reset is forced. |
| Main attack | Diamond Eyes fires six jewels for 280 damage each | This is the repeatable interaction the rest of the plan should protect. |
| Range / reload | 9 tiles / 1.7 seconds | These numbers set the spacing and ammo discipline for neutral fights. |
| Super | Megalomaniac deploys an Ego with 2,200 health that mirrors Lola and has 9-tile attack range | The Super should create an objective, elimination, escape or positioning swing. |
| October snapshot | 69.1% win rate, 0.30% use rate, about 510,000 picks | Current all-map context, useful as evidence but never a substitute for map fit. |
Read the table as a decision framework for Brawl Stars Lola Best Build. Diamond Eyes fires six jewels for 280 damage each, while the practical range is 9 tiles and the reload is 1.7 seconds. If a build does not help Lola repeat that core interaction safely, it is solving the wrong problem.
Best Gadget for Lola
The default Gadget is the one that supports the common plan: Freeze Frame gives the Ego a 50% shield for 4 seconds on an 11-second cooldown. In Brawl Stars Lola Best Build, choose it when that effect repeatedly changes a lane, an engage or a reset. For Lola, a Gadget earns its slot by changing repeatable fights, not by having the flashiest description.
The alternative is Stunt Double swaps Lola with the Ego and restores 1,520 health on a 17-second cooldown. Swap when the map or enemy composition makes that utility more reliable. Brawl Stars Lola Best Build should change before the match when you can name the exact problem the alternative fixes.
Best Star Power for Lola
The first Star Power option is Improvise gives Lola 30% extra damage on her last ammo. The second is Sealed With a Kiss lets Ego projectiles heal allies for 224 health. For Brawl Stars Lola Best Build, prefer the effect that triggers naturally during Lola’s normal win condition. A specialist Lola effect can beat the default on the right map, but only when its trigger will appear repeatedly rather than once by accident.
Best Gears for Lola
The practical Gear baseline is Reload plus Vision on bush lanes, with Shield as the safer open-map swap. Gear value is map-sensitive. Bushes can make Vision or Speed decisive, open lanes often reward Shield, and Damage only matters if Lola can survive long enough to use the low-health window. Brawl Stars Lola Best Build should therefore treat Gears as the final map adjustment, not a permanent pair.
How to use Lola Super with the build
Megalomaniac deploys an Ego with 2,200 health that mirrors Lola and has 9-tile attack range. In Brawl Stars Lola Best Build, the Super should be attached to a concrete purpose: secure an elimination, win an objective exchange, survive a collapse, break a defensive formation or create the next favourable lane state. Pressing it simply because it is charged often removes Lola’s strongest threat from the fight that matters.
Best modes and map types for Lola
Start with Gem Grab, Hot Zone and lane-based Brawl Ball maps. The geometry matters more than the mode badge: long lanes and objective maps where the Ego can hold a second angle. Brawl Stars Lola Best Build becomes much more reliable when you ask whether the map repeatedly gives Lola the preferred distance and escape route rather than assuming a globally strong setup fits everywhere.
Matchups that should change the Lola build
The most dangerous current matchup profiles include Piper, Nani, Mandy, Cordelius, Mortis. Those picks attack Lola’s preferred range, approach route, setup time or escape options. If two or more appear in the draft, Brawl Stars Lola Best Build should become more defensive or you should change the pick entirely instead of forcing a nominally optimal loadout.
Favorable matchups for Lola
Lola is more comfortable into Bull, El Primo, Rosa when the map preserves the intended spacing. Favorable never means automatic. It means the ordinary tools in Brawl Stars Lola Best Build are likely to create the same advantage repeatedly, so you can spend fewer resources repairing the matchup and more resources converting it into objective pressure.
Current 2026 context for Lola
For the current Lola build, her Ego has 2,200 base health, while the Inflated Ego Hypercharge version was raised to 5,200 health in February 2026. The 69.1% all-map result and 0.30% use rate are a dated October 4, 2026 snapshot. Use them to sanity-check Brawl Stars Lola Best Build, then let the current map and draft make the final decision.
Common Lola build mistakes
- Locking Freeze Frame + Improvise + Reload and Vision/Shield without checking whether the map supports Lola.
- Burning the Super before the objective or elimination window is actually available.
- Spending Lola’s ammo and Gadget together in the first exchange, then having no answer to the return push.
- Treating a favorable matchup as free instead of respecting enemy Super and Gadget states.
- Copying a global Gear pair onto a map where its trigger barely exists.
Most failed Brawl Stars Lola Best Build choices are not caused by one weak item. They come from using a sensible item in a fight where its trigger never appears. Before loading into a Lola match, make sure every equipped slot has a job you can describe in one sentence.
Brawl Stars Lola Best Build: quick decision checklist
- Start from Freeze Frame + Improvise + Reload and Vision/Shield.
- Protect the 9 tiles spacing and the 1.7 seconds ammo cycle.
- Swap the Gadget when the alternative solves a repeated enemy threat.
- Choose the Star Power whose trigger appears naturally on this map.
- Use the Super for an objective, elimination, survival or positioning swing.
- Reconsider the entire pick into Piper, Nani, Mandy.
That checklist is the quickest way to turn Brawl Stars Lola Best Build into an actual match plan. A useful Lola build also needs a fallback when the opening plan fails; four equipped icons are not a match plan by themselves.