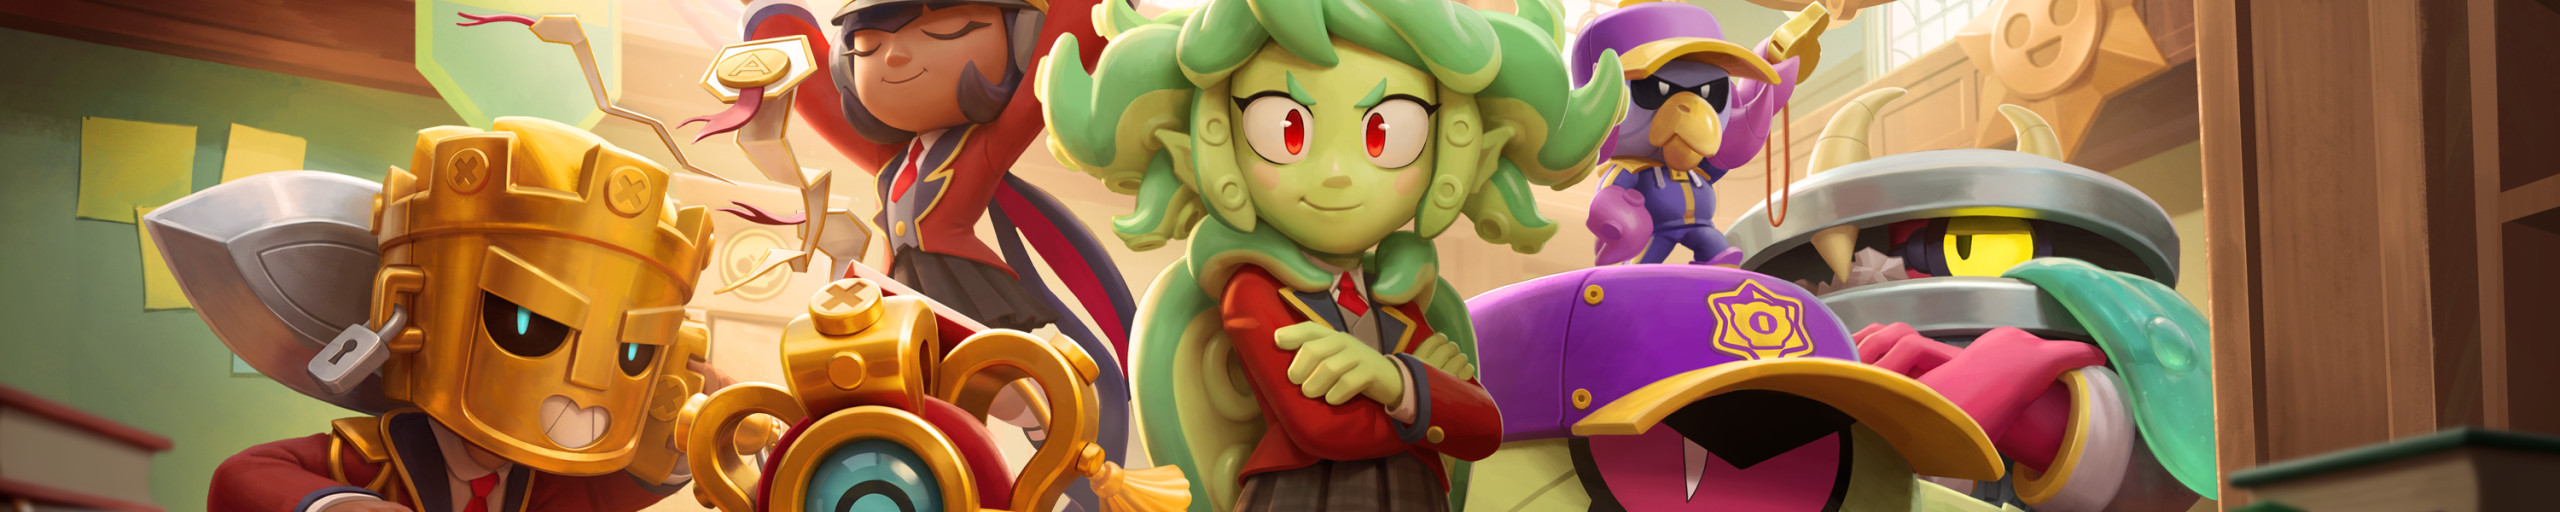
Brawl Stars Hot Zone is easiest to improve when you understand what the mode actually rewards, not just how many eliminations you can collect. A player standing in a zone while two teammates win the approaches can be doing more for the team than the player with the highest damage. The mode asks a simple question over and over: who can remain in the scoring area without giving the enemy an easy clear?
For Brawl Stars Hot Zone, the useful question is always what the next decision does to the win condition. The rules below are current as of October 3, 2026, and every section is built around a decision you can actually make in a live match.
Brawl Stars Hot Zone: rules and win condition
| What matters | Current rule / practical meaning |
|---|---|
| Win condition | Occupy the required zone or zones faster than the enemy team. |
| Pressure point | Control of the approaches is often more valuable than stacking all three players inside the circle. |
| Composition need | Sustain, area denial and ways to retake a defended zone are especially valuable. |
Those rules sound simple, but Brawl Stars Hot Zone changes value as the score, terrain and surviving players change. Reading the state correctly is what separates useful pressure from damage that never converts.
Brawl Stars Hot Zone is about owning entrances
If all three players stand in the circle, the enemy can attack the same small area with every projectile. A stronger setup often puts one durable player on the zone while teammates hold the routes that lead into it. That creates earlier fights and gives the scorer room to heal.
A good first filter is whether the move leaves your team in a better position after the fight. If the duel win opens the objective, protects a teammate or removes the enemy’s best route, it has converted into something real.
Know when to stay and when to step out
Dying inside the zone can give away more progress than briefly leaving it to heal. If you are one shot from death and no teammate can trade, step behind cover, regenerate and re-enter. The few seconds you surrender can be cheaper than the full respawn and walk back.
Single-zone maps and multi-zone maps ask different questions
A single-zone map concentrates every resource into one fight. Multiple zones create rotation decisions: winning one circle by three players is pointless if the enemy quietly owns another. Assign lanes before the first engagement and only collapse when the extra player will actually flip control.
Timing with teammates matters just as much. A smart idea executed several seconds before the rest of the team can still create a losing 1v3. The strongest pushes are the ones everyone can reach.
Supers should win a retake or extend a hold
Area Supers are most valuable when they clear the zone, deny an entrance or let a teammate survive long enough to score. Throwing one into empty space for chip damage can leave your team with no answer when the enemy groups for the real push.
How tanks create value in Brawl Stars Hot Zone
A tank does not need to chase every ranged Brawler. If the tank’s presence forces enemies to back away from the scoring area, the objective is already being won. Rosa is a good example: temporary heavy damage reduction lets her contest space that a fragile damage dealer cannot occupy safely.
The map can rewrite this entire calculation. Walls, bushes, water and long sightlines decide who can occupy the important space without spending an escape tool first.
Common Hot Zone throws
Do not chase a low-health enemy beyond the area if the chase gives up scoring. Do not enter one at a time after a team wipe. Do not stand directly on top of a teammate against piercing or splash damage. And do not keep shooting from maximum range while nobody on your team is actually scoring.
Retake as three, not as three separate respawns
After losing control, wait the extra second for teammates if the enemy has established a full setup. A synchronized retake gives you crossfire, simultaneous Supers and a chance to clear the circle. Three solo entries simply feed Super charge and extend the enemy hold.
Brawl Stars Hot Zone: quick match checklist
- Who is actually scoring while the other two hold entrances?
- Can the player in zone step out to heal without losing control?
- Are we retaking together or entering one at a time?
- Which Super can clear the circle instead of merely adding damage?
- On multi-zone maps, is one zone being abandoned completely?
Run that checklist before the decisive engagement in Brawl Stars Hot Zone. It forces you to look at the objective and team state instead of reacting only to the nearest enemy.
Final advice for Brawl Stars Hot Zone
When reviewing a loss in Brawl Stars Hot Zone, find the first decision that changed the objective state: the death that opened a lane, the rotation that arrived late or the Super that was unavailable for the retake. Fixing that earlier choice usually improves more matches than chasing an extra elimination.
Brawl Stars Hot Zone rewards coordinated commitment and disciplined resets. Use the rules above as the baseline, then adapt the lane plan, Brawler choice and risk level to the exact map in front of you. That is the part of Brawl Stars Hot Zone that stays useful even when balance changes alter the strongest individual Brawlers.