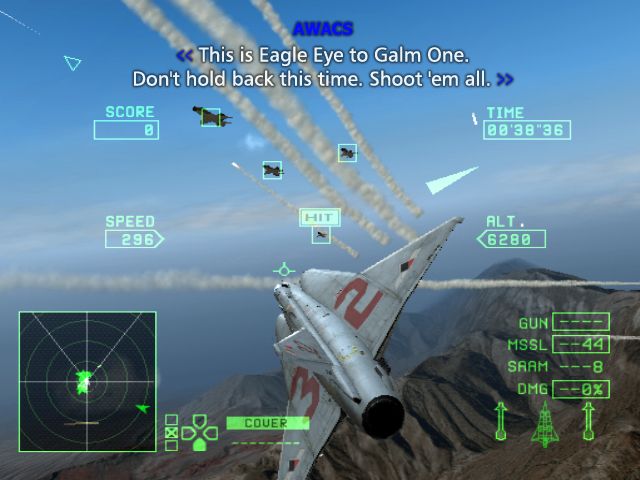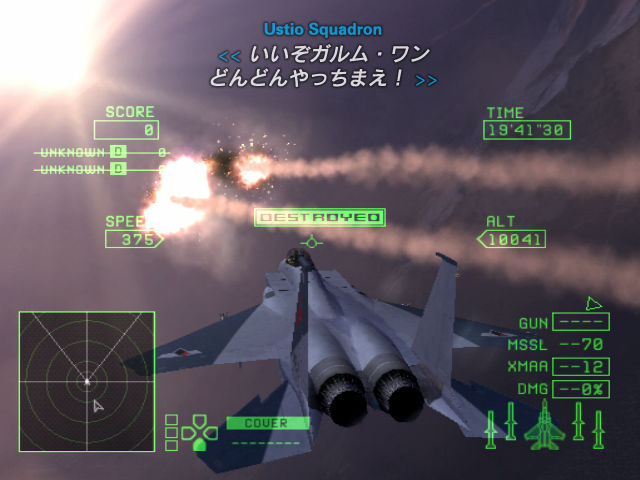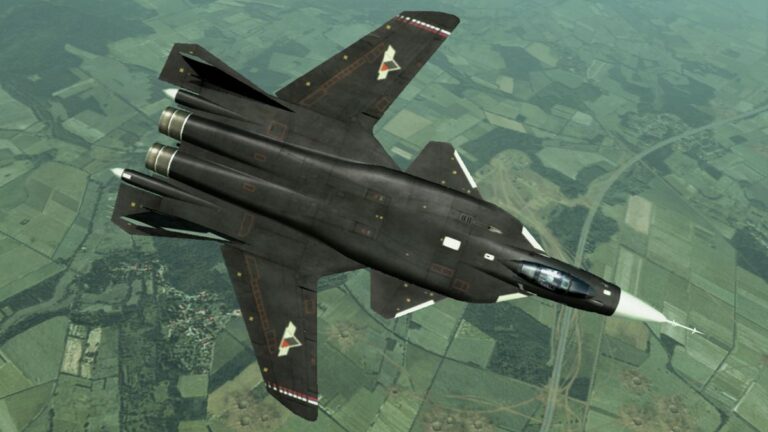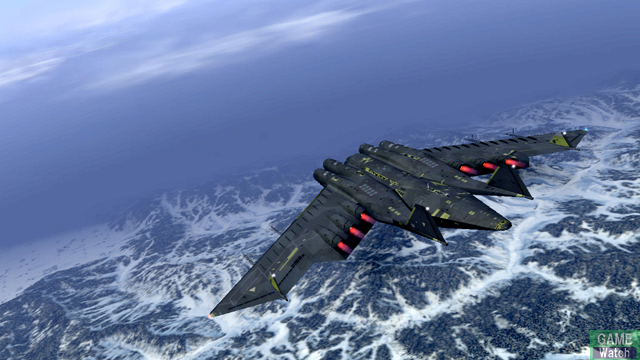
Ace Combat Zero Mission 9 Sword of Annihilation is the mission where you finally destroy Excalibur. The important order is to eliminate the four jamming installations, attack the required power generators and laser-port objectives as they become available, and then finish the main Excalibur structure. The railway-mounted laser cannons around the site are dangerous, but they are optional targets, not four compulsory objectives.
Operation Judgement takes place near Tauberg, with Cipher attacking a heavily defended superweapon that already forced the Allied aircraft to retreat in Merlon. You’ll be fighting both the facility and the laser’s targeting system. The safest plan is to keep moving between attack passes, clear the defences preventing reliable aiming and follow the TGT markings as the central weapon becomes vulnerable.
Ace Combat Zero Mission 9 Sword of Annihilation objectives
| Mission | Ace Combat Zero Mission 9 Sword of Annihilation |
|---|---|
| Clear checklist |
|
The mission uses successive target phases rather than one collection of red markers that can be destroyed in any order. At first, the four jammer installations are the priority. Once they have been disabled, the required power generators and Excalibur’s laser-port targets become the focus. The last phase is an attack on Excalibur itself. The sortie has a 20-minute limit.
The facility’s supporting railway lasers, usually labelled RTLS, are not on the same compulsory list. They can still damage you, and destroying one may make an attack path easier, but leaving one operational does not by itself prevent a normal mission clear. Concentrate on the current red TGT indicators before spending your remaining time on optional defences.
Ace Combat Zero Mission 9 Sword of Annihilation: Disable the Jammers
The jammers interfere with your ability to use normal guided targeting around the installation. Find their fixed positions on the radar and attack with careful alignment rather than assuming a missile lock will behave normally. Guns or suitable unguided weapons can help where guided attacks are unreliable. After an attack pass, confirm that a jammer marker has disappeared before moving on.
Avoid flying straight towards the centre without checking the laser threat. Excalibur’s beam can cover a wide area, and a predictable low-speed approach makes you an easier target. Break away after firing, use your radar and warning cues, and set up another attack from a different angle if you missed. The point of this opening stage is to disable the interference so the rest of the assault is manageable.
Second phase: power generators and laser-port targets
With the jammers down, move on to the required PWR GEN markers and the laser-port target that the HUD designates. Experienced players using powerful unguided weapons can bypass the jammer phase, but clearing the jammers first is the straightforward method for a normal run. These facilities support Excalibur’s operation. Attack each marked installation until the game confirms the change in objective. Keep checking the actual TGT labels, because a nearby building can resemble part of the weapon without being a required target.
This part is easier if you resist the urge to empty all missiles at the first large structure in sight. The required damage must go to the marked components, and the phases progress in sequence. Make a deliberate pass on a generator, escape the defensive fire and repeat. When the current set of TGTs disappears, look for the mission update identifying the final part of Excalibur.
Ace Combat Zero Mission 9 Sword of Annihilation: Final Excalibur Attack
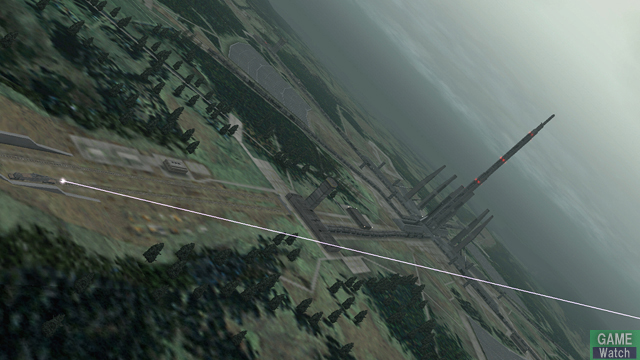
The final target is the central weapon. Approach on a clear line, avoid lingering in the laser’s firing path and use the available targeting information to strike the designated part. If you are too close or badly aligned, extend and take another pass rather than trying to force a point-blank attack while the weapon is firing. It is more important to land a reliable hit than to stay glued to the structure.
Keep an eye on the 20-minute mission clock and your remaining ammunition. The central target is not an instant one-shot objective that can be safely defeated from any direction. The exact number of successful attacks depends on weapons and difficulty, so follow the in-game damage and destruction cues. Ace Combat Zero Mission 9 Sword of Annihilation only finishes once Excalibur itself is destroyed.
Should you attack the railway lasers?
The RTLS railway laser cannons are optional. Removing one can cut down a source of danger along a route, particularly if you are struggling to approach the required targets. But diverting to destroy every railway cannon is unnecessary for the story clear and can waste precious time. Do not confuse the four optional RTLS with the four jammer installations that must be eliminated first.
A score or rank-focused replay may make extra destruction worthwhile. That is a different objective from completing Operation Judgement for the first time. If your goal is simply to continue the campaign, use the red mission markers and keep moving between required phases. The optional lasers are a tactical choice, not the answer to why the central target has not yet activated.
Why Excalibur is still invulnerable
If you’re stuck on Ace Combat Zero Mission 9 Sword of Annihilation because Excalibur still won’t take damage, check the jammer and generator phases before attacking the tower again. A surviving required installation can make the main weapon seem impossible to finish. Open the tactical map, cycle through red TGT markers and confirm that every objective in the current phase has been destroyed.
This mission pays off the evacuation from Merlon. You do not need to invent a secret canyon path, destroy every optional laser or chase enemy planes off-map to complete it. Ace Combat Zero Mission 9 Sword of Annihilation is a structured assault: remove interference, disable the supporting systems and then attack the superweapon itself.
Key detail in Ace Combat Zero Mission 9 Sword of Annihilation
The jammer phase blocks normal missile lock-on. After those four sites fall, the required TGTs move to the four power generators and the laser port. Only then does the centre become the final objective. The railway lasers are dangerous, but destroying all four is not required for a normal story clear.
Ace Combat Zero Mission 9 Sword of Annihilation: S rank versus campaign clear
An S rank requires at least 12,000 points, compared with 8,800 points from all of the compulsory TGTs. The four railway laser cannons are worth a combined 3,000 points, so destroying them makes a high-score run much easier, but they are not necessary for the ordinary campaign clear. If you don’t attack those railway guns, you must earn extra points elsewhere. This is why a route written for S rank looks longer than the straightforward Excalibur assault.
Ace Combat Zero Mission 9 Sword of Annihilation is finished by destroying the main Excalibur body, not by eliminating every RTLS cannon. The guided-weapon route starts with the four jammers, although powerful unguided weapons allow more specialised approaches.
Ace Combat Zero Mission 9 Sword of Annihilation: Related Guides
- Ace Combat Zero Mission 1 Glacial Skies: Walkthrough
- Ace Combat Zero Mission 2 Annex: Walkthrough
- Ace Combat Zero Mission 3 The Round Table: Walkthrough
- Ace Combat Zero Mission 4 Juggernaut: Walkthrough
- Ace Combat Zero Mission 5 Flicker of Hope: Walkthrough
- Ace Combat Zero Mission 6 Diapason: Walkthrough
- Ace Combat Zero Mission 7 Bastion: Walkthrough
- Ace Combat Zero Mission 8 Merlon: Walkthrough
- Ace Combat Zero Ace Style: Mercenary, Soldier and Knight Explained
- Ace Combat Zero Round Table Aces: Rot, Grun and Indigo Team Triggers
Official source: Bandai Namco Entertainment’s Ace Combat Zero game information.