
Norma CRIT Rate seems like an odd thing to worry about on a Stun Agent, doesn’t it? Usually you’d look straight at Impact. But her Precise Guidance passive turns initial CRIT Rate above 50% into extra CRIT DMG and Daze on specific attacks, which is why those CRIT rolls aren’t wasted on her.
Impact still matters, of course. The trick is that CRIT Rate does a different job in Norma’s kit, so loading up on Impact alone misses part of what makes her good. Here’s where the conversion starts and how close you can get with normal equipment.
Norma CRIT Rate: the 50% Core Passive threshold
Core Passive: Precise Guidance activates its scaling from initial CRIT Rate above 50%. At a fully upgraded Core Skill, each extra 1% above that threshold grants 1.7% CRIT DMG, up to 85%. It also increases the Daze from her EX Special, Special Attack and Ultimate by 0.8% per point, up to 40%.
The gap from 50% to 100% initial CRIT Rate is 50 percentage points, which reaches the listed CRIT DMG and Daze conversion caps at a fully upgraded Core Skill. If you’ve only just pulled Norma and haven’t raised that skill yet, you’ll get smaller bonuses even with the same equipment.
Why CRIT Rate and Impact do different jobs
Impact and CRIT Rate aren’t competing versions of the same stat. Impact affects normal Daze buildup, while the CRIT conversion specifically boosts the attacks listed in Precise Guidance. It doesn’t mean every hit from every turret or teammate suddenly gains the full bonus.
Imagine two Normas with the same Impact. One has 45% initial CRIT Rate and the other has 80%. The first hasn’t even started the conversion; the second is getting a substantial benefit from it. That’s a good reason to look at her CRIT before spending ages trying to squeeze out another tiny Impact increase.
How to improve Norma CRIT Rate with equipment
Here’s a useful Norma CRIT Rate example. At Level 60, she starts with 19.4% CRIT Rate before gear. Chief Sidekick adds 24%, and a fully upgraded S-Rank CRIT Rate Disc 4 gives another 24%. That’s 67.4% before you’ve counted a single substat.
You don’t need the signature just to pass 50%, though. A different CRIT-focused W-Engine or some good Disc rolls can get you over the threshold. I’d treat that example as a way of understanding the stats, not as a shopping list for another limited banner.
Disc 4, Disc 5 and Disc 6 priorities
Disc 4: CRIT Rate is the standard starting point. Disc 5 can use Fire DMG Bonus, PEN Ratio or ATK% depending on what you’re optimising. On Disc 6, choose Impact when you want more direct stun buildup, or Energy Regen when your EX Special and turret uptime need help.
Four-piece King of the Summit is a natural fit because Norma can meet its CRIT requirement and trigger its team effect. Your remaining two pieces can help with whatever the rest of the build lacks, whether that’s CRIT Rate from Woodpecker Electro or more Energy support.
What happens when Norma CRIT Rate reaches 100%?
Once Norma reaches 100% initial CRIT Rate with a fully upgraded Core Skill, the passive conversion has reached its cap. More initial CRIT Rate won’t keep raising those particular CRIT DMG or Daze bonuses. At that point, I’d much rather put effort into the rest of her build.
After that, another CRIT Rate roll might not help nearly as much as a better Impact or Energy Regen setup. A high number on the equipment screen doesn’t mean much if you can’t keep her turrets active or set up the Chain Attack your team needs.
Does Norma CRIT Rate affect Preheated Chamber?
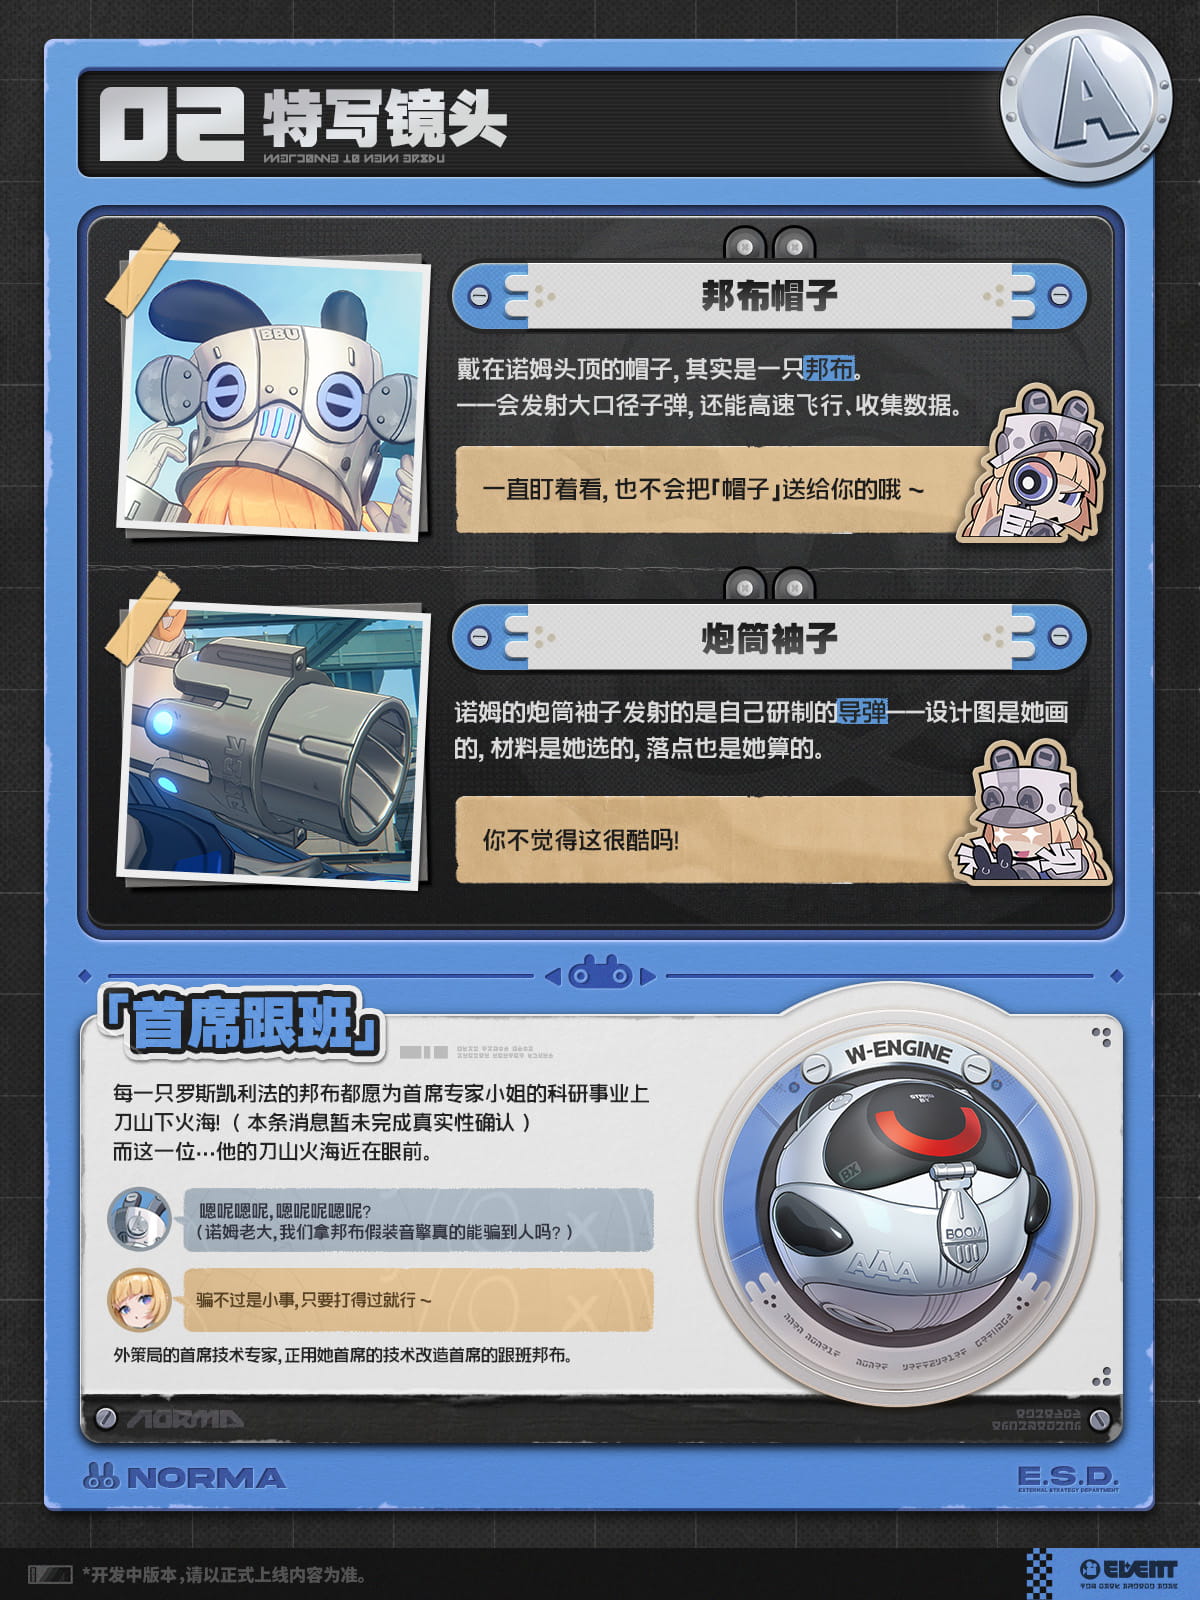
Preheated Chamber is a separate resource. Her held Hat Trick can turn a Quick Assist into a teammate Chain Attack at 80% Preheated Chamber, but CRIT Rate isn’t what fills the gauge. One mechanic helps Norma’s own Daze and damage; the other gives someone else a chance to attack.
That’s the distinction worth keeping in mind: CRIT Rate supports her personal Daze and damage, while Preheated Chamber helps another Agent attack. Our Hat Trick guide covers the 80% conversion timing, and the Norma build pulls the equipment choices together.
When you’re tweaking Norma CRIT Rate, look at the initial value used by the passive, rather than assuming every temporary buff counts in the same way. Below the conversion cap, another CRIT roll can genuinely improve her stun. Above it, Impact, Energy Regen or a cleaner rotation will often do more.
Related Guides: Zenless Zone Zero Norma CRIT Rate
Official character mechanics: HoYoverse Norma Agent Mechanics Intro.