Fallout 76 Property Rights walkthrough gives you the complete route through Property Rights, including where the quest starts, the prerequisite that matters, the objective order and the part most likely to slow you down. The direct route is to recover stolen Brotherhood weapons and investigate the Raiders' source.
Property Rights is not just a marker-following exercise. It sends you through Makeshift vault, Crater and Fort Atlas, and several stages depend on an item, terminal, NPC conversation or previous quest state being registered before the next marker appears. This guide keeps those dependencies in the order the game expects them.
Fallout 76 Property Rights walkthrough
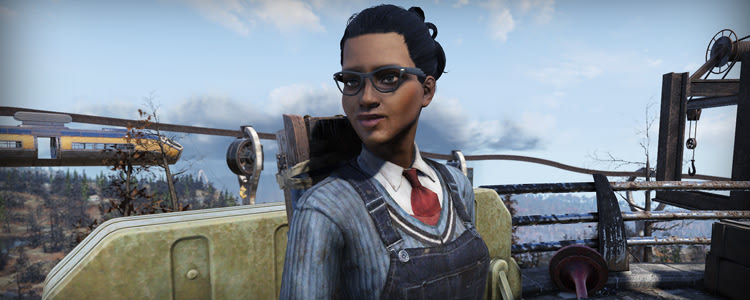
Fallout 76 Property Rights walkthrough Image Bethesda Game Studios.
| Starts from | Report to Knight Shin after Disarming Discovery. |
| Prerequisite | Level 20 and Disarming Discovery complete. |
| Main locations | Makeshift vault, Crater and Fort Atlas |
| Main goal | Recover stolen Brotherhood weapons and investigate the Raiders' source. |
The important thing with Fallout 76 Property Rights walkthrough is to keep the quest active while moving between objectives. Fallout 76 can delay a new marker until dialogue finishes or a terminal animation completes, so wait for the objective text to change before fast travelling to the next location.
How to complete Property Rights step by step
- Speak to Knight Shin about the stolen weapons.
- Travel to the makeshift vault and secure the Raider storeroom.
- Return to Shin, then follow the lead to Pierce at Crater.
- Speak with Sheena and load her holotape into a Brotherhood terminal; consulting Scribe Valdez is optional.
- Return the holotape to Sheena and report your findings to Knight Shin.
Those steps cover the shortest reliable path through Fallout 76 Property Rights walkthrough. If the quest offers optional dialogue or a side objective, you can still explore it, but the listed sequence contains the actions required to move the main quest state forward.
The part of Property Rights that usually causes trouble
The quest includes dialogue choices but the critical progression items are the storeroom recovery and Sheena's holotape. Make sure the terminal step completes before leaving Fort Atlas again.
When Fallout 76 Property Rights walkthrough appears stuck, open the Pip-Boy and read the exact active objective before changing servers. If the marker is tied to an interior cell, leaving and re-entering the building is usually safer than abandoning the quest or trying unrelated terminals.
Property Rights rewards and what unlocks next
Property Rights leads directly into Supplying Demands.
That is why Fallout 76 Property Rights walkthrough is worth completing even if you are mainly chasing later systems. Many Fallout 76 quest chains hide vendors, plans, faction access or later missions behind the completion flag rather than simply behind character level.
Quick reference
- Start point: Report to Knight Shin after Disarming Discovery.
- Main location: Makeshift vault, Crater and Fort Atlas
- Completion target: Recover stolen Brotherhood weapons and investigate the Raiders’ source.
For Fallout 76 Property Rights walkthrough, the fastest way to verify progress is to check those three points against the Pip-Boy before travelling away. If the start has registered and you are at the correct location but the completion target has not changed, finish the current interaction or terminal step and wait for the objective text to update.
Related Fallout 76 progression guides
If you are continuing the same character, Fallout 76 Supplying Demands Walkthrough: How to Complete It and Fallout 76 Over and Out Walkthrough: How to Complete It cover nearby progression. For general preparation, How to Get Excavator Power Armor in Fallout 76 can also save time before a combat-heavy objective.
Once the final objective registers, Fallout 76 Property Rights walkthrough is complete. Check the quest log for the newly unlocked follow-up before leaving the area, especially in Brotherhood, Enclave and Wastelanders chains where the next mission can begin through a nearby conversation rather than a radio message.
For Fallout 76 Property Rights walkthrough, keep the relevant Notes and Holo tabs uncluttered enough to spot newly added quest items. Many progression problems are simply a required note, holotape or plan that has not been read yet.
For a route check, Fallout 76 Property Rights walkthrough begins with Report to Knight Shin after Disarming Discovery. The main location to keep in mind is Makeshift vault, Crater and Fort Atlas, and the completion target is Recover stolen Brotherhood weapons and investigate the Raiders’ source. Keeping those three points clear makes it much easier to tell whether you are still on the main path or have wandered into an optional objective.
Before committing to the next marker in Fallout 76 Property Rights walkthrough, check the prerequisite: Level 20 and Disarming Discovery complete. The quest can appear stalled when the previous interaction, terminal entry or conversation has not finished registering, so let the objective text update before fast travelling away from the current location.
The useful route through Fallout 76 Property Rights walkthrough is the ordered objective chain rather than every room or side interaction. Start with Speak to Knight Shin about the stolen weapons. Then continue with Travel to the makeshift vault and secure the Raider storeroom. The final required action is Return the holotape to Sheena and report your findings to Knight Shin.
Official Fallout 76 information
For current quest fixes, patch changes and official support information after using this walkthrough, check the official Fallout 76 website.