GTA 6 Smash and Grab Locations cover 35 shops across Leonida: 20 jewellery stores and 15 pawn shops. For 100% completion, you need to clear 34 different shops. Taking a few valuables from a front display doesn’t always finish the job—many stores also have a safe tucked away in the back.
You’ll get two chances to start clearing the map. Pawn-shop robberies unlock after Coffee Break in Chapter 2, while the jewellery stores become available after Yasmani’s Jewelry Jobs in Chapter 3. Here are the shops grouped by county and neighbourhood, with their reported takings so you can choose a sensible route.
All GTA 6 Smash and Grab Locations: 35 Shops
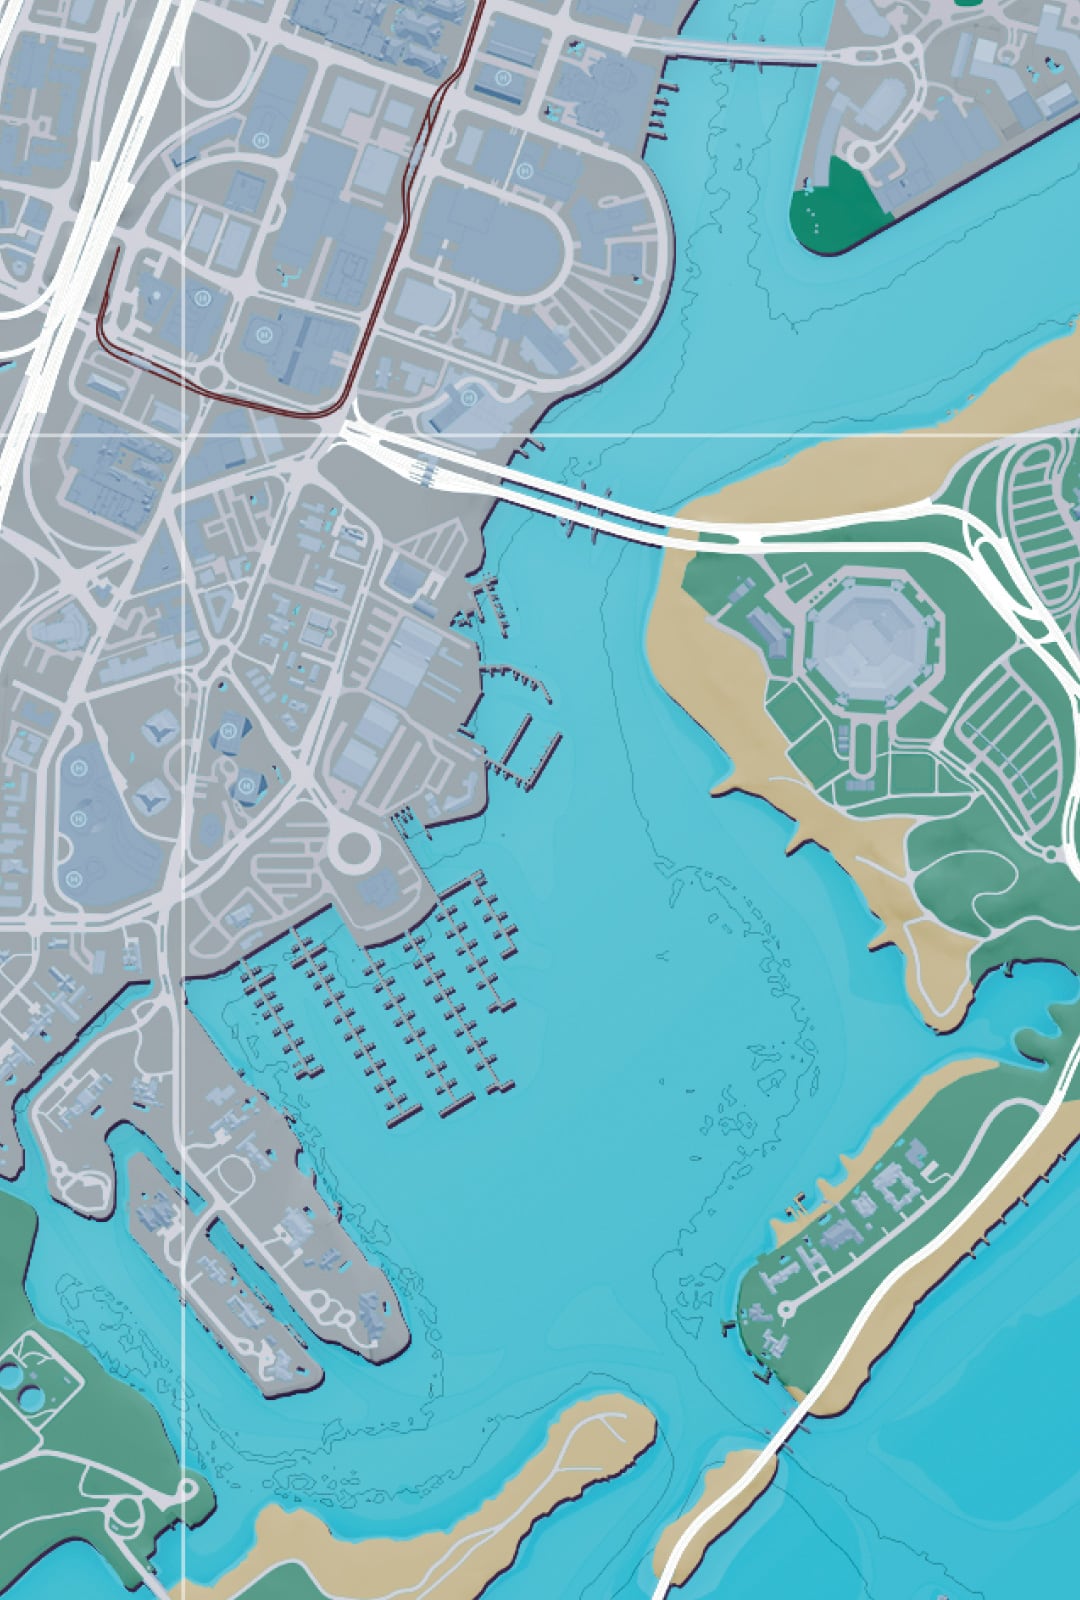
On the map, select Robberies → Smash ‘n’ Grabs. You’ll see green shop markers in areas you’ve uncovered. A bright green icon means you’ve cleared that location; dark green means there’s still work to do. The tables give you a neighbourhood, but the marker is the best way to find the exact building.
Mariana County: Three GTA 6 Smash and Grab Locations
| Store | Neighbourhood | Type | Listed take |
|---|---|---|---|
| The Siren’s Chest | Key Lento | Jewellery | $1,000–$10,000 |
| Timeless Peculiars | Watson Bay | Pawn | $4,500–$12,000 |
| Victoria Lee Jeweler | Capri | Jewellery | $9,000–$20,000 |
Mariana has three shops: The Siren’s Chest in Key Lento, Timeless Peculiars in Watson Bay and Victoria Lee Jeweler in Capri. Timeless Peculiars is the pawn shop, so it can be cleared earlier in the story. Save the two jewellery businesses until the Chapter 3 unlock.
GTA 6 Smash and Grab Locations in Vice-Dale County: 26 Shops
| Store | Neighbourhood | Type | Listed take |
|---|---|---|---|
| Hamlet Pawn | Hamlet | Pawn | $4,500–$12,000 |
| Joyeria Empenos | Southside | Pawn | $4,500–$12,000 |
| Ernesto’s Pawn | Southside | Pawn | $4,500–$12,000 |
| Donovan Banks & Co. | Peacock Bay | Jewellery | $14,000–$25,000 |
| Plush | Tequesta | Jewellery | $9,000–$20,000 |
| Pawn City | Salton | Pawn | $1,000–$10,000 |
| Icegem Diamonds & Watches | Downtown | Jewellery | $14,000–$25,000 |
| Richardson Jewelry & Diamonds | Downtown | Jewellery | $4,500–$12,000 |
| All That Glitters | Shoreline | Jewellery | $9,000–$20,000 |
| Peacock | Shoreline | Jewellery | $9,000–$20,000 |
| Fast Cash | Little Cuba | Pawn | $1,000–$10,000 |
| The Jewelry Place | Balsero | Jewellery | $1,000–$10,000 |
| Crown Jewels | Balsero | Jewellery | $1,000–$10,000 |
| Dorado Pawn Shop | Rockridge | Pawn | $4,500–$12,000 |
| White Sands Jewelry Pawn | Rockridge | Pawn | $4,500–$12,000 |
| Down Town Pawn | Rockridge | Pawn | $1,000–$10,000 |
| Vice City Pawn | Crosstown | Pawn | $4,500–$12,000 |
| Pawn Stash | La Perle | Pawn | $4,500–$12,000 |
| Blanc & Giroux | Decor District | Jewellery | $14,000–$25,000 |
| Roval Jewelry | Decor District | Jewellery | $14,000–$25,000 |
| Covgari | Decor District | Jewellery | $14,000–$25,000 |
| Akoya Jewelers | Ocean Beach | Jewellery | $14,000–$25,000 |
| Marshal’s | Ocean Beach | Jewellery | $9,000–$20,000 |
| Casa De Empeno | Ocean Beach | Pawn | $4,500–$12,000 |
| Rococo Rich | Ocean Beach | Jewellery | $14,000–$25,000 |
| Legendary Custom Jewelry | Ocean Beach | Jewellery | $14,000–$25,000 |
Most of the GTA 6 Smash and Grab Locations are in Vice-Dale. You can clear three pawn shops in Rockridge—Dorado Pawn Shop, White Sands Jewelry Pawn and Down Town Pawn—without crossing the whole city. Once jewellery robberies are available, the Decor District has Blanc & Giroux, Roval Jewelry and Covgari; Ocean Beach has five more shops, including Casa De Empeno.
Leonard County: Three Stores
| Store | Neighbourhood | Type | Listed take |
|---|---|---|---|
| Brilliant Cuts | Belville | Jewellery | $9,000–$20,000 |
| Skala | Waning Sands | Jewellery | $14,000–$25,000 |
| Kowalski | Waning Sands | Jewellery | $14,000–$25,000 |
All three Leonard County locations are jewellery stores: Brilliant Cuts in Belville and two in Waning Sands, Skala and Kowalski. If you still need completed robberies late in the story, the Waning Sands pair is worth doing together.
Kelly County GTA 6 Smash and Grab Locations: Three Pawn Shops
| Store | Neighbourhood | Type | Listed take |
|---|---|---|---|
| Buck’s Jewelry & Pawn | Port Gellhorn | Pawn | $1,000–$10,000 |
| Avery Pawn | Port Gellhorn | Pawn | $1,000–$10,000 |
| Florence & Co. | Ambrosia | Pawn | $4,500–$12,000 |
Kelly County has Buck’s Jewelry & Pawn and Avery Pawn in Port Gellhorn, plus Florence & Co. in Ambrosia. Avery Pawn also features in a separate mission. Its safe code may vary, so follow the staff or on-site clues rather than relying on a number from somebody else’s playthrough.
When GTA 6 Smash and Grab Locations Unlock
Coffee Break in Chapter 2 unlocks pawn shops; Yasmani’s Jewelry Jobs in Chapter 3 unlocks jewellery stores. You can visit a building before that point, but the tracked Smash ‘n’ Grab may not be available. If you only see pawn-shop markers, keep playing the story.
For GTA 6 Smash and Grab Locations you haven’t discovered yet, uncover the surrounding map first. Once a shop appears, open its marker to check the outstanding objectives. There’s no benefit to travelling back to a bright-green location when you’re chasing the completion tally.
How to Complete GTA 6 Smash and Grab Locations and Open Safes
At jewellery stores, break the display cases and take the valuables. At pawn shops, check the stock and the rear area. In either case, look for a lootable backroom safe. Grabbing the obvious goods and running out can leave the robbery unfinished.
A free-roam safe code is usually found inside the shop or obtained from an employee. Try Focus Mode (L3 + R3) for clues, then aim at a staff member and use Safe Code? or Threaten if that prompt appears. The ordinary robbery codes are randomised, so Yasmani’s fixed story combinations aren’t a shortcut for every shop.
If you’ve unlocked the Snap Gun, you can use it on compatible back doors for a quieter entrance. Alarms, witnesses and police still depend on the building, so look around before drawing attention to yourself. After leaving, check the map to make sure the shop actually switched to bright green.
GTA 6 Smash and Grab Locations: How Many Count for 100%?
The 100% checklist calls for 34 of the 35 documented GTA 6 Smash and Grab Locations. The current detailed location lists track those same 35 businesses. Once you have 34 marked bright green, you’ve satisfied this part of the checklist—even if the final unrobbed shop is still sitting on your map.
For the related $100,000 jewellery-fenced requirement, stealing the goods and selling them are separate steps. Take jewellery to a fence after the robbery; having valuables in your bag doesn’t advance the sale total by itself.
Which GTA 6 Smash and Grab Locations Should You Visit First?
The combined list is useful for 100%, but the shop types deserve their own routes. The pawn shop locations guide groups the 15 earlier targets, and the jewellery store locations guide covers all 20 later ones. Both feed into the same 34-out-of-35 target.
For a quick run through GTA 6 Smash and Grab Locations, start with Southside and Rockridge pawn shops, then work through the Decor District and Ocean Beach jewellery stores once they’re unlocked. Keep an eye on the map after each getaway; a missed safe is a better lead than robbing the same display a second time.
Official game information: Rockstar Games, Grand Theft Auto VI.