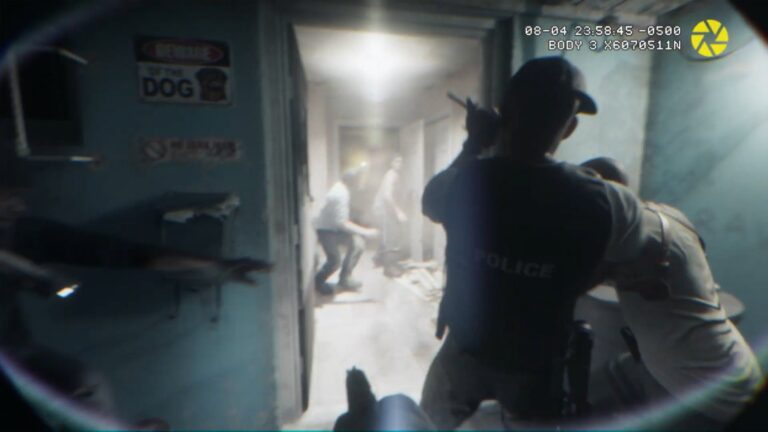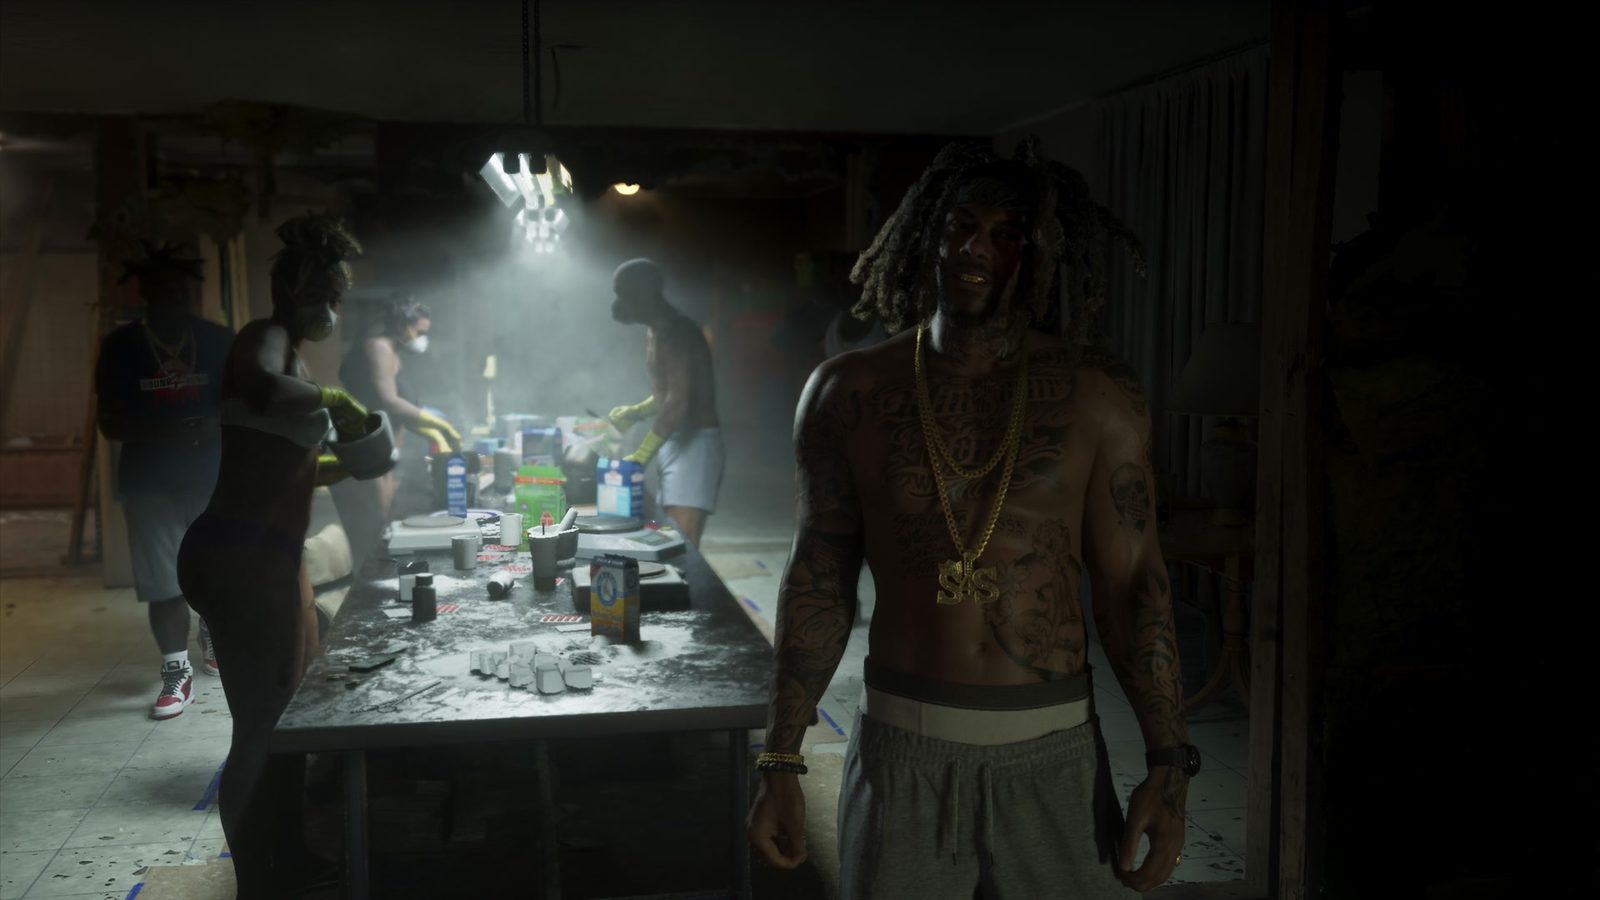
The GTA 6 Kitty Litter Labs Walkthrough helps Jason find the drug labs hidden inside Tyrone’s purple search areas. Most are tucked into ordinary garages, flats or trailers, so spotting smoke, chemicals and suspicious pipes is more useful than driving around the marker.
A launch checklist reports 14 labs but describes only 13 individual sites. Push Square has also photographed a Rockridge apartment near Bump & Grind Coffee, although it’s not yet clear whether this is a separate location from the other Rockridge entry. The count needs confirmation, so the locations below are presented without inventing a final marker.
GTA 6 Kitty Litter Labs Walkthrough: unlock and destroy labs
Complete the Chapter 3 story missions Tyrone and Here, Kitty Kitty. The first lab is then assigned. Tyrone and Dook can supply more leads, but you can also find sites yourself. Look for pink-purple smoke, chemical containers, makeshift ventilation piping and cat-related graffiti in the marked area.
Once inside a lab, destroy its equipment. Shooting a propane or gas canister works, as does a Molotov thrown at the production setup. Watch for armed occupants and stay back from the blast. Each cleared site earns $2,000 or $2,500 through BuckMe, depending on the location.
GTA 6 Kitty Litter Labs Walkthrough: check your progress
These sites remain accessible in free roam, including after the story. On PS5, press the Touch Pad and open Robberies > Take Out Kitty Litter to check activity progress. If you are unsure about a particular site, revisiting the building and checking its condition can help confirm whether it has already been cleared.
GTA 6 Kitty Litter Labs Walkthrough: first lab and Balsero
The first story lab is inside a trailer in the southern-central part of its search area. Pink smoke rises from its roof and yellow pipes stick out through the windows. Two guards can be seen outside. This first site pays $2,000.
Balsero has three recorded sites. The first is a guarded garage near NW 12th Avenue between NW 16th and NW 17th Streets ($2,000). Another is in the centre of its search zone, behind a keypad. Its code is 1999, also written on a nearby billboard ($2,500).
The third Balsero site is a trailer, the second one from the south in the relevant search area. It may have a guard and a Spin On This van outside. Use the Snap Gun or break open the door to destroy the equipment ($2,500). There’s an optional paper in the first garage and a receipt inside the keypad garage.
GTA 6 Kitty Litter Labs Walkthrough: Rockridge and Crosstown
One guide describes a Central Rockridge garage accessed from a west-side alley ($2,500). Push Square also documents Apartment 5 on Santiago Avenue, west of Bump & Grind Coffee, with visible piping and containers outside. Both are useful leads, but it’s not yet proven whether the two guides are describing separate sites.
Crosstown has three documented sites. The first is a second-floor flat on NE 10th Street, with materials stacked beside its door and a Spin On This van nearby ($2,000). Be careful entering: activity inside can set the room alight.
The second Crosstown lab sits in the garage behind Cross My Heart Tattoos ($2,500). The third is a garage on the eastern side of the central building ($2,500). A cook may reveal another location if questioned before the equipment is destroyed.
GTA 6 Kitty Litter Labs Walkthrough: Decor District, Little Cuba and Salton
In the Decor District, check the garage in the northwest corner of the search area next to the highway ($2,500). The cook inside may have information about other sites.
Little Cuba has a location between NW 3rd Avenue and I-97. Look for the long building with discarded materials near a door and piping by its window. The listed payout is $2,500.
In Salton, check the flats on SW 7th Avenue that fill the search area. An open window on the eastern side is accessible from a dumpster behind the building. Inside, watch for the occupants; the reported payout is $2,000.
GTA 6 Kitty Litter Labs Walkthrough: Tequesta and Vice-Dale
The Tequesta site is on the upper floor of the eastern C-shaped motel. Force the door carefully; the cook inside may throw a burning beaker at you. Destroying that lab pays $2,500.
In Vice-Dale, find the trailer near the centre of the purple area and climb through the east window to bypass the locked doors. A vagrant may be inside rather than a cook; you can tell him to leave before destroying the equipment.
Check the counter for a Rocky Chavez business card before the explosion if you’re collecting the environmental details. The Vice-Dale lab pays $2,500.
GTA 6 Kitty Litter Labs Walkthrough: what happens after?
After enough labs have been destroyed and the necessary information collected, Tyrone’s finale Spin On This becomes available. It is its own mission at the main operation, not just a repeat of the smaller garage raids.
If you’re stuck on a purple zone, look for smoke, external pipes or chemical crates before trying every door. You can ask Tyrone or Dook for further locations, and you can return to known sites in free roam to check whether they are already burnt out.
GTA 6 Kitty Litter Labs Walkthrough: Missing the last lab?
If your progress counter still has one lab outstanding, check both Rockridge leads: the garage accessed from the west alley and Apartment 5 near Bump & Grind Coffee. Their published descriptions differ, but nobody has conclusively confirmed whether they are separate entries. Tyrone and Dook can reveal more lab leads over time. Follow any new purple search area and look for smoke, external piping and chemical containers to identify the actual building.
This GTA 6 Kitty Litter Labs Walkthrough covers the sites documented in current launch guides. The 14-location claim still needs checking against the activity itself: one source itemises 13, and another documents a Rockridge apartment without establishing whether it is an additional site.
Official game information and imagery: Rockstar Games, Grand Theft Auto VI.