The GTA 6 Credit Check Walkthrough covers Raul’s three Fleeca bank robberies in Chapter 3. Jason and Lucia meet his crew, collect disguises and a Dye Pack Jammer, then work through three branches with different security and escape challenges. Finishing the mission awards $6,000 and unlocks more robbery targets on the map.
Complete Crosstown Traffic before going to Raul’s planning room in Stockyard. Don’t treat this as one bank with several phases. You will visit three separate locations, and the objective changes after each robbery. Masks, cash drawers, a safe and the partner escape prompts all matter.
GTA 6 Credit Check Walkthrough: Meet the Crew and Get Equipment
Find Raul’s meeting point near the Vice Vinyl mod shop and use the intercom on the wall to enter. Upstairs, speak to Andrea and select one of the two available sets of masks. Then talk to Karim and pick up the Dye Pack Jammer. The crew includes driver Felipe and support from Andrea and Karim, who will be involved in the bank practice run.
The Dye Pack Jammer is the key new piece of equipment, allowing you to handle marked bills taken from bank drawers. Before leaving the planning area, check that the highlighted equipment pickup and conversations have been completed. The route then leads to Fleeca Bank in Washington Beach.
Park outside the Washington Beach branch and equip your mask from the Items section before entering. You can change the active equipment using the on-screen controls. Going in with the mask ready is quicker than searching your inventory while a guard is already drawing a weapon.
GTA 6 Credit Check Walkthrough: First Fleeca Bank
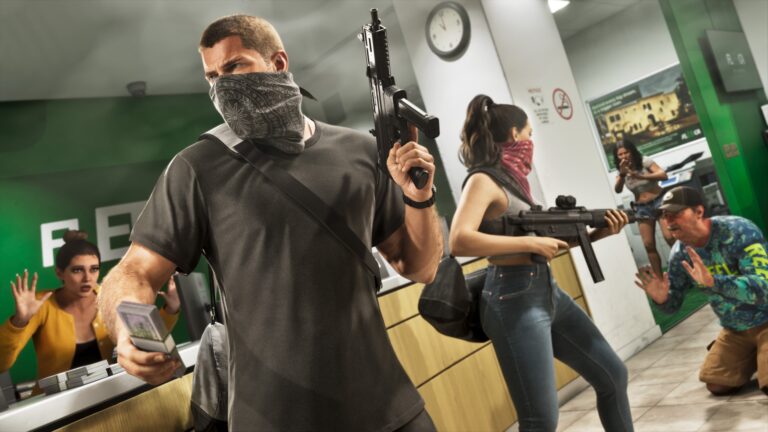
Once inside, deal with the security guards immediately. Threaten them before they pull their guns, or use a controlled attack if they become hostile. Running straight to the counters without managing the guards gives them more time to shoot at you.
Move behind the counter and loot all four marked cash drawers. These are the required items that move the mission forward. You can collect other valuables where available, but don’t confuse optional loot with the four objective drawers.
Leave the branch and get back in your vehicle. Avoid cutting back through the police search zone as you move towards the next bank. The mission’s second robbery is at a smaller Fleeca branch in Ocean Beach, where the layout and escape preparation are different.
GTA 6 Credit Check Walkthrough: Second Bank Safe
Park outside the smaller Ocean Beach bank. Hold right on the D-pad, then press Square on PS5 or X on Xbox to tell your partner to wait in the driver’s seat. This allows a quicker getaway. Equip your mask again if you’ve removed it on the drive, then enter and move towards the back.
Karim has dealt with the alarm, so you can open the internal access with the Snap Gun or by forcing the door. Threaten the teller for the safe combination when possible and take cash from the nearby drawer.
Plant the required explosive at the locked inner door, back away and trigger it using the mission prompt. In the rear room, use the teller’s safe code if you obtained it, or open the safe with an explosive. Collect its money, leave through the front and get into the vehicle waiting outside.
GTA 6 Credit Check Walkthrough: Third Bank Escape
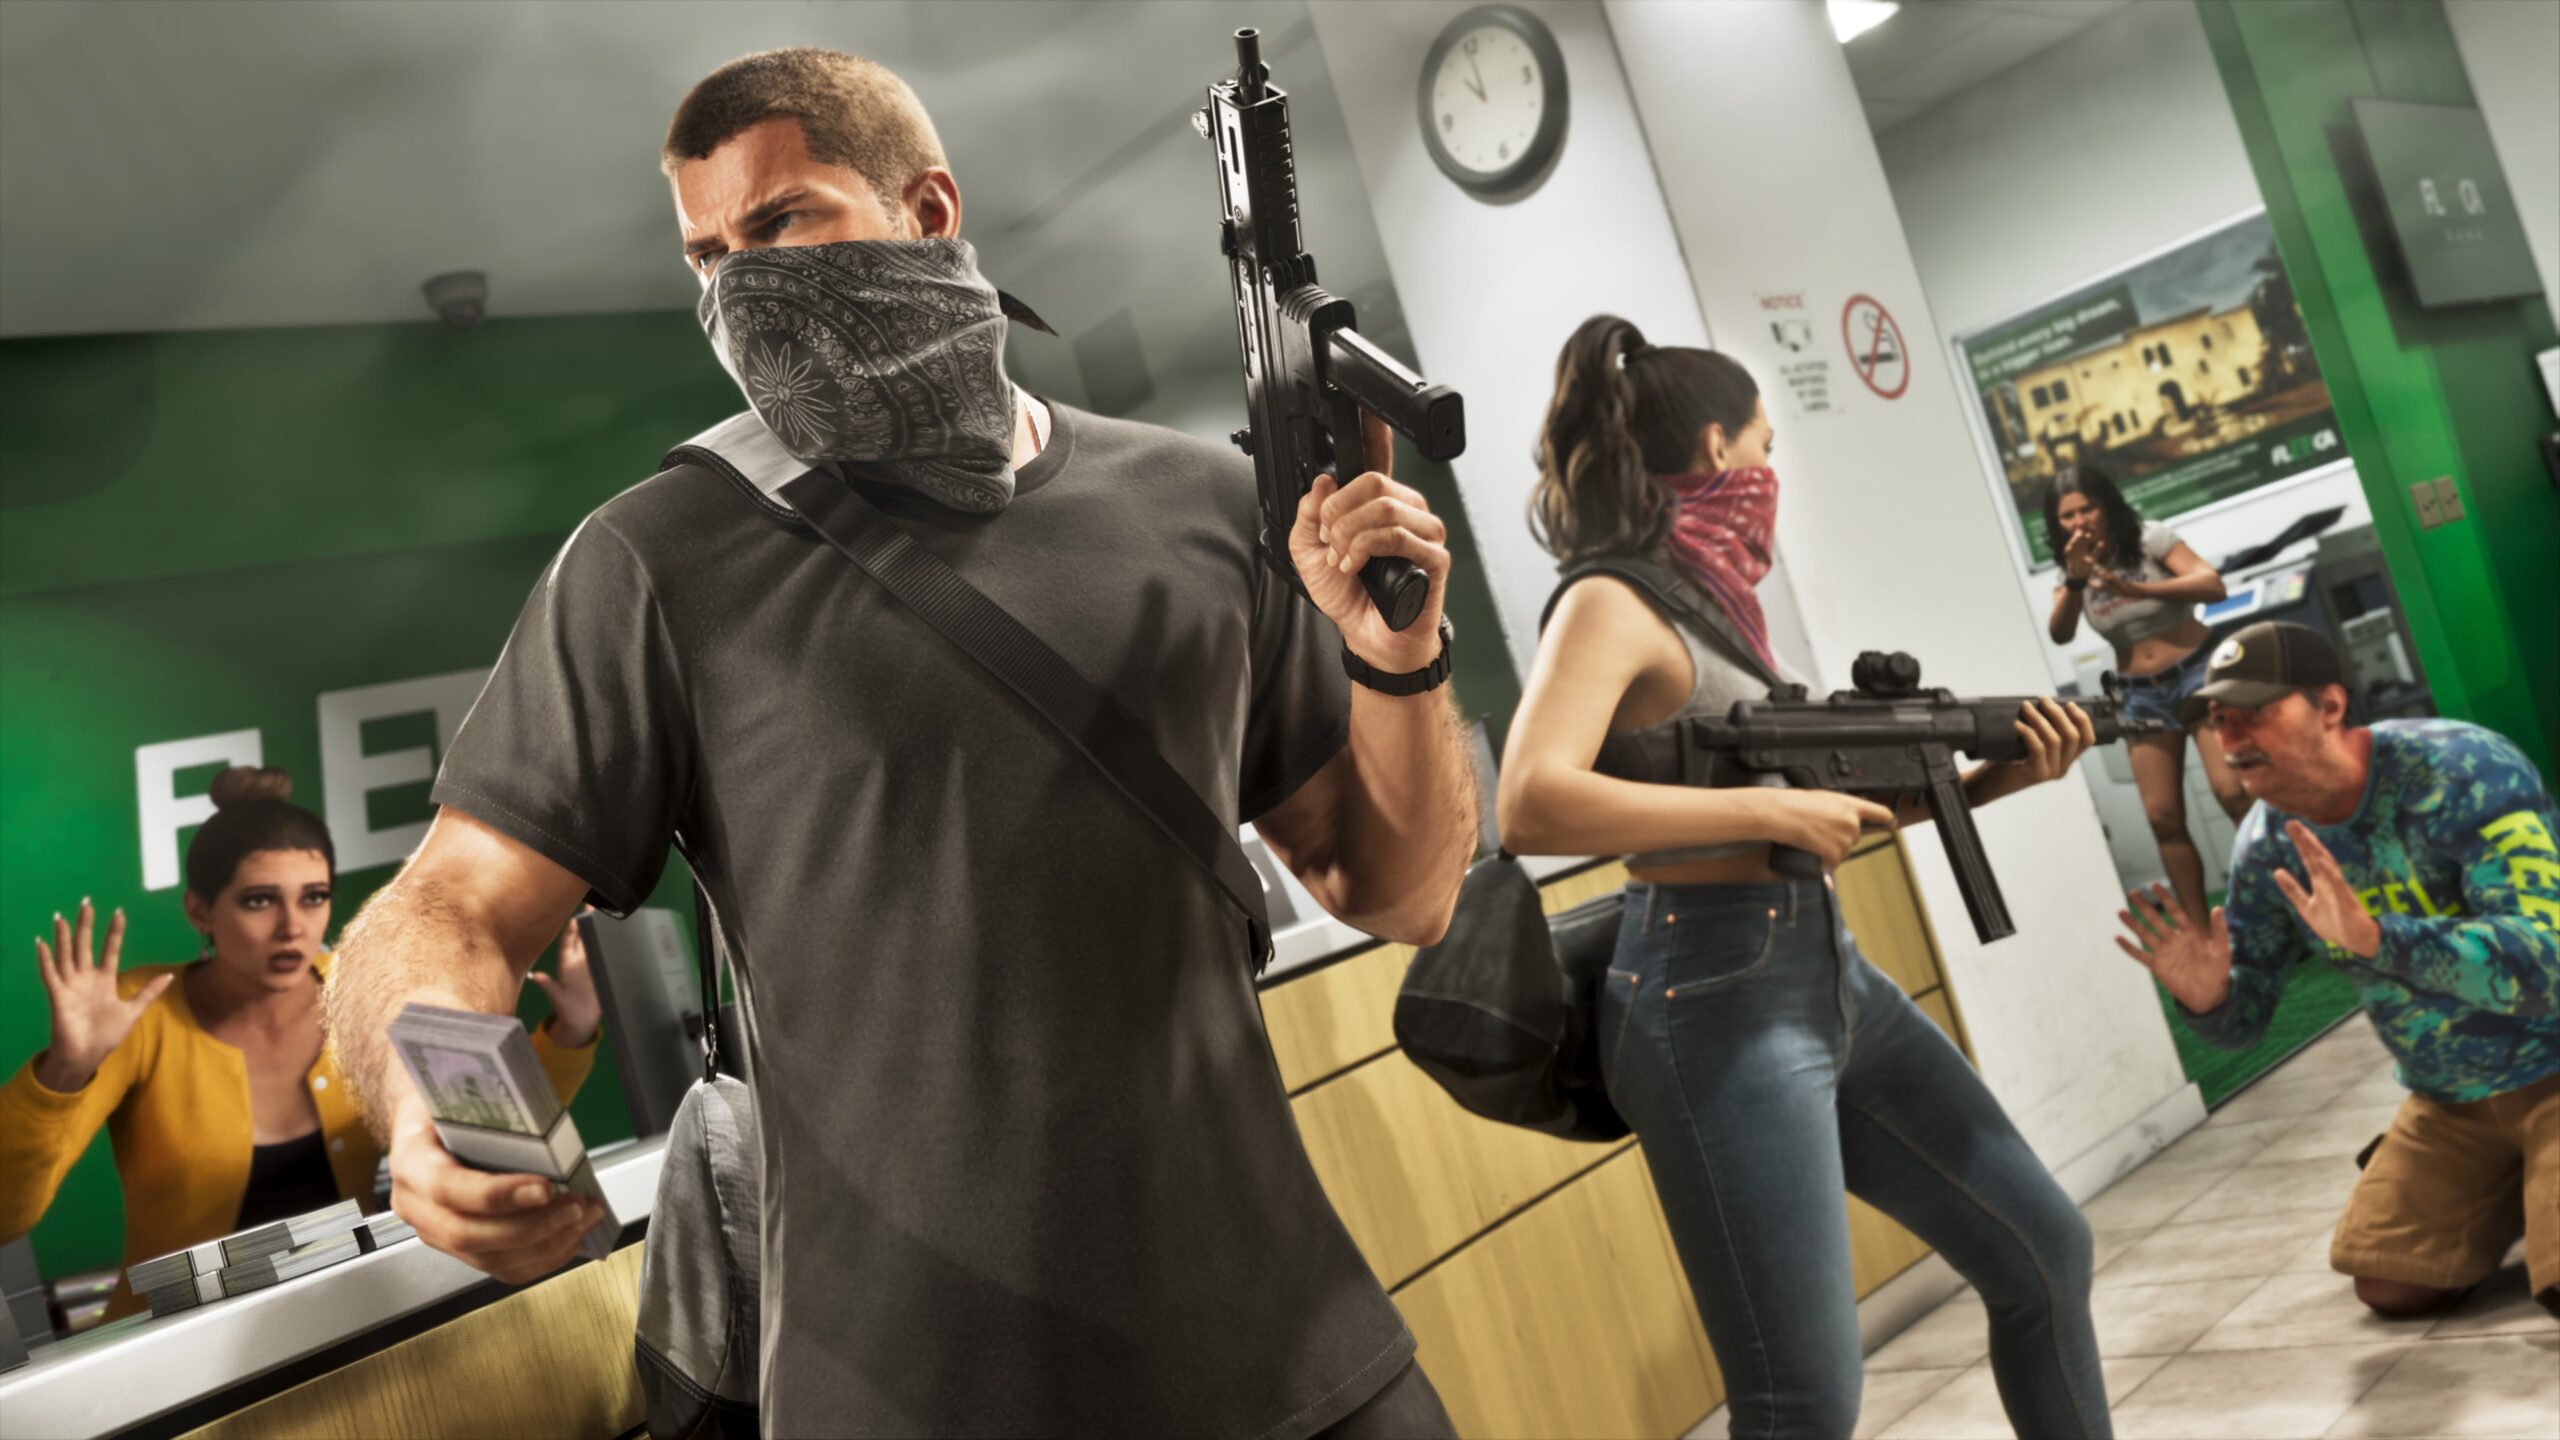
The final bank is another Fleeca location farther south in Ocean Beach. Position the getaway car towards the street before you enter, then equip your mask. This branch is larger and has more guards, so take control of the room before heading behind the counter.
Take the marked bills from four cash drawers. Security comes out from the back when the alarm is triggered. Fight your way back towards the exit rather than spending too long trying to clear the optional safe while the response is arriving.
During the final getaway, you can split from your partner by holding right on the D-pad and pressing Triangle on PS5 or Y on Xbox. Separating divides police attention and can make escape easier. Clear the search area, return to the Bayside apartment and answer the door after the final scene to complete the job.
GTA 6 Credit Check Walkthrough: Rewards and Common Problems
Completion pays $6,000 and leaves you with the Dye Pack Jammer. Bank Jobs, Big Bank Jobs and Payday Loans are then marked as robbery targets on the map. These new activities are optional opportunities after the training sequence, not additional banks required to finish Credit Check.
At the first branch, four marked drawers must be emptied. At the second, the safe behind the inner door is the goal. At the third, take the four drawers and leave when security arrives; the safe can wait.
This GTA 6 Credit Check Walkthrough ends back at the apartment, not when the last bank’s cash has been taken. Lose the police, return to Bayside and complete the door interaction. The mission unlocks a wider robbery system and leads into further Chapter 3 jobs.
GTA 6 Credit Check Walkthrough: Mission Objective Checklist
- Meet Andrea and Karim, select masks and collect the Dye Pack Jammer.
- Rob four marked cash drawers at Fleeca Washington Beach.
- At the first Ocean Beach branch, leave your partner as driver and open the back safe.
- At the southern Ocean Beach branch, take four drawers then escape the police.
- Return to Bayside and answer the door to receive the rewards.
Official game and images: Rockstar Games, Grand Theft Auto VI.