Ace Combat 7 Mission 12 Stonehenge Defensive is a defense mission, not a contest to shoot down the most aircraft. The objective is to keep Stonehenge’s railgun operational long enough for Major McOnie’s crew to fire. That means protecting nearby ground forces, stopping bombers and preventing helicopters from delivering troops to the base.
If you’re stuck, change your target priorities. The enemy aircraft chasing you aren’t always the ones that can fail the mission. Tanks, bombers and troop carriers are the real danger. The final stage then switches to a fight against Arsenal Bird Liberty, where you need to destroy its main propellers rather than the entire aircraft.
Ace Combat 7 Mission 12 Stonehenge Defensive walkthrough and objectives
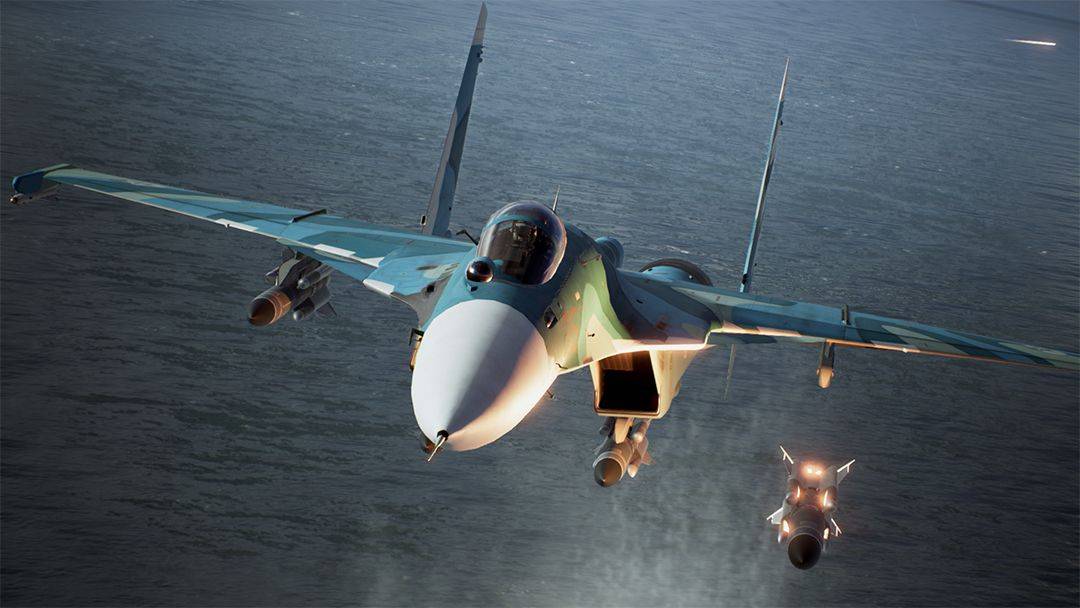
Operation Dragon Breath has three stages: stop the attacks on Stonehenge, defend it from incoming UAVs and disable the Arsenal Bird’s central propellers. There is no minimum kill score for a standard mission clear.
Step 1: Help Menhir 5, 6 and 7
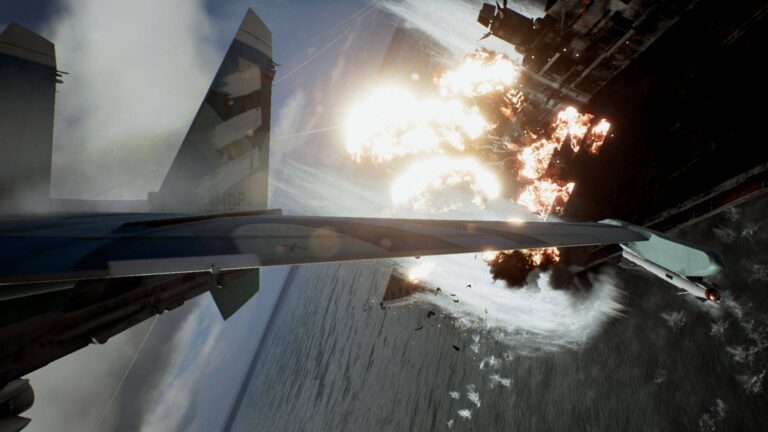
As Ace Combat 7 Mission 12 Stonehenge Defensive starts, enemy tanks and APCs move toward the allied Menhir positions. Deal with the ground vehicles first. They can break through the defensive lines and threaten Stonehenge if you’re distracted by fighters. Listen for requests for help from Menhir 5, 6 or 7, then move toward whichever group is closest to being overwhelmed.
Ground-attack weapons such as XSDB or multi-target air-to-ground missiles are useful here. Take out groups of vehicles with each pass instead of lingering to chase a single fighter over the desert. You can deal with surviving enemy aircraft later.
Step 2: Intercept bombers as soon as they appear
Long Caster’s warning about approaching bombers is the signal to break off your ground attack. A bomber that reaches Stonehenge can cause serious damage. In Ace Combat 7 Mission 12 Stonehenge Defensive, prioritize bombers over their escorts and head straight toward their flight path. Additional bomber waves follow, so keep checking the radar and responding to the radio calls.
Don’t assume the ground war is over just because the first wave is down. Protecting the Menhir units still matters, but the moment another bomber group appears, stop what you’re doing and intercept it.
Step 3: Stop the troop-carrying helicopters
Later, helicopters approach from the northeast while a rocket unit also threatens Stonehenge. The helicopters are especially dangerous because their troops can infiltrate the railgun site. If they reach it, the mission fails outright. Turn toward the transports and destroy them before they can deploy soldiers. Allied Cyclops pilots can assist against the rocket unit.
Step 4: Protect the railgun from UAVs
When Arsenal Bird Liberty arrives, it launches drones toward Stonehenge. The objective in Ace Combat 7 Mission 12 Stonehenge Defensive changes to shooting down the UAVs. Stay focused on the drones attacking the gun and give the engineers time to prepare the shot. Do not waste this phase attacking unrelated parts of Liberty.

Step 5: Destroy the Arsenal Bird’s main propellers
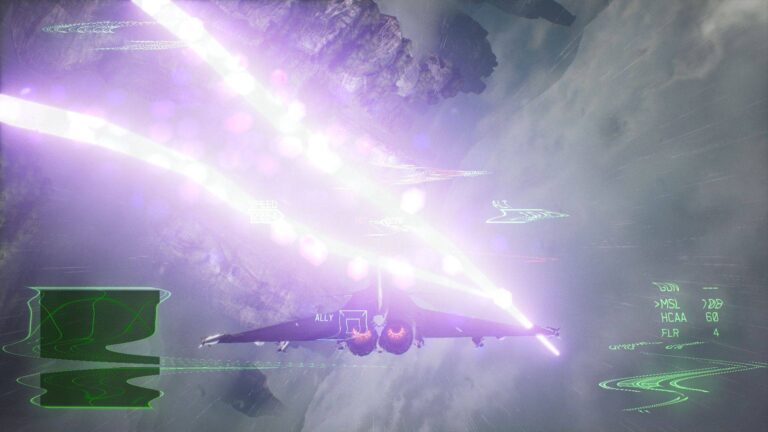
Major McOnie eventually orders Trigger and Wiseman to disable the central main propellers. Move toward Liberty, acquire the marked targets and attack them before its APS barrier activates. If drones get in the way of your missiles, adjust your approach instead of firing repeatedly from a poor angle.
Once the propellers are disabled, the Stonehenge railgun takes the winning shot during the cutscene. That’s the correct ending to Ace Combat 7 Mission 12 Stonehenge Defensive. You are not supposed to destroy the entire Arsenal Bird with missiles yourself.
Best aircraft and weapons for Stonehenge Defensive
A multirole plane is a good fit for Ace Combat 7 Mission 12 Stonehenge Defensive. You need weapons that can remove ground vehicles quickly and standard missiles for bombers, helicopters and drones. XSDB and other air-to-ground options help when several tanks are moving in one group. A faster aircraft is useful for travelling between the Menhir lines and intercepting bombers, but you don’t need a particular superplane.
WALRUS, FOUDRE and BUFFLE secret ace conditions
Ace Combat 7 Mission 12 Stonehenge Defensive has three named aces, all optional. You must have finished the mission once already and be playing on Normal difficulty or higher for the spawn conditions to work.
- WALRUS, Su-34: Keep Stonehenge completely undamaged during the defensive stage. WALRUS appears with the northeast helicopter force.
- FOUDRE, Mirage 2000-5: Fly beneath the barrel of one of the ruined Stonehenge railguns. FOUDRE appears to the south.
- BUFFLE, A-10C: Destroy the three A-10Cs arriving from the east. BUFFLE spawns to the southwest and may eventually try to escape.
WALRUS is the hardest to trigger because even one hit on Stonehenge ruins the condition. Consider a separate replay for it rather than letting the defense collapse while trying to spawn all three.
Ace Combat 7 Mission 12 Stonehenge Defensive S rank and troubleshooting
What score do I need for S rank?
The S-rank formula uses a combined score-and-time threshold of 49,630 points. A finish within 16 minutes 30 seconds gives a maximum time bonus of 15,330, meaning you need 34,300 target points. Finishing slower reduces the bonus. These figures don’t apply to an ordinary story clear.
Why does Stonehenge get destroyed while I’m winning fights?
You’re probably targeting the wrong enemies. Bombers can devastate the site, tanks can overrun its defenders, and helicopters can deliver troops for an instant failure. In Ace Combat 7 Mission 12 Stonehenge Defensive, look at which enemy is threatening the objective, not simply which one is closest to your jet.
Do I have to defeat Arsenal Bird Liberty myself?
No. Destroy its marked main propellers so the Stonehenge railgun can fire. Keep your missiles for the propellers and leave the final shot to the scripted sequence.
Official game information and images: Bandai Namco Entertainment.